

NVIDIA Image Scaling Setup Guide - Increase FPS In ANY Game

Are you tired of low FPS while playing your favorite games? Do you want to improve your gaming experience without having to upgrade your hardware? Look no further than NVIDIA's Image Scaling technology. By increasing the resolution of your game without sacrificing performance, NVIDIA Image Scaling allows you to see more detail in every frame and enjoy a smoother gaming experience. In this article, we will provide a step-by-step guide to setting up NVIDIA Image Scaling for any game, so you can start seeing the benefits for yourself. From adjusting your in-game settings to optimizing your NVIDIA control panel, we've got you covered. So, let's dive in and increase your FPS in any game with NVIDIA Image Scaling!
Update your Graphics Driver
To use the NIS feature, you should ensure that your graphics driver is up to date. Use the GeForce Experience application for NVIDIA users. This will allow you to download and automatically install the latest GPU driver. In the Drivers tab, click download, and the application will automatically download and install the latest driver.
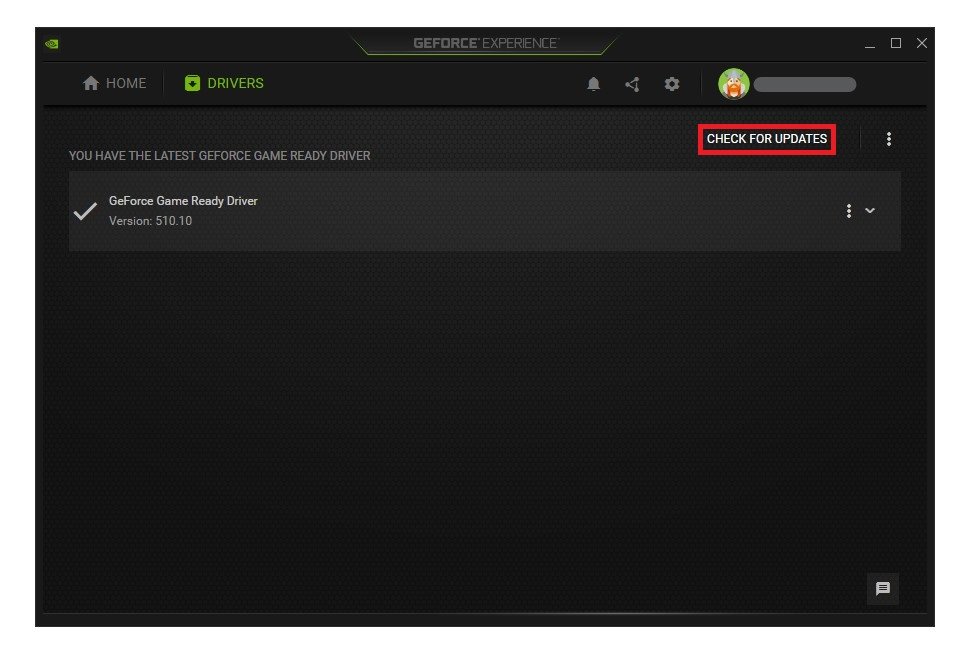
GeForce Experience > Drivers > Download
Enable Image Scaling in your NVIDIA Control Panel
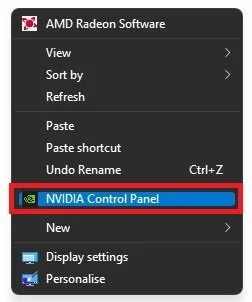
After updating your graphics card driver, right-click your desktop and select NVIDIA Control Panel. On Windows 11, right-click your desktop and select Show More Options, and then you can choose the NVIDIA Control Panel.
In the Adjust Image settings with preview tab, set the option to Use the advanced 3D image settings and apply your changes.
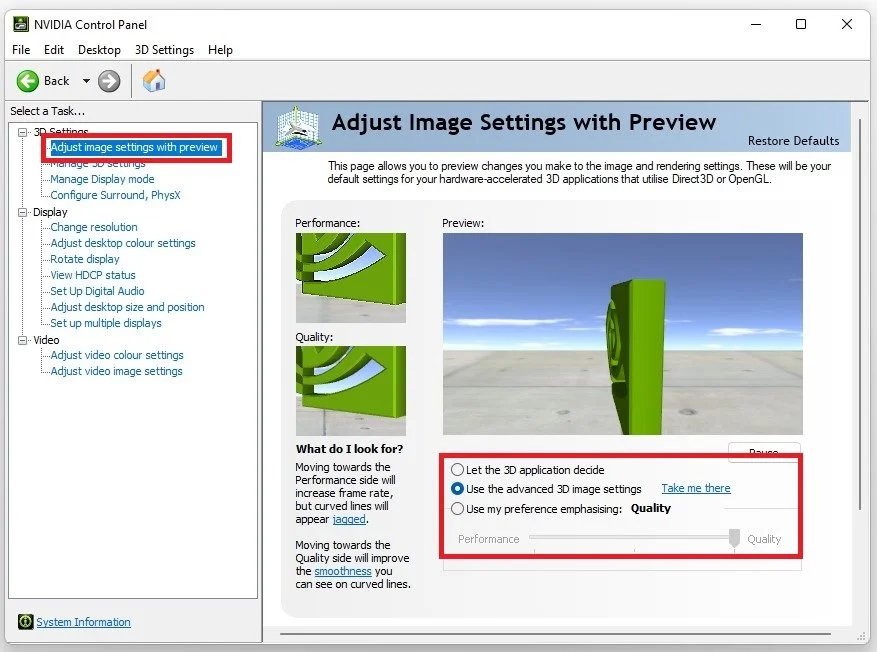
NVIDIA Control Panel > 3D Settings > Adjust image settings with preview
In the Manage 3D settings tab, navigate to your Global Settings. Click on the Image Scaling option, and enable it. Set the Sharpening option to around 20%. In some cases, you might want to increase it to up to 35%, depending on how much the AI is upscaling your image while using a lower resolution. You should also tick the Overlay Indicator to know if NIS is enabled in-game. After making these changes, make sure to apply your changes.
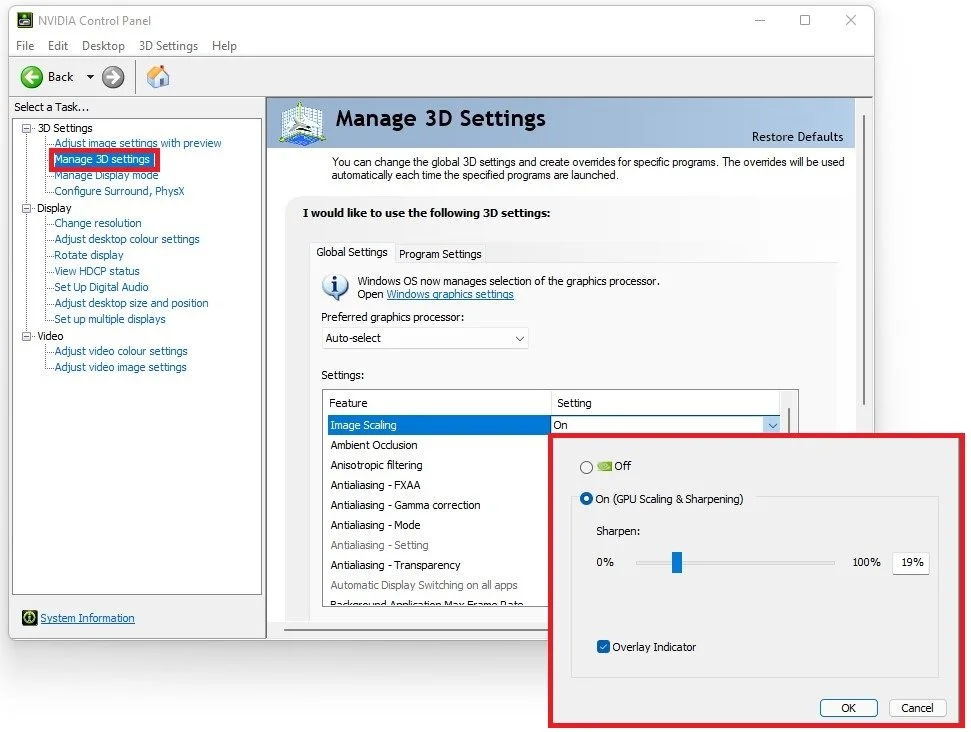
NVIDIA Control Panel > Manage 3D Settings
Enable NVIDIA Image Scaling in the GeForce Experience Application
Reopen your GeForce Experience application. Navigate to your settings when clicking on this gear icon, and in the General tab, you will see the Image Scaling settings. Enable Image Scaling from here, and then you can choose the best option according to your native monitor resolution and the resolution you wish to game in. While in your GeForce settings, it’s suggested to disable the in-game overlay and Reward notifications to get the best performance while in-game.
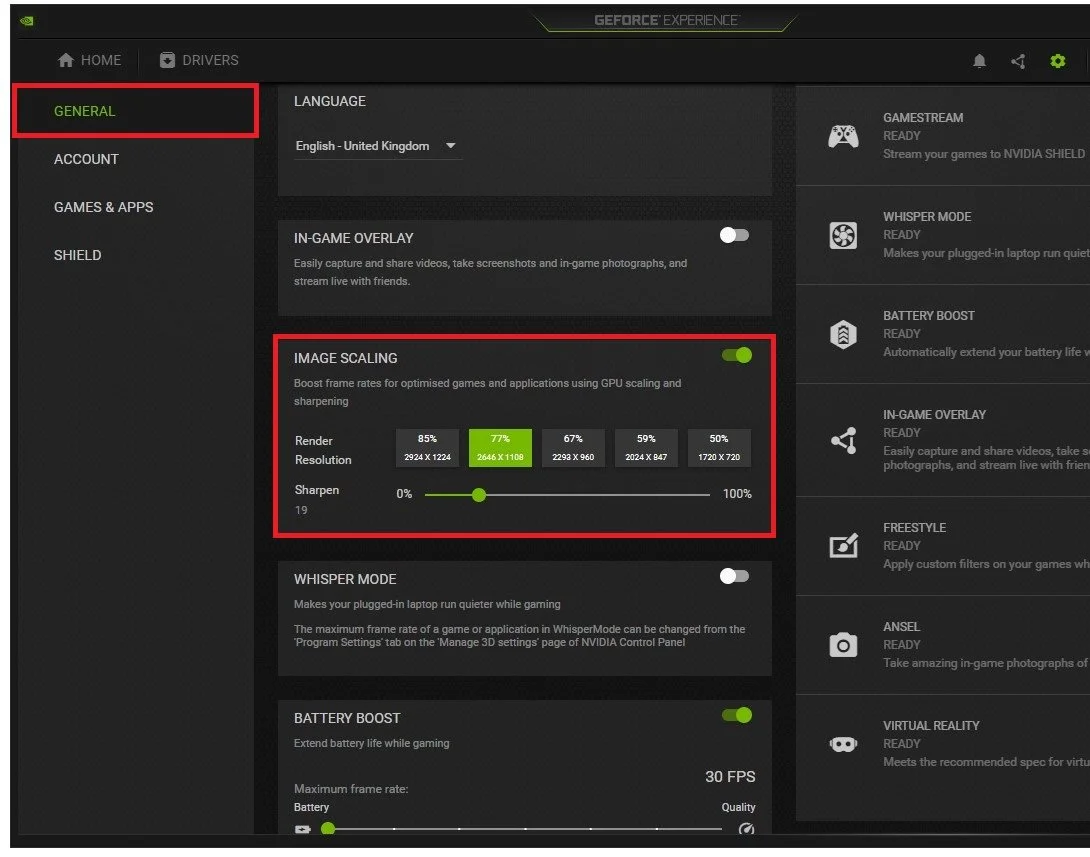
GeForce Experience > General Settings > Image Scaling


