osu! - How To Download & Install Skins

If you are a fan of rhythm games, you've probably heard of osu! - a free-to-play game that tests your timing and accuracy with various beatmaps. One of the unique features of osu! is the ability to customize the game's interface with skins, which can give the game a fresh look and make it more enjoyable to play. However, downloading and installing skins can be confusing for first-time players. In this article, we will walk you through the process of downloading and installing osu! skins, step-by-step.
Download osu! Skins
Changing skins in osu! will alter the visual effects and hit sounds of your gameplay. Click here to visit our osu! skin collections, or select the picture below. You can select from a range of different skins with different modes or from different players.

There are more resources for OSU! skins, osu! Skins and Reddit can be very resourceful!
After finding a skin that works best for you, locate the downloaded file.

osu! > Options

osu! Options > Skin
Import & Change osu! Skins
Double-click the downloaded file which will, in turn, open up osu!
Open up your Settings > Skin
Under Current skin, you will be able to change to the downloaded skin

Below, you will be able to preview the skin in some gameplay.

Edit your osu! skin
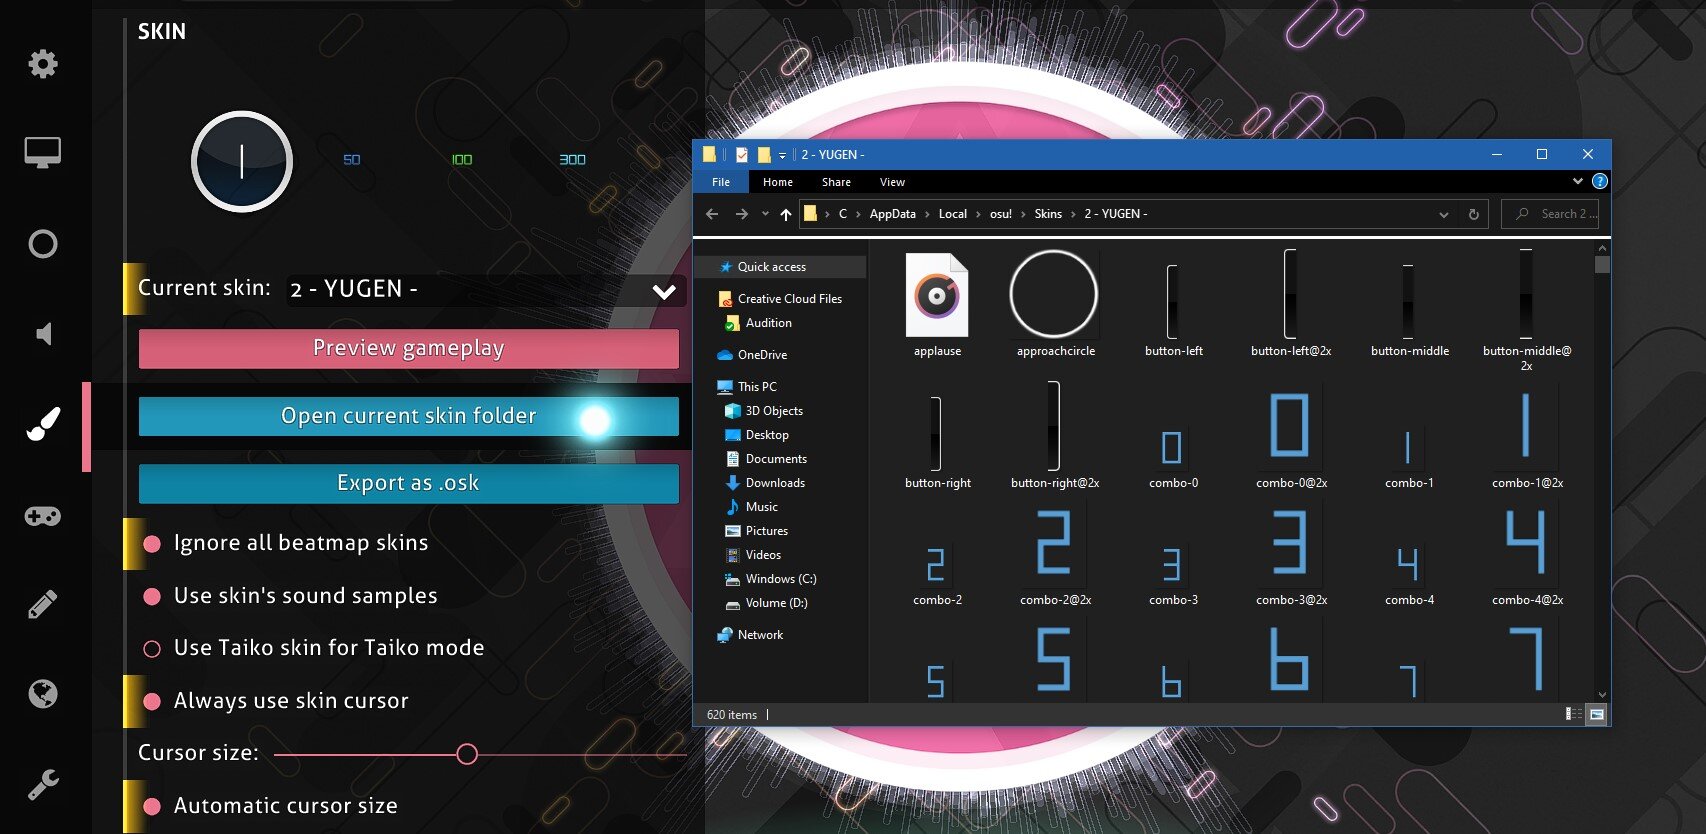
You can alter any audio or visual file in your installed ous! skins, select Open Current Skin Folder in your osu! skin settings. Your file explorer will open up containing all of the select osu! skin files. You can then replace these files using the same file name. Happy editing!

osu! Settings > Skins > Open current skin folder
-
osu! skins are customized user interfaces for the game, which change the appearance of different elements like hit circles, sliders, and backgrounds. These skins can give the game a fresh look, making it more visually appealing and fun to play. They can also help you to identify the different elements more easily and improve your gameplay.
-
To install osu! skins, you need to open the .osk file you downloaded and extract the files to the osu! skins folder. The default location for this folder is C:\Users\username\AppData\Local\osu!\Skins. Once the files are extracted, open the game and select the skin from the options menu.
-
Yes, you can create your own osu! skins using various tools like Skin Composer, Photoshop, or GIMP. These tools allow you to customize different elements like hit circles, sliders, and backgrounds to create a unique skin. You can also share your skin with others by uploading it to the osu! website or other skinning communities.
-
To make sure your osu! skin is compatible with the latest version of the game, you should check if the skin is updated regularly. Most skin creators update their skins to ensure they are compatible with the latest osu! updates. You can also check the skin's comments section to see if there are any issues with the skin and how to fix them.