How to Export Models in Roblox Studio

Roblox Studio is a powerful game development platform that allows users to create their own games and experiences within the Roblox universe. One of the key features of Roblox Studio is the ability to export models, which allows developers to transfer their creations to other platforms and share them with a wider audience. Whether you're a seasoned developer or just starting out, learning how to export models in Roblox Studio is a valuable skill that can help you take your game development to the next level. In this article, we'll walk you through the process of exporting models in Roblox Studio, step by step. We'll cover everything from basic terminology to advanced techniques, so you can start sharing your creations with the world. So, let's dive in and explore the world of model exporting in Roblox Studio!
Locate & Export the 3D Roblox Model
While working on your Roblox game, you might need to import or export some models in Roblox Studio. To export a model, ensure your Explorer window is opened. To do so, navigate to the View tab in your top navigation and select Explorer in case it’s not yet selected.
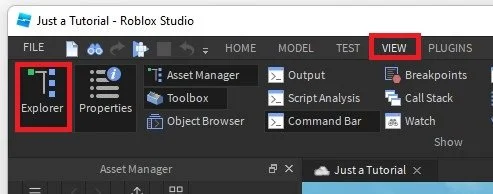
Roblox Studio > View > Explorer
Navigate to the model you wish to export. In this example, we will select this chair. It will be highlighted in your Explorer window. If you only selected one part of the model you wish to export, then highlight all relevant parts to export them together. Right-click the model and click on Export Selection.

Right-clikc the 3D Model and select Export Selection
Save & Preview the Roblox 3D Model
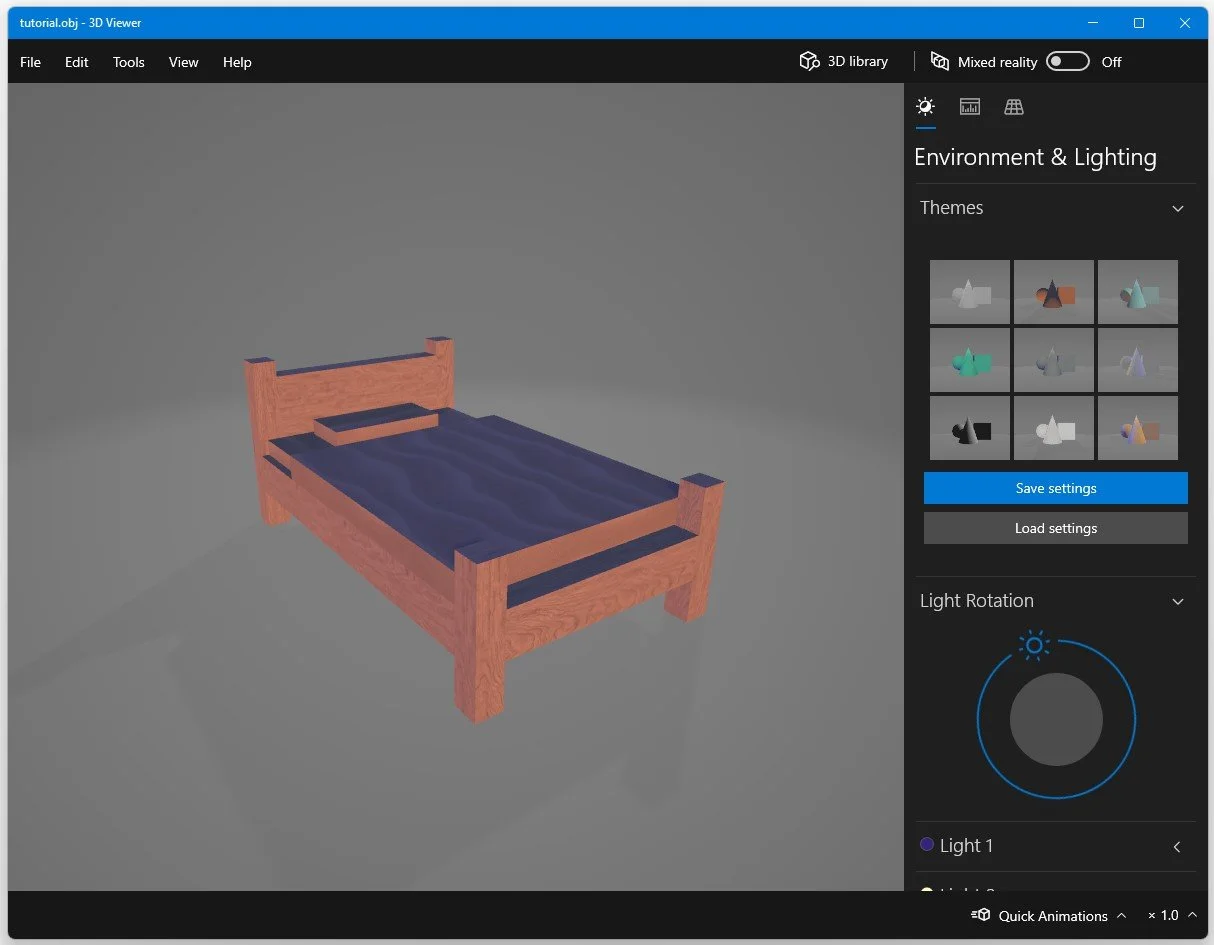
In your File Explorer, name the object and select a save location. Finally, this will export the 3d object file, the MTL file, and some textures, in case there are any on the model.
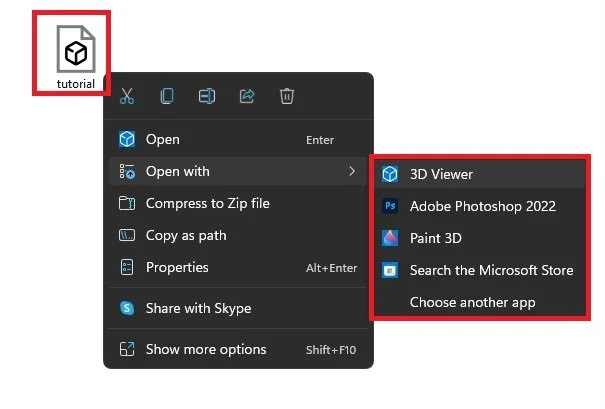
3D Model > Open With > 3D Viewer
You can use Blender or your 3D Viewer application to view and change the model for future use.