The Perfect Pair: A Comprehensive Guide to Adding Fortnite to Steam

The gaming world has seen a revolution with the meteoric rise of Fortnite, captivating players across the globe with its engaging gameplay and immersive battle royale experience. Meanwhile, Steam has become the premier platform for managing an extensive library of games on PC. It's only natural, then, to seek ways of unifying these two powerhouses of the gaming industry. In our meticulously crafted guide, we'll teach you the ins and outs of adding Fortnite to your Steam library with ease. Delve into the intricacies of file management, launcher integration, and customization, as we empower you to bridge the gap between these gaming titans. Embrace the convenience of accessing Fortnite through Steam and elevate your gaming experience to new heights. The battle bus is waiting, so let's get started!
Add a Non-Steam Game to your Library
Open your Steam library by searching for Steam in your taskbar search and then navigating to the Library tab in your Steam launcher.
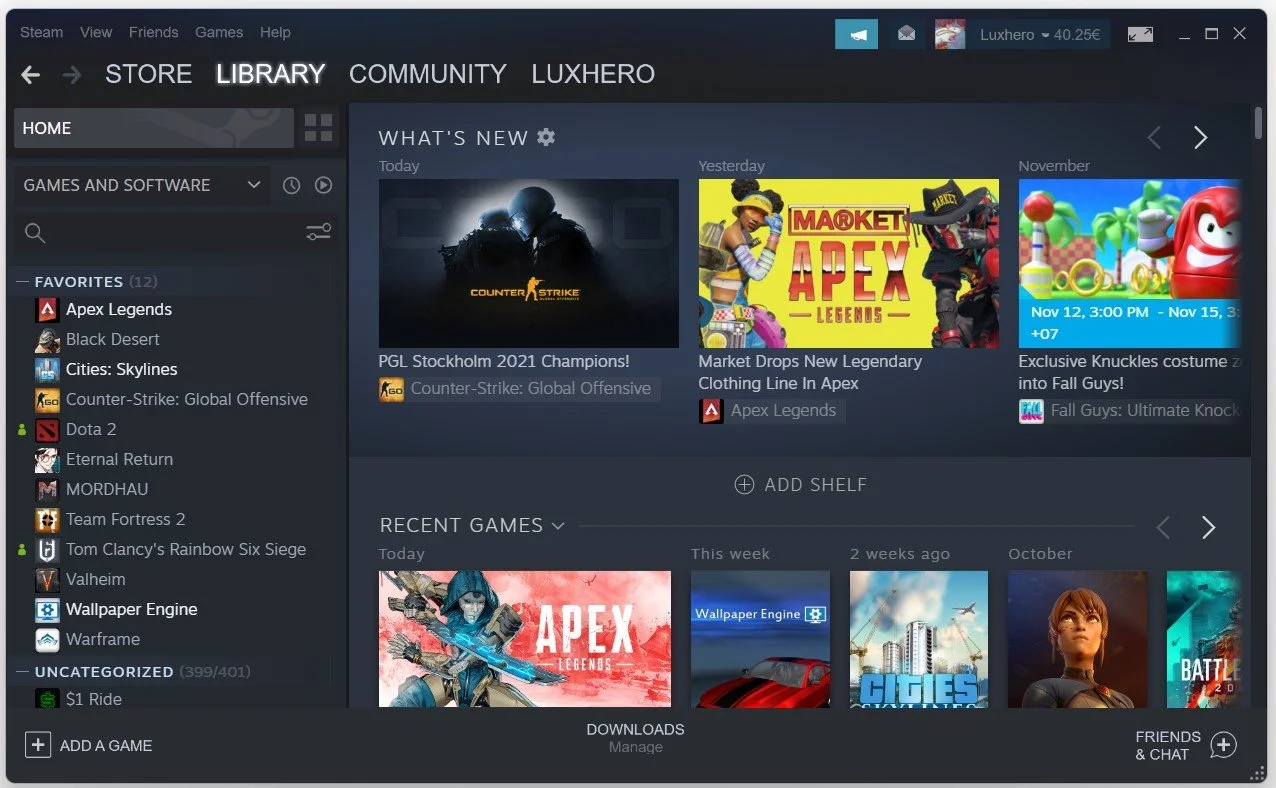
Steam library
On the bottom left of the window, select ADD A GAME. Next, select Add a Non Steam Game
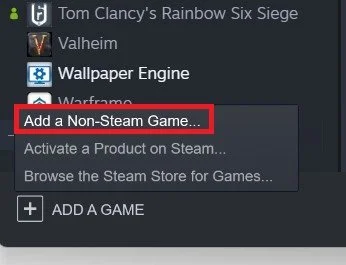
ADD A GAME > Add a Non-Steam Game
Click on Browse on the new window.
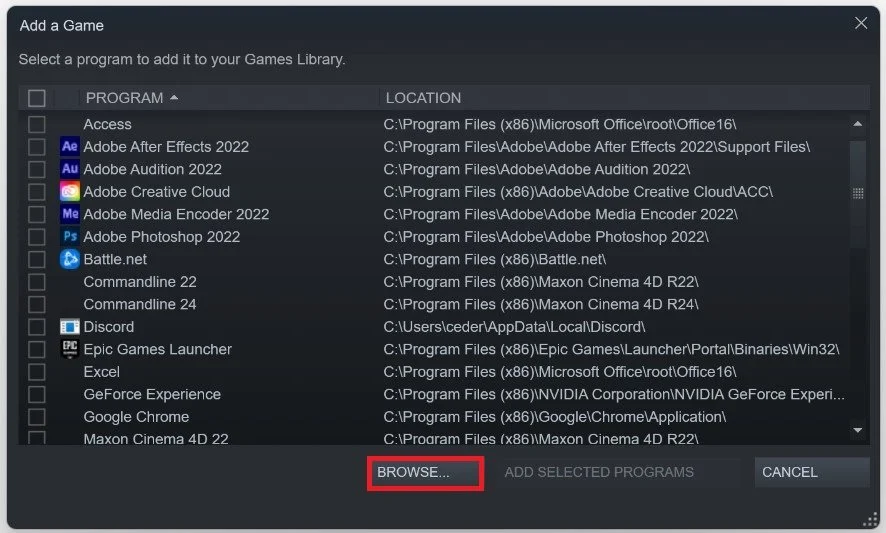
Add a Game > Browse
Your file explorer will open up, simply navigate to the drive on which you saved Fortnite on, and then:
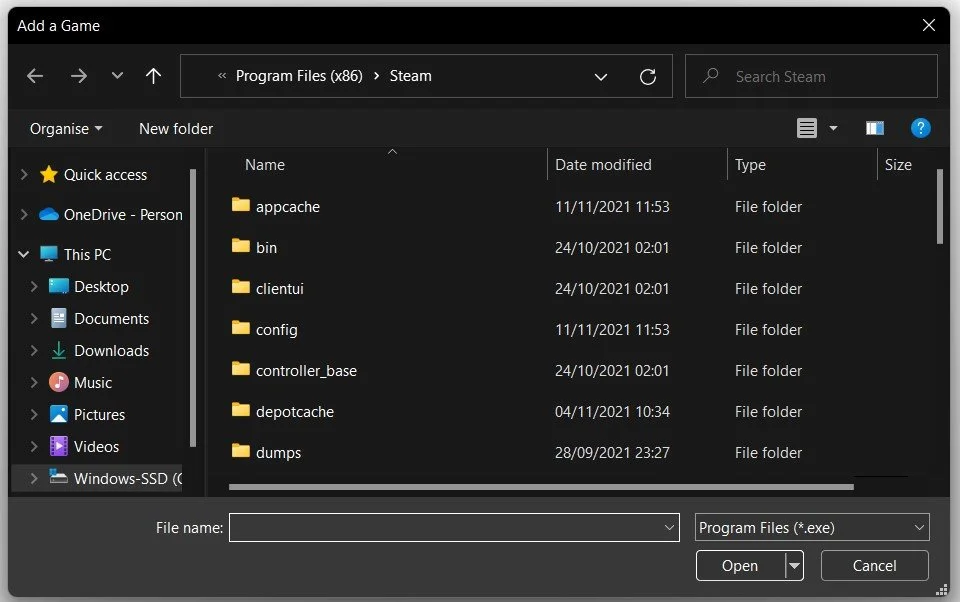
Navigate to: Program Files > Epic Games > Fortnite > FortniteGame > Binaries > Win64. In the folder, select the FortniteClient-Win64-Shipping executable file and select Open

You will now be able to add the Fortnite app to your Steam library by clicking on Add Selected Programs.

The application will have the .exe file name. To remove it, right-click FortniteClient and select Properties, you will then be able to change the name, choose an other icon or set launch options.