How To Connect Adobe Media Encoder to After Effects
Introduction
Unlock the full potential of your video projects by seamlessly integrating Adobe Media Encoder with After Effects. Learn the nitty-gritty of establishing this crucial connection to expedite your rendering process. Whether you're a novice or seasoned video editor, our step-by-step guide will set you on the path to more efficient and dynamic workflows. Stay tuned to elevate your video editing game.
Create the Connection Command
Open Notepad: Use your start menu's search function to locate and open the Notepad application.
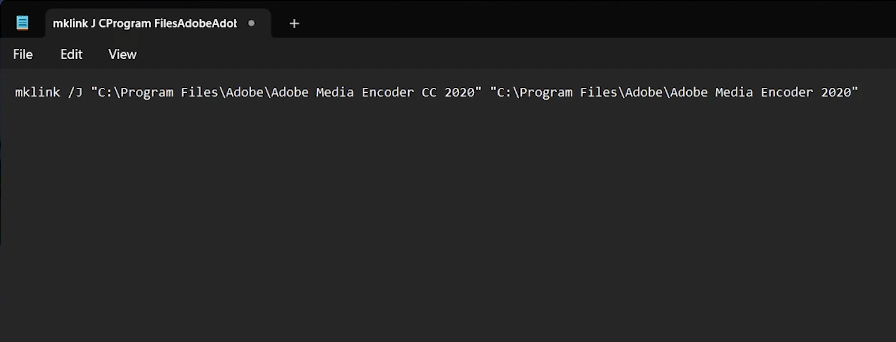
Paste Command: Once inside Notepad, paste this command: mklink /J "C:\Program Files\Adobe\Adobe Media Encoder CC 2020
Note: Ensure the Media Encoder version in the command reflects the one you are using. For example, if you're using Media Encoder 2020, include "2020" at the specified location in the command. If your version is 2019, replace "2020" with "2019".

Paste command in notepad
Locate the Media Encoder's File Path
Access File Location: Navigate to Adobe Media Encoder’s installation folder and copy the address from the address bar.
Update Command: Return to your Notepad window and paste the copied file path into the appropriate section of the command. This will complete the command script you’ll use to connect Media Encoder to After Effects.

Copy the Media Encoder file path
Execute the Command for Integration
Complete Your Code: Return to your Notepad and ensure the Media Encoder file path you previously copied is correctly inserted into the command line. Copy this finalized command.
Open Command Prompt: Search for "CMD" using your start menu search bar. Right-click on the Command Prompt application and select 'Run as administrator.'
Execute Command: In the Command Prompt window, paste the copied command and press 'Enter'. This action will establish the connection between Adobe Media Encoder and After Effects.
Copy the file location path
Verify the Connection in After Effects
Launch After Effects: Open the software and try exporting a project.
Confirm Media Encoder Option: You should now see 'Media Encoder' as an available export option within After Effects, confirming that the integration was successful.
By meticulously following these steps, you'll seamlessly link Adobe Media Encoder with After Effects, streamlining your video editing and rendering processes.
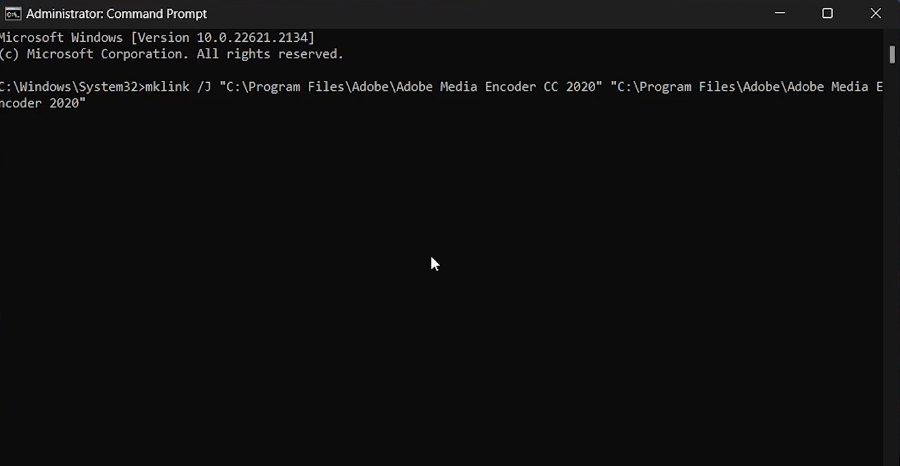
Execute the command in Command Prompt
-
Open Adobe Media Encoder, and go to the 'Help' menu, then select 'About Adobe Media Encoder'. The version number will be displayed there.
-
Double-check that you are running the Command Prompt as an administrator and that you've entered the correct Media Encoder version and file path into your Notepad command.
-
Yes, you can connect to multiple versions, but ensure that you create and execute separate commands for each version.
-
You need to have administrative rights to successfully execute the commands for linking Adobe Media Encoder and After Effects.
-
After executing the command, open After Effects and attempt to export a project. If successful, you should see 'Media Encoder' as an option in the export settings.