

Dead By Daylight - How To Boost FPS For Low-End PC’s & Laptops

If you're experiencing low FPS while playing Dead by Daylight on your low-end PC or laptop, it can ruin the gameplay experience. Luckily, there are several tweaks and optimizations that you can do to boost the FPS and enhance your gaming experience. In this article, we'll provide you with the essential tips and tricks to increase FPS in Dead by Daylight on low-end PCs and laptops.
Tweak your DbD Game User Settings
Optimizing your in-game settings can significantly improve the performance of low to mid-end PCs when playing Dead by Daylight. While the number of settings available in the game is limited, you can still adjust them through the GameUserFile to improve performance. These changes are especially useful for those who experience performance issues despite meeting the recommended system requirements. In this article, we will guide you through the steps to boost FPS for low-end PCs and laptops in Dead by Daylight. Close Dead by Daylight and navigate to %AppData% in your File Explorer.
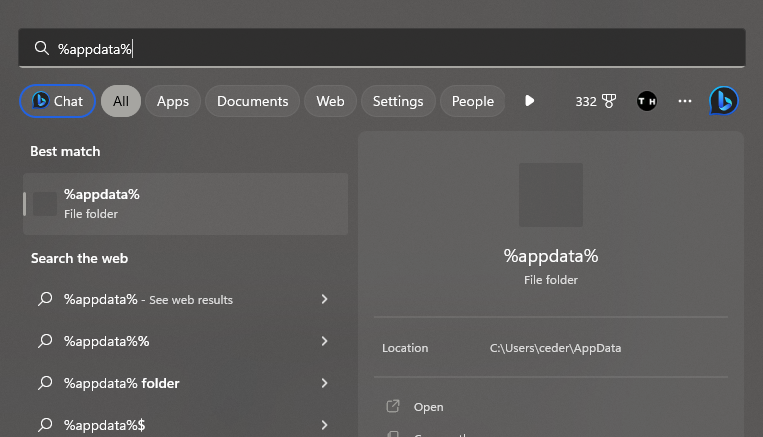
Search for %AppData% to open the correct file folder
Open AppData > Local > DeadByDaylight > Saved Config > WindowsNoEditor. Open the GameUserSettings file using a text editor like Notepad. Scroll down to the bottom of the file and leave the HDR Display Output Nits option as it is. Set the desired screen width, screen height, and two options below to your native monitor resolution or a custom resolution. Set the FrameRateLimit option to your monitor's refresh rate, and disable the Dynamic resolution and VSync options by setting their values to False. If you still experience performance issues, reduce the ScreenResolution option to around 80, but keep in mind that this will affect the visual quality of the game. Finally, apply your changes and save the file.
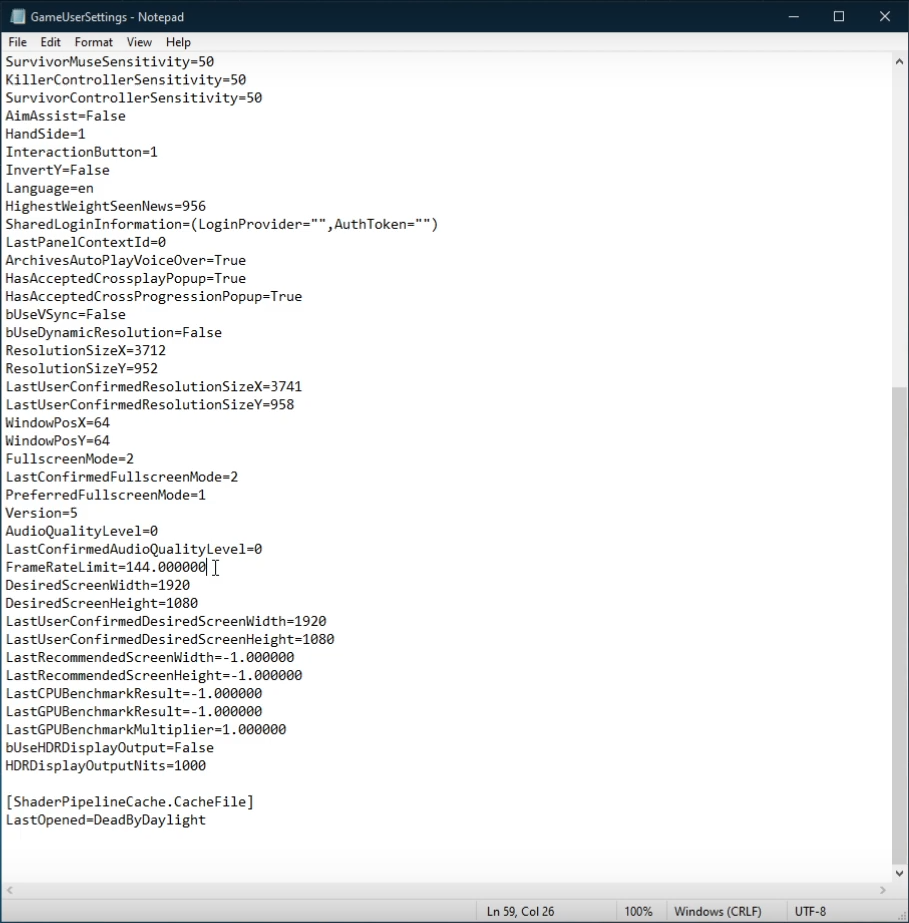
Adjust the Game User Settings file for DbD
Change the Dead by Daylight Process Priority
If you want to improve your PC's performance while playing Dead by Daylight, you can adjust the application's priority compared to other programs running in the background. To do this, right-click your taskbar to open Task Manager, then go to the Processes tab. Find the Dead by Daylight process and right-click it, then select "Go to details". In the Details tab, right-click the game process and set the priority to "High". This will give the application more resources, which can result in smoother gameplay. Don’t change the priority to High if the game already uses up 100% of your CPU capabilities.

Task Manager > Details > DeadbyDaylight.exe > Set Priority > High
By setting a high priority for the Dead by Daylight application, it will receive more resources from your computer and improve performance, especially when running alongside other programs. To further optimize performance, it's recommended to end unnecessary programs running in the background which may cause high CPU utilization. Be careful to only end programs you are familiar with and won't affect your operating system. You can also prevent programs from starting up on system boot by accessing the Startup tab in your Task Manager.
Update Graphics Card Driver
NVIDIA graphics cards can utilize the GeForce Experience application. Click here to download the application to your system. When the download is completed, open up the application, and in the Drivers tab, select Download. This will download and install the latest GPU update and should only take a few minutes to complete.

GeForce Experience > Drivers > Download
Update Operating System
Ensure your operating system is up to date to optimize your system's performance. Search for "Update" in your taskbar search and open "Check for updates" system settings window. Download and install the latest update, and restart your PC after the download is completed. This will help you resolve any performance issues.

Windows Settings > Windows Update
Disable Windows Game Bar Recording
To improve your performance while playing Dead by Daylight on Windows 10, you need to disable some of the native Windows 10 settings. The Game Bar recording option should be turned off as it can cause continuous recording of your gameplay and audio. Open the game bar system settings by searching for Game Bar in your taskbar search.
Uncheck the recording option and go to the Captures tab to disable the background recording option as well. These settings are known to reduce performance. If you want to record your gameplay, it is recommended to use OBS Studio or an external capture card to avoid performance issues.

Windows Settings > Gaming > Game Bar
NVIDIA Control Panel Settings Adjustments
Optimizing your NVIDIA control panel can greatly enhance your Dead by Daylight gameplay experience. You can improve your system's performance by making some changes to your NVIDIA control panel settings. To access your NVIDIA control panel, right-click your desktop and select NVIDIA Control Panel. From there, navigate to Manage 3D Settings > Program Settings.
To customize your settings for Dead by Daylight, select Add a program and add the game from the program list. If the game is not listed, you can browse for it in your file explorer. Once you've located the game, ensure that the CUDA setting is set to your primary GPU, the Power management mode to Prefer maximum performance, and the texture filtering quality to Performance. These settings will help you get the most out of your NVIDIA graphics card and improve your gameplay experience.
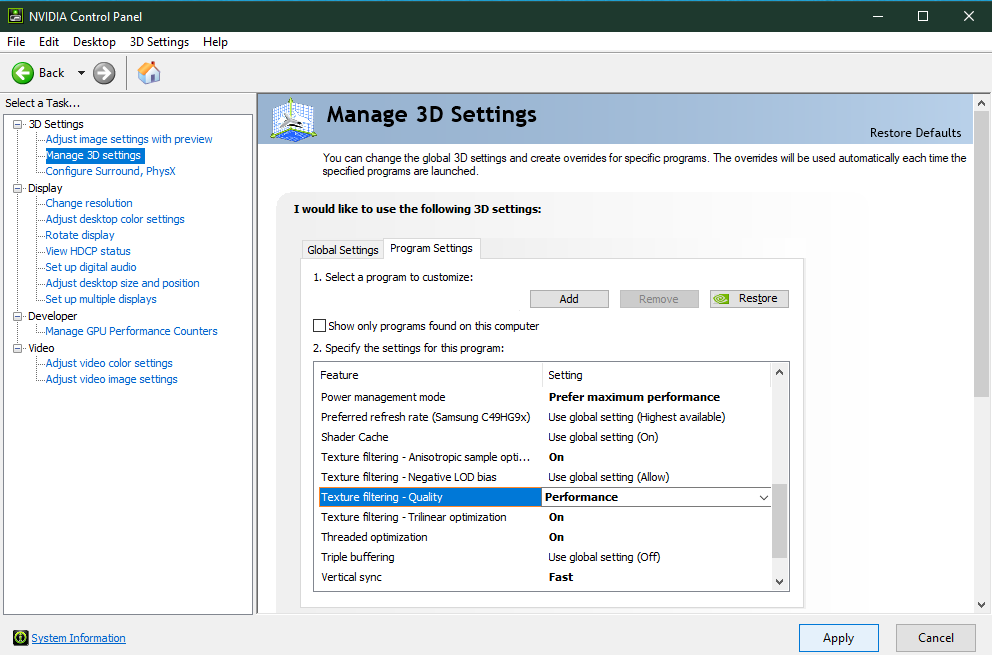
NVIDIA Control Panel > Manage 3D Settings > Program Settings
Change the Dead by Daylight Graphics Preference
Optimizing Windows 10 power user settings can help improve your system's overall performance, including your graphics settings. Search for "Graphics Settings" in your taskbar to access your graphics settings. Once opened, browse your file explorer to locate the drive and path where Dead by Daylight is saved, and add the program to your graphics settings list. From there, you can choose between different options including Let Windows Choose, Power Saving, High Performance, and Specific GPU. For optimal system performance, choose High Performance, but if your GPU is bottlenecking your performance, select Let Windows Decide. Make sure to apply any changes made.
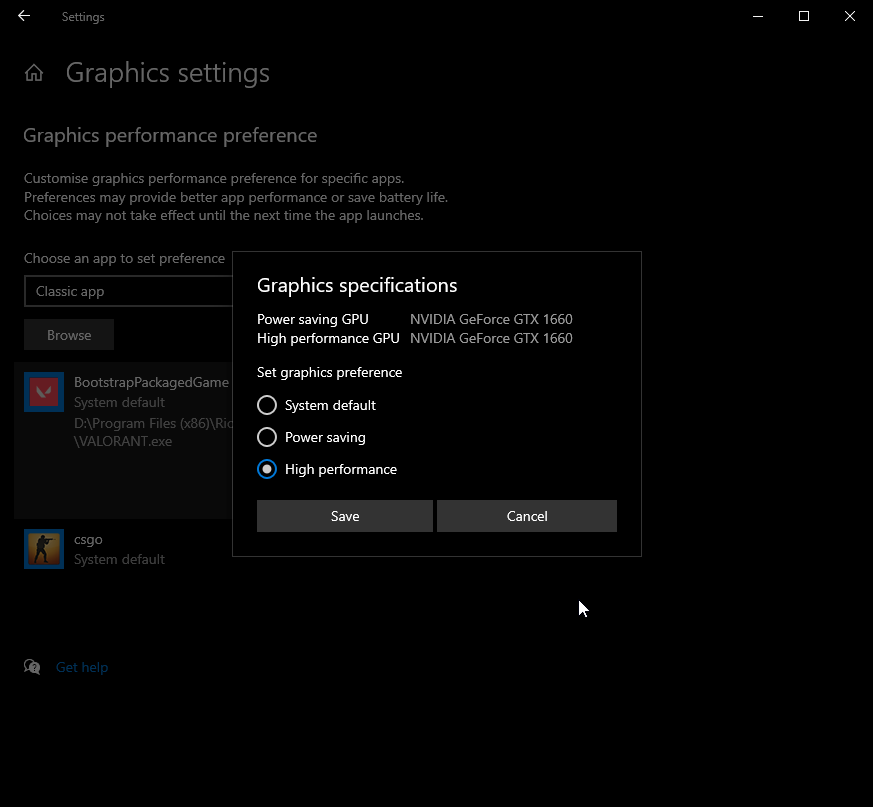
Change the Graphics specifications for DbD
Delete the Windows Temporary Files
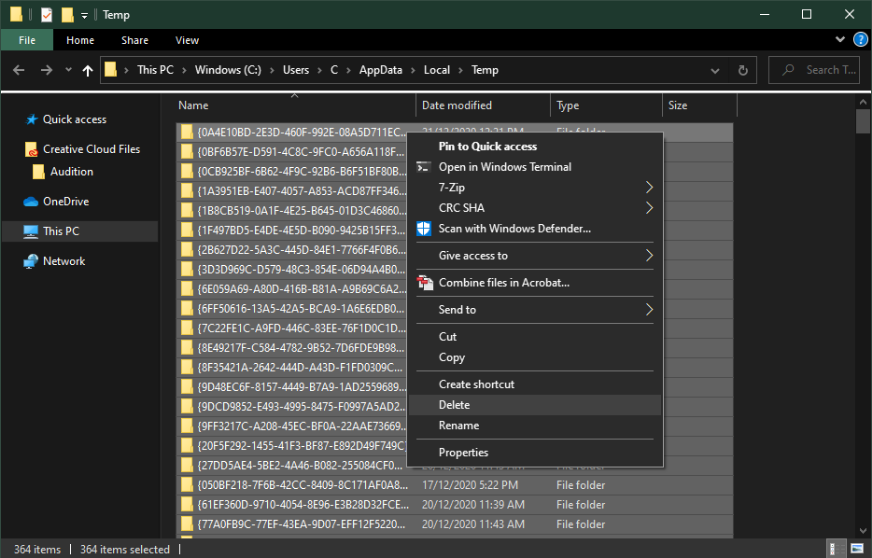
Your hard drive might be cluttered with unwanted files. These files will induce lag if not removed properly. You can delete your temporary files manually or use PC cleanup programs, such as CCleaner. These applications are usually the best choice as it will automatically keep your hard-drive clean for you. To manually delete your temporary files, enter %temp% in your taskbar search and hit enter.
A new folder will open up. Delete the content of your temporary files folder. Sometimes, this can take a few minutes if you haven’t done this before. Some files will most likely stay in your temporary files folder, as these are still in use by your programs. To delete these files, you should also empty your recycle bin.
Delete your temporary files


