How To Download & Install Steam on Windows 11

If you're a gamer, chances are you've heard of Steam. It's a popular platform where you can buy, download, and play your favorite games. With the release of Windows 11, you may wonder how to download and install Steam on your new operating system. Luckily, the process is simple and straightforward. In this article, we'll guide you through the steps to get Steam up and running on Windows 11. Whether you're a seasoned gamer or new to PC gaming, this guide will help you get started.
Download the Steam Installer
Click here to get to the Steam download page. Click on the green Install Steam button.
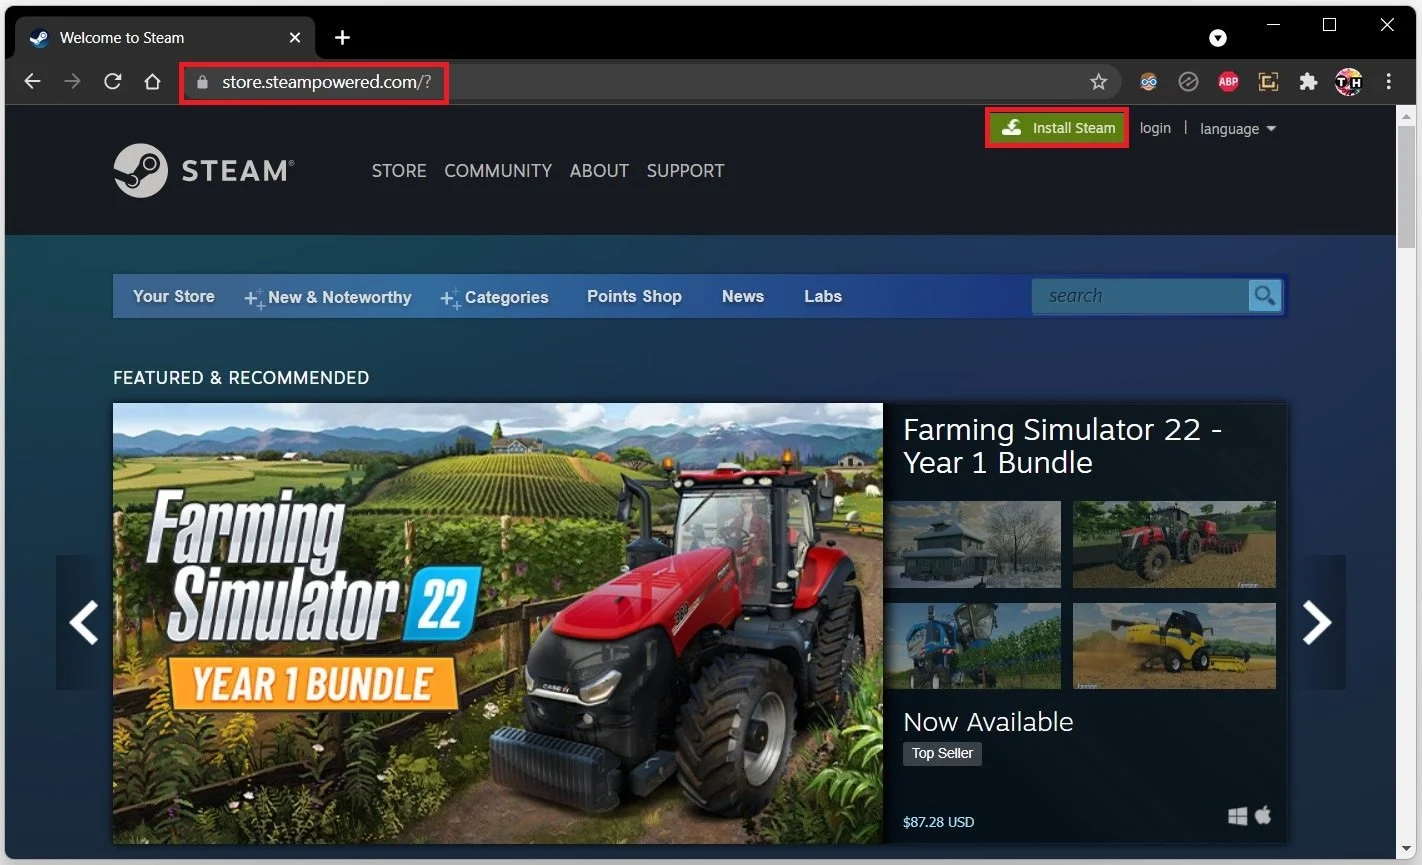
Steam Website > Install Steam
This will redirect you to a new page, where you must select Install Steam. The Steam Setup installer will take a second to download, and the .exe file will be located in your downloads folder; your browser can help you find the downloaded files. After finding the application in your downloads folder, double-click the Setup installer and a new window will open.

Download the Steam Installer
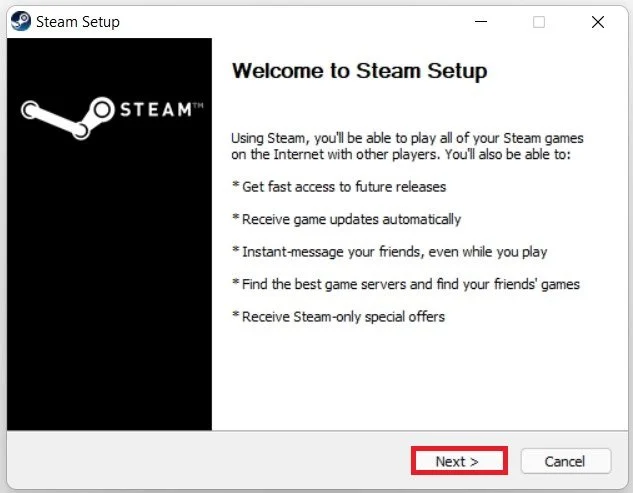
Install Steam
Click Next on the new window, and select the language you wish to use for your Steam launcher. You can always change your Steam language in your settings later on.
Follow the Steam install wizard
You have to select an install location for your Steam launcher. We suggest choosing a location in your HDD drive and not your SSD storage, as installing many games can take up a lot of space. When the installation is done, Steam will open up automatically. If you don’t have a Steam account yet, create one for free, which should only take a minute to complete.
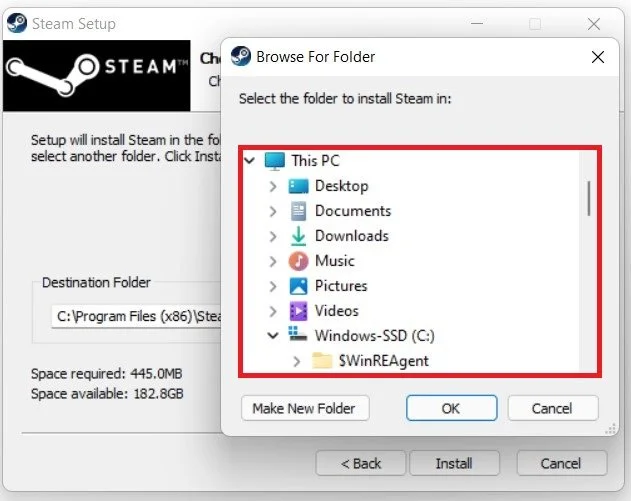
Follow the Steam Setup installer
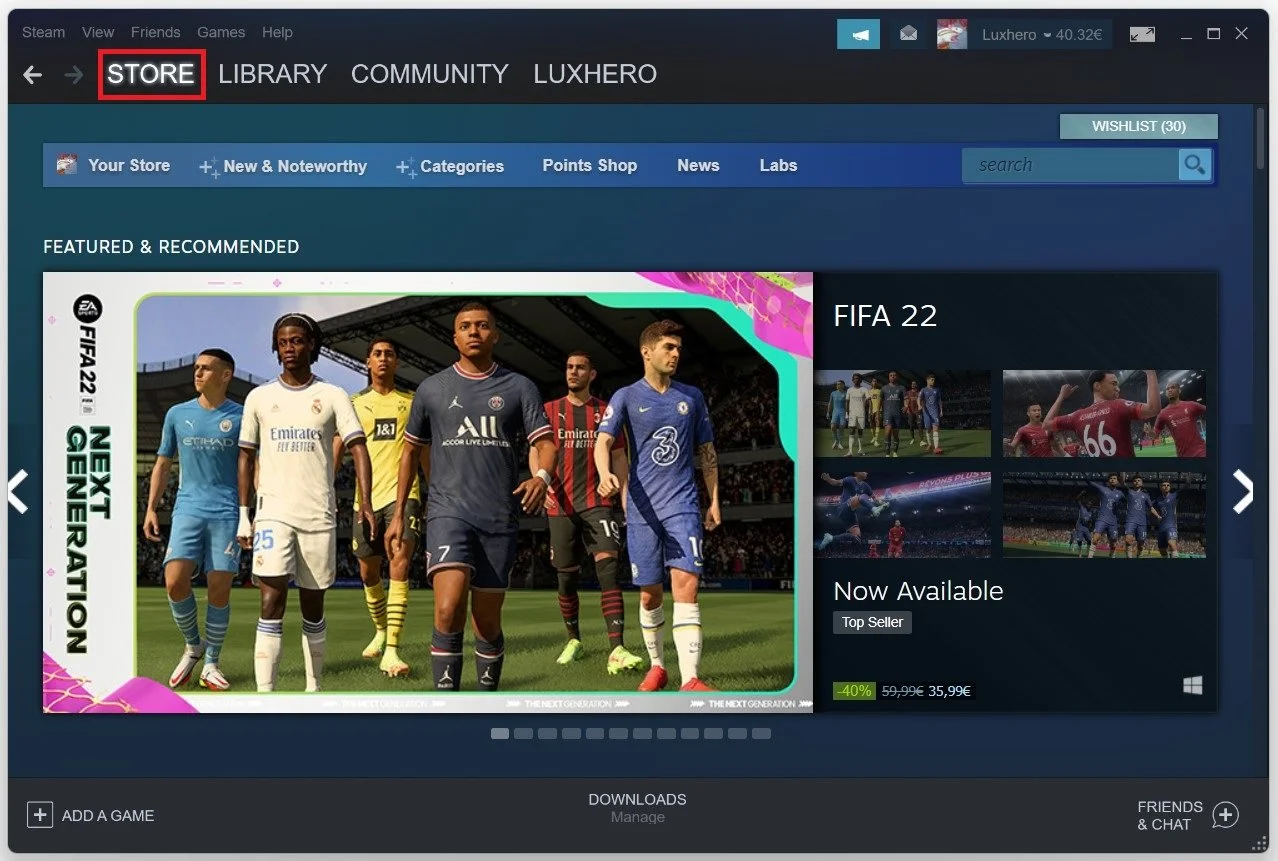
After login in to your Steam account, you will be presented with the Steam store page.