How To Manage Notifications for Apps on Mac OS Ventura
Staying on top of notifications from multiple apps on your Mac OS Ventura can be overwhelming, leading to distractions and a cluttered desktop. But with a few tweaks and adjustments, you can take control of your notifications and maintain your focus. In this article, we'll take you through the ins and outs of managing notifications on Mac OS Ventura, giving you tips and tricks to streamline your workflow and minimize distractions.
Mac OS Notification Settings
While using your Mac, navigate to the Apple icon on the top left of your screen and click on System Settings. Your settings might look a bit different on your device, depending on which macOS version you are running. In the Notifications section, you can, first of all, enable or disable some basic settings for notifications and your Notification Center.
I prefer to disallow notifications when my Mac sleeps, when the screen is locked, and when mirroring or sharing the display, but this will primarily come down to personal preference. Below, you might want to take a minute and allow or disable notifications from apps on your Mac.
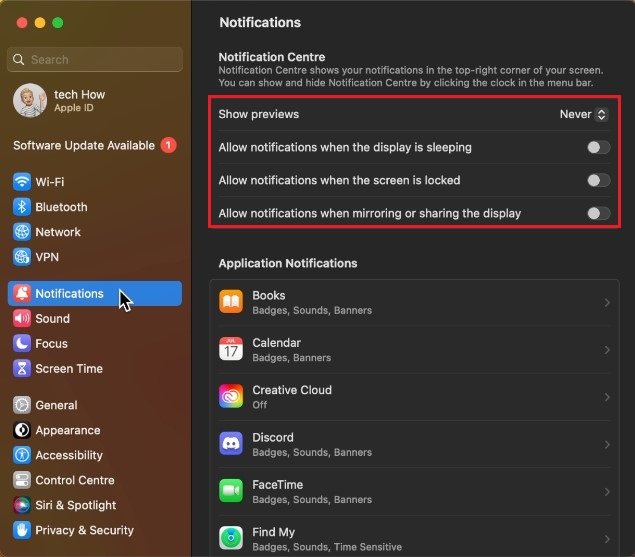
System Settings > Notifications
Application Notification Settings
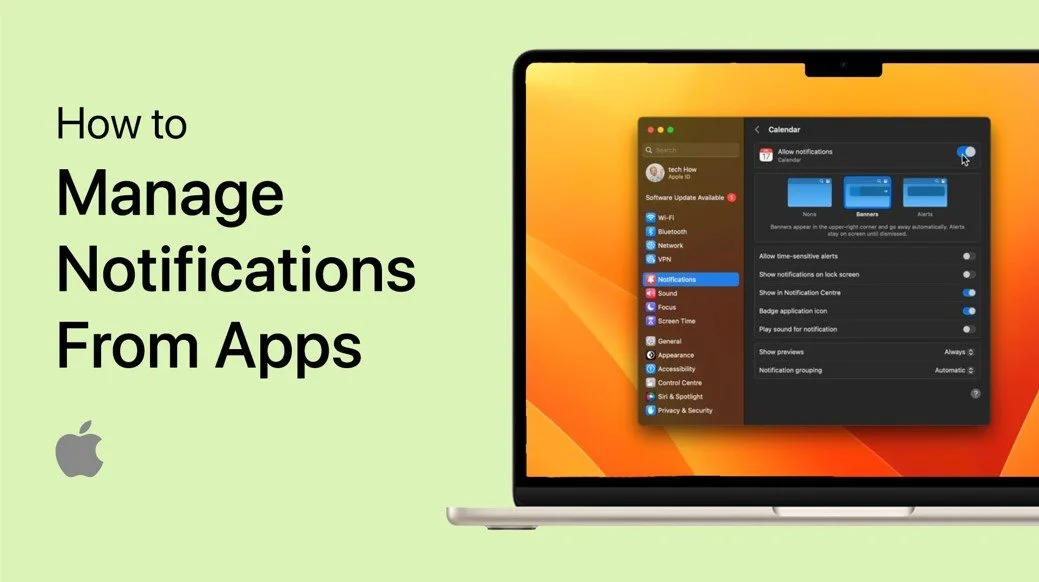
When selecting an application, you can allow notifications. Below, choose which kind of notification this particular app should trigger. By default, macOS Ventura users will have the Alerts notification enabled for most apps. Next, you can allow Time-Sensitive Alerts for the app, show the notifications on your lock screen in your notification center, badge the application icon, and play a sound when the notification is triggered.
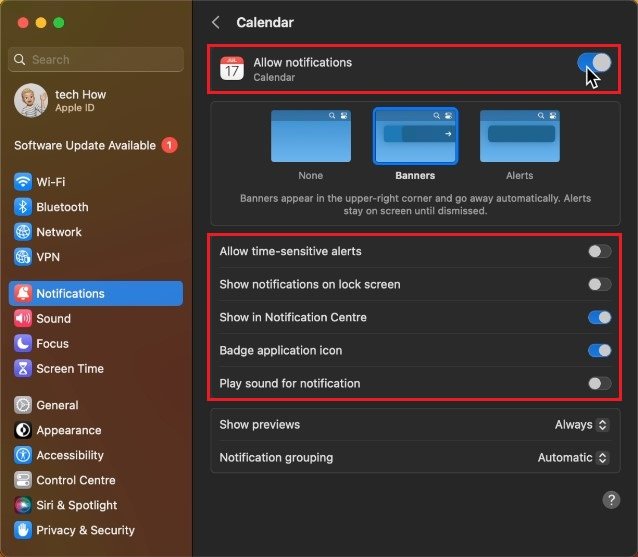
System Settings > Notifications > Applications
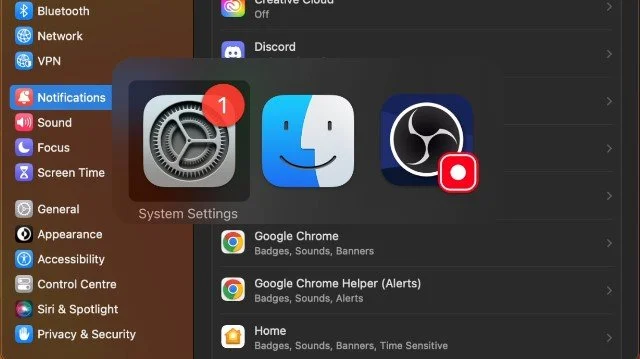
Restart Applications
After looking at your application’s notification settings, you may have to restart some applications for the changes to take effect. Especially non-native apps will require a restart to properly work.
Mac OS Software Update
While in your settings, navigate to the General section. Under Software Update, download the latest macOS update before restarting your Mac. This will allow you to access the latest notification settings and fix any potential bugs and issues you might have at the moment.
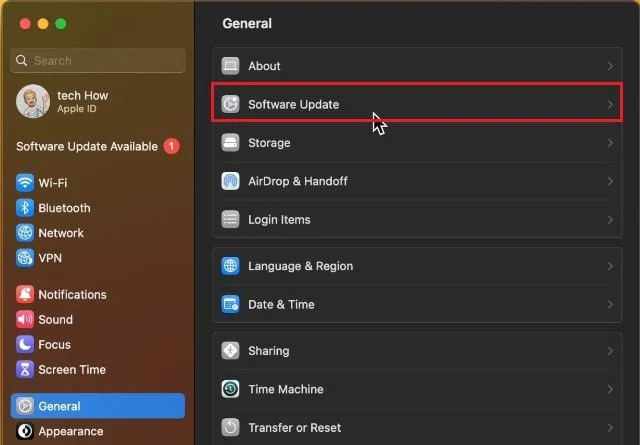
System Settings > General > Software Update
Do Not Disturb Settings
If you’d like to disable notifications from all applications temporarily, I suggest setting up a focus mode. In the Focus section of your settings, select Do Not Disturb.
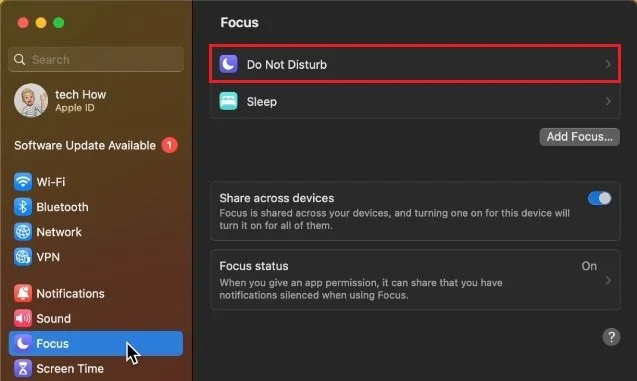
System Settings > Focus > Do Not Disturb
You can first set a schedule, where at the same time of day or location or when a specific app is launched, you can prevent notifications from disturbing you. Add a filter for apps that still have permission to disturb you while the focus mode is enabled.
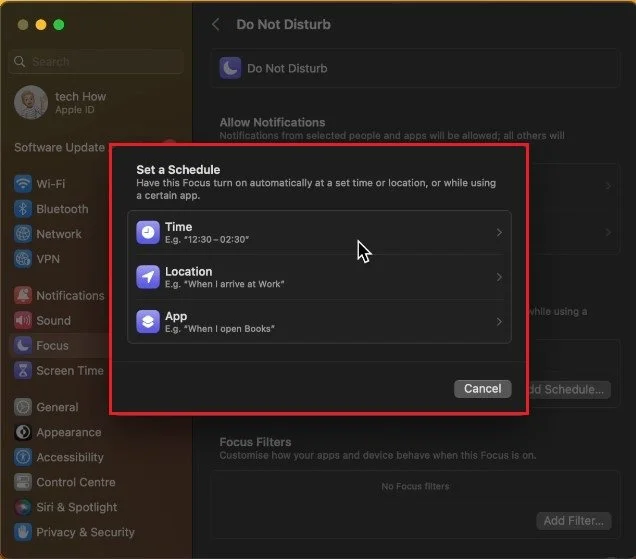
System Settings > Focus > Do Not Disturb
Disable App Limits & Content Restrictions
Lastly, if you’re having trouble getting notified by apps on your Mac, then the app, communication, or content restrictions can cause this problem.
In your Screen Time settings, select App Limits. Make sure that limits for apps where you wish to get notifications are disabled. The same goes for Content & Privacy restrictions. Temporarily disable any restrictions to see if this fixes your notifications problem.
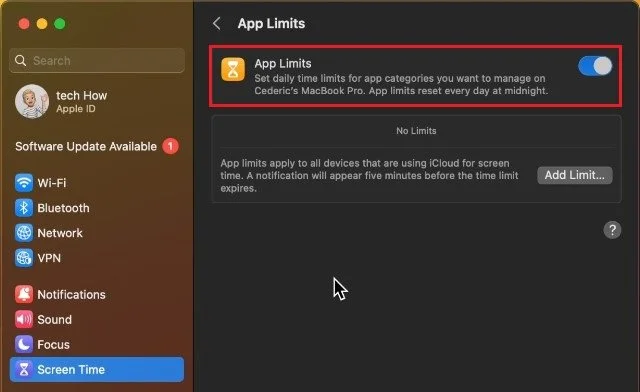
System Settings > Screen Time > App Limits
-
Banners appear briefly at the top right of the screen and disappear automatically, while alerts remain on the screen until dismissed by the user.
-
To turn off all notifications temporarily, go to System Preferences > Notifications and turn off the toggle for “Allow Notifications”. You can also simply enable the Focus Mode to disable distractions.