

How To Download & Install OBS Studio on Windows 10 - Start Recording!

If you want to record your computer screen for gaming, tutorials, or any other purpose, OBS Studio is a powerful and versatile tool to help you achieve that. In this article, we'll guide you through downloading and installing OBS Studio on Windows 10 and show you how to start recording your screen. Whether you're a beginner or an experienced user, this step-by-step tutorial will help you get the most out of OBS Studio. So, let's dive in and start recording!
OBS Studio is a free and open-source software widely used for live streaming and recording video on various platforms. With its intuitive interface and customizable settings, OBS Studio is a great tool for gamers, YouTubers, and educators who want to create high-quality videos. In this article, we'll cover everything you need to know to download and install OBS Studio on Windows 10, and start recording your screen easily. From adjusting settings to adding filters and effects, we'll walk you through each step of the process, so you can get started in no time.
Download & Install OBS Studio
Click here to get to the official OBS Studio download page. Download the installer for Windows 32x or 64x bit, depending on the Windows 10 version on your PC. If you’re unsure which version you’re using, right-click the Windows icon in your taskbar and select System. In the window, you can preview which operating system you are using. In our case, we will select the 64x-bit download. After a few seconds, the installer will be located in your download location. Drag and drop the downloaded installer to your desktop, then double-click the OBS Studio installer. Select Next and read through the license information, and then you will have to select where to install the application on your system. Select Browse, and here, in the D: drive, I will save the application to my program files folder. After a minute or two, OBS Studio should be installed on your system. You can also delete the installer application and launch OBS Studio.
Download the OBS Studio installer for Windows 10
Setup the Display Capture Source
We will go over the interface so that you understand where all of the essential changes can be made. Add a new source to your scene and select Display Capture.
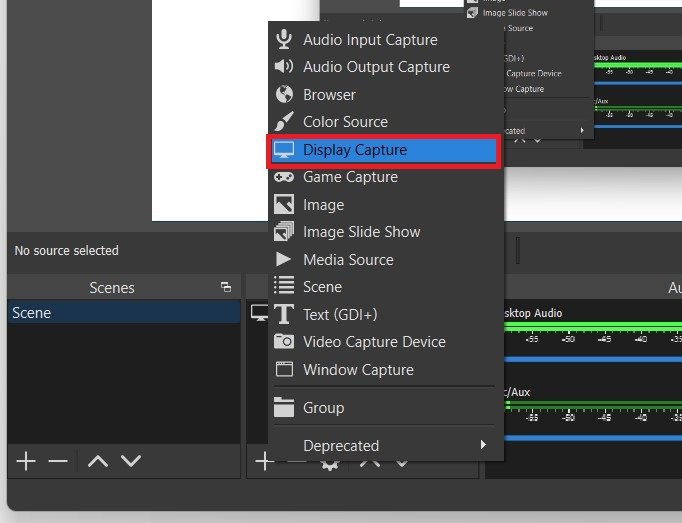
OBS Studio > Sources > Display Capture
This capture option is widely used to record your screen. Name it whatever you want, select the screen you wish to record, to capture to your cursor or not, and then you should see. In case the capture is not properly resized, then make sure to select the source, and in your preview, use the red borders and corners to make adjustments.
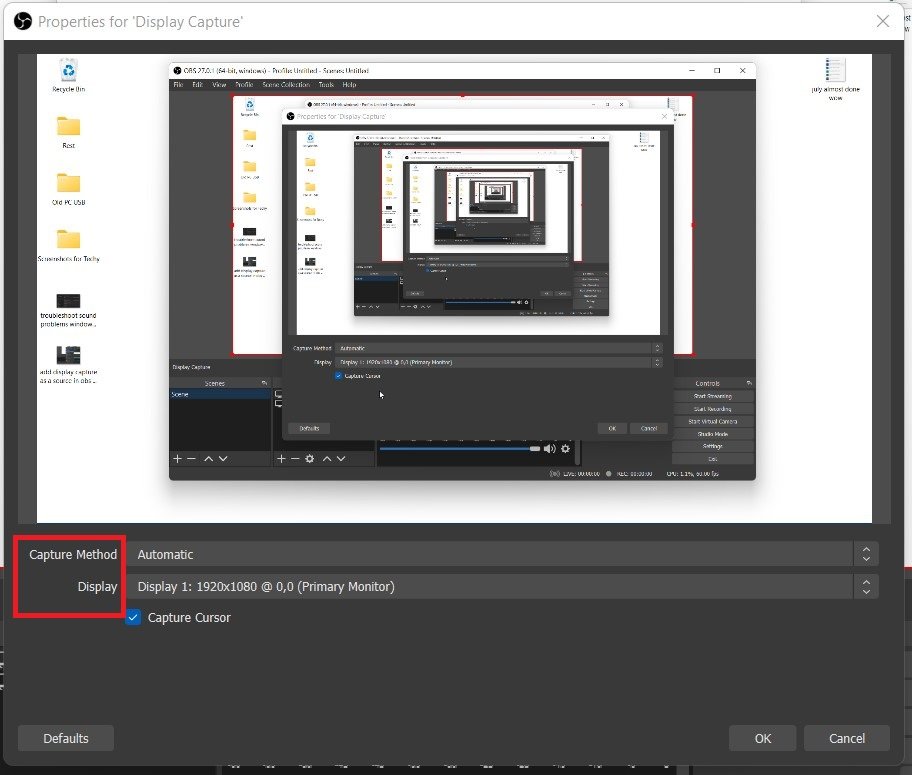
Adjust the display capture preferences
OBS Studio Microphone & Audio Output Setup
Ensure that OBS is picking up your PCs and mic sound. In your Audio Mixer, navigate to your Desktop audio properties. You have the option to select which output you wish to record. In most cases, you will want to use the same output you are using. Under mic/auxiliary, select your default microphone option for Windows 10.
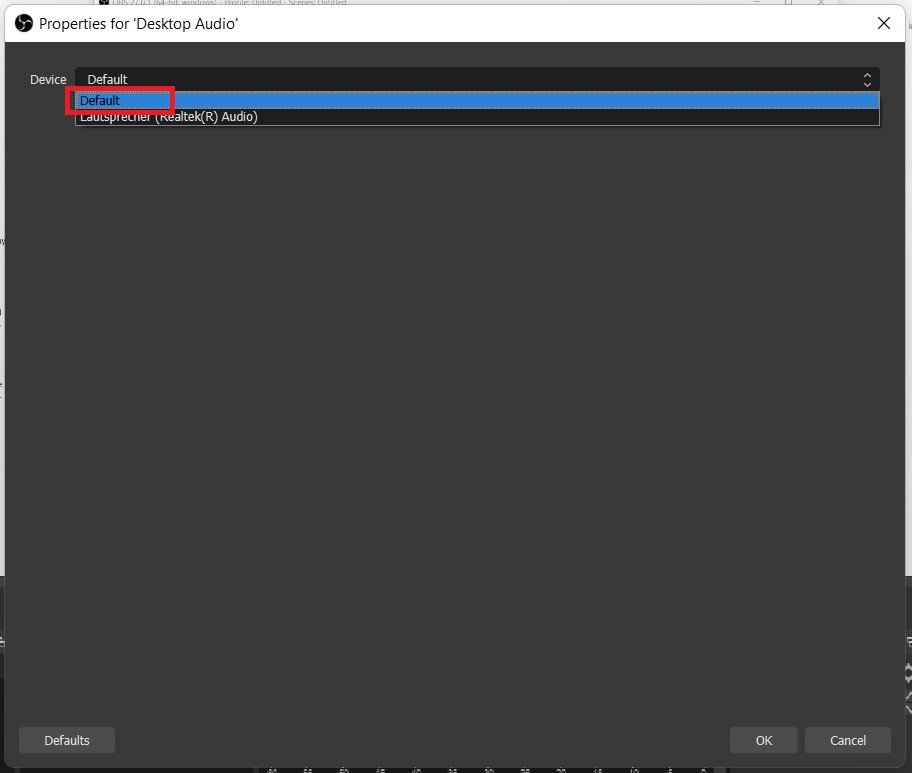
OBS Studio Properties for “Desktop Audio”
Optimal OBS Studio Output Settings
Lastly, we will take a quick look at your OBS Studio settings. Under Output, set the Output Mode to Advanced and in the Recording section, set the type to standard. Set the recording path to where you want your recordings to be saved. If you plan to make many recordings, we suggest using a file path in your storage partition with the most available space. We prefer to use .mp4 as my recording format, as the file size remains low compared to other formats, and it’s usable in every video editing software.
Set your encoder to NVENC, in case you’re using a powerful enough NVIDIA Graphics card; otherwise, use x264 to utilize your processor to encode your recordings. When using an abnormal native screen resolution, rescale your output to 1920x1080. Below, set the rate control to CBR which stands for constant bit rate, bitrate to around 10’000 when recording in 1080p. This means that OBS will use up 10mb of storage for every second you record.
When reducing this option to, let’s say, 5000, then your recording will look washed out with less detail, but when setting it too high, then your file size will be too big, and your system will have issues recording. I like to use 20’000 to get a slightly better image.
Set your keyframe interval to 2, preset to Quality and profile to main.
For low-end PCs, we suggest using Performance as your preset.
Lastly, set the GPU option to 0 and Max B-Frames to 2.
You should now be able to record your screen in 1080p with a mic using OBS Studio.
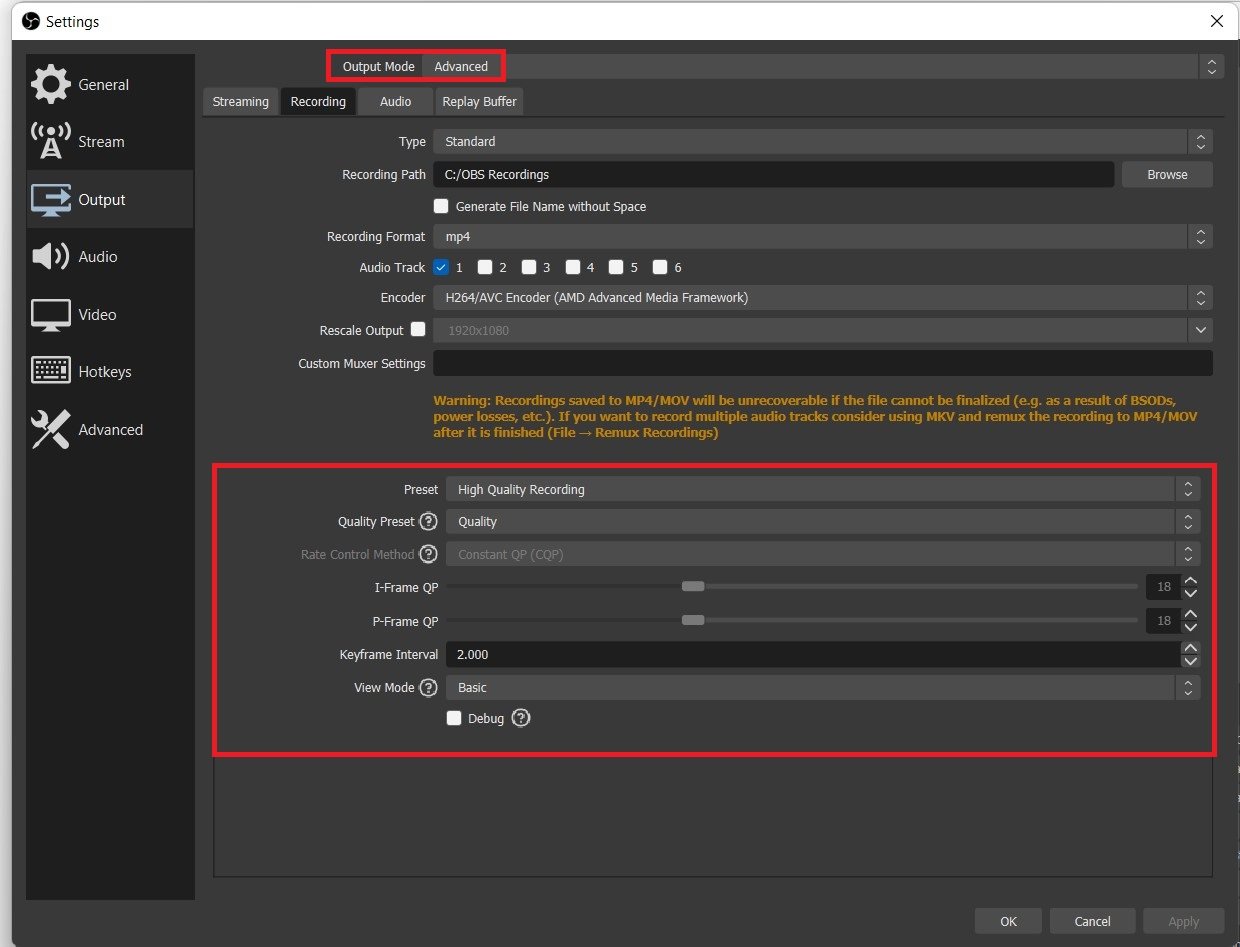
OBS Studio Settings > Output


