Photoshop CC - How To Use the Blur Tool

Photoshop CC is a powerful application that offers a wide range of tools and features for enhancing and manipulating digital images. One such tool that has gained immense popularity among photographers, graphic designers, and artists is the Blur Tool. With its ability to selectively blur parts of an image while keeping the rest in focus, the Blur Tool has become a go-to option for creating stunning visual effects and adding depth to photos.
Whether you are a beginner or an advanced Photoshop CC user, learning to use the Blur Tool can significantly enhance your creative output. In this article, we will take a closer look at the Blur Tool in Photoshop CC, exploring its various settings and applications. We will also provide step-by-step instructions on using the Blur Tool effectively, including tips and tricks for achieving the best results.
Photoshop CC: Understanding The Blur Tool
After importing your image to Photoshop, we suggest duplicating the image layer, in case you make a mistake. Simply right-click the layer and select Duplicate Layer.
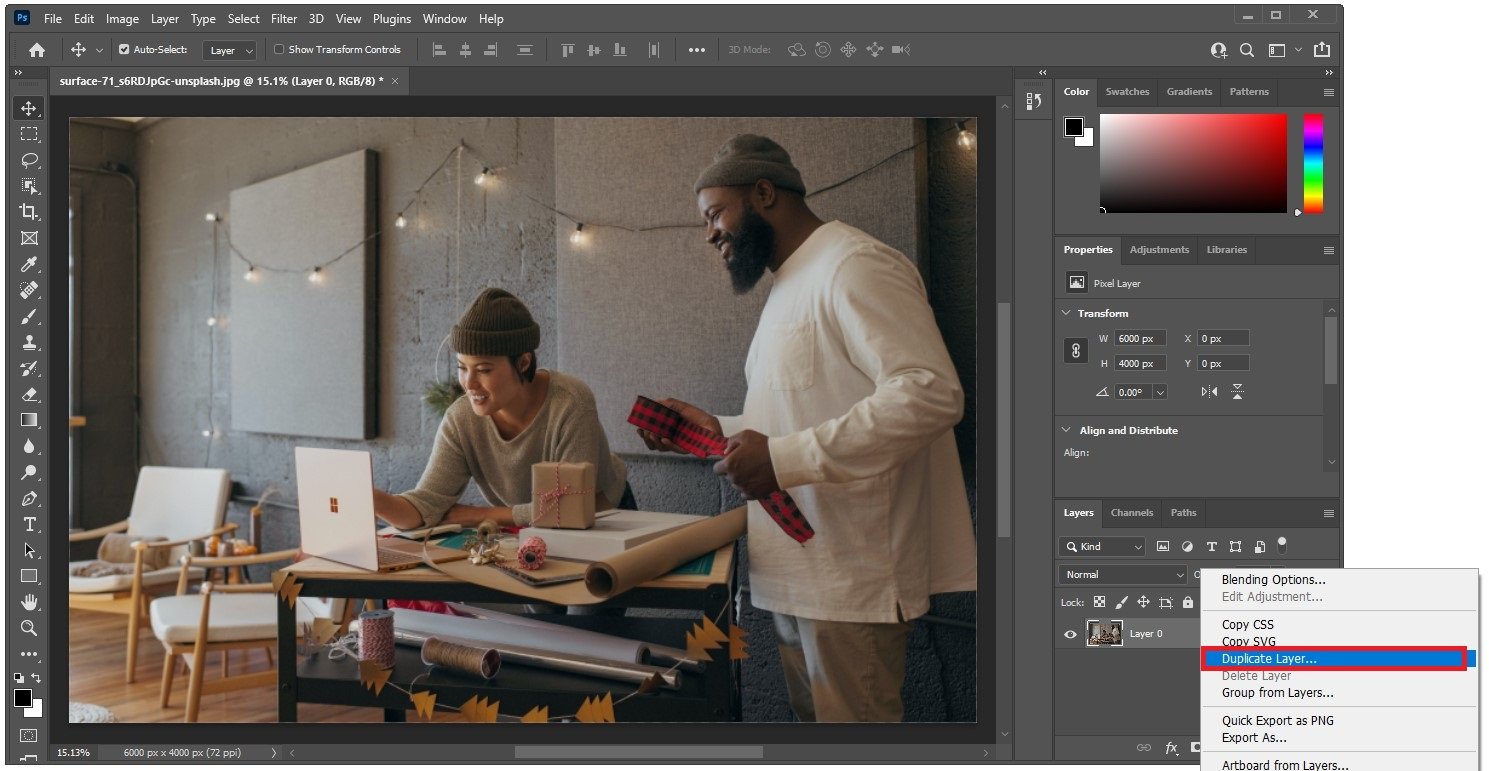
Duplicate the layer for added safety
Select the top image and in your toolbar, select the Blur Tool.
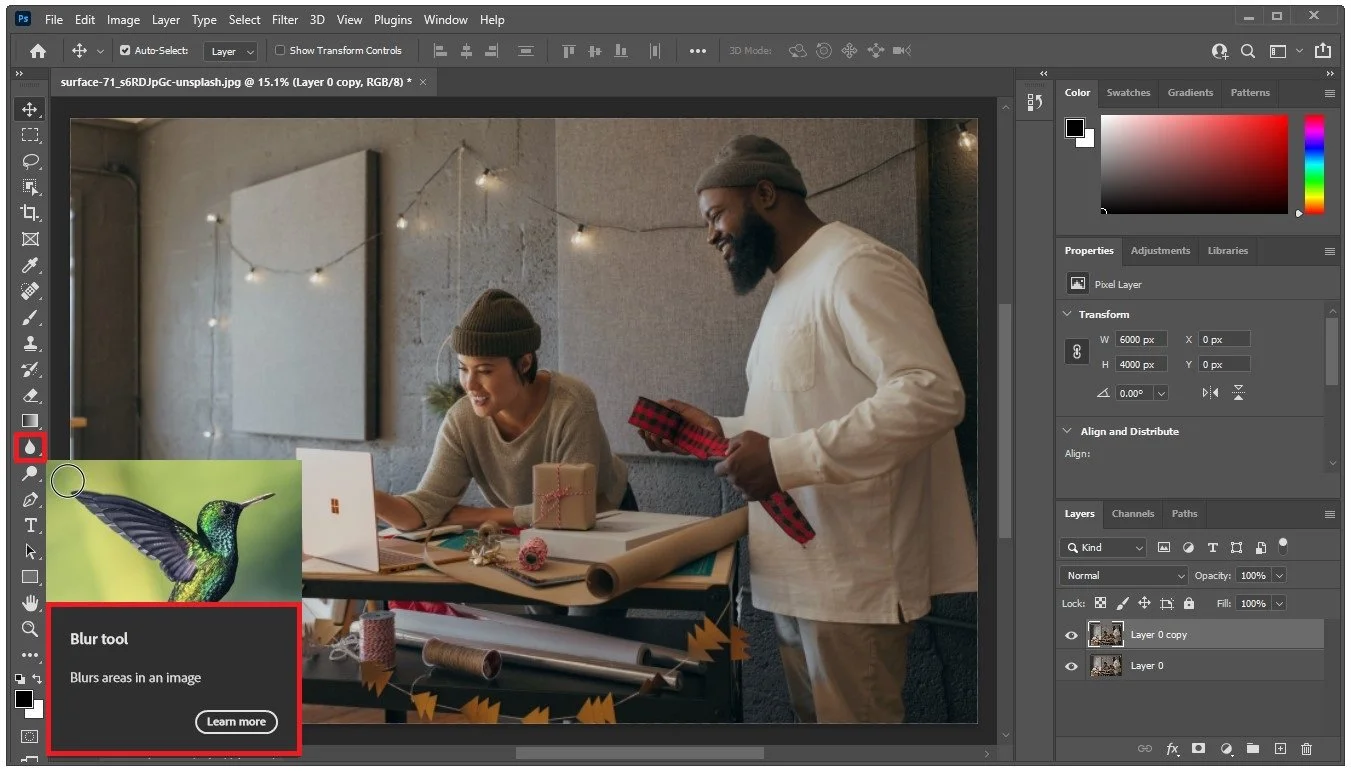
Select the Blur tool
In case you’re unable to find it, then make sure to locate it under Edit Toolbar.

Customize Toolbar > Blur Tool
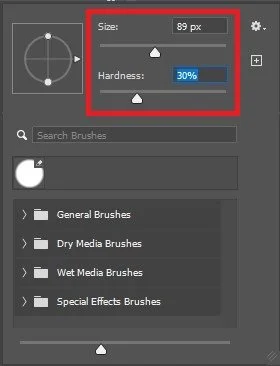
After selecting the Blur Tool, you can see the blur radius with this circle. You can change the radius with this slider system, and below, we like to use a hardness of about 30%.

Phtoshop menu > Blur Tool > Hardness
You can proceed to left-click and hold to apply the effect on your image. You can also hide the layer when clicking on the eye icon to see how the original looks.
Apply the blur to your image