Fix Lag on Photoshop in Windows 11
If you're a Windows 11 user, you may have noticed that running Adobe Photoshop can be frustrating due to lagging issues. Whether you're a graphic designer or a photographer, lagging can seriously hinder your workflow and productivity. Fortunately, there are some effective methods to fix this problem and ensure that your Adobe Photoshop works smoothly on your Windows 11 computer. In this article, we'll explore various solutions to help you fix lag on Photoshop in Windows 11.
Optimize your Photoshop Preferences
After launching Photoshop, navigate to Edit > Preferences > General, or use the shortcut CTRL & K.
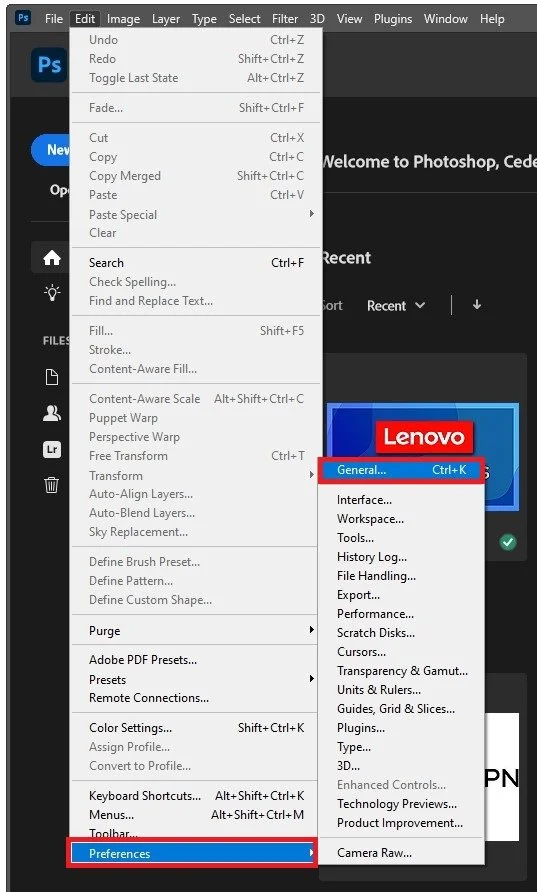
Photoshop > Edit > Preferences
On the settings window, under Performance, allocate more memory for Photoshop. You can preview your available RAM on the top. Your ideal range is below, and you can choose how much memory Photoshop is allowed to utilize below. Set this value to around 80% of your available memory. For users with 16GB of RAM or more, set the option to around 12GB, which should be more than enough.
Under Graphics Processor Settings, check the Use Graphics Processor option. Below, under History & Cache, set the History States option to around 10. This will determine how many times you can undo your action. Reducing this option can significantly increase your Photoshop performance and fix lag.
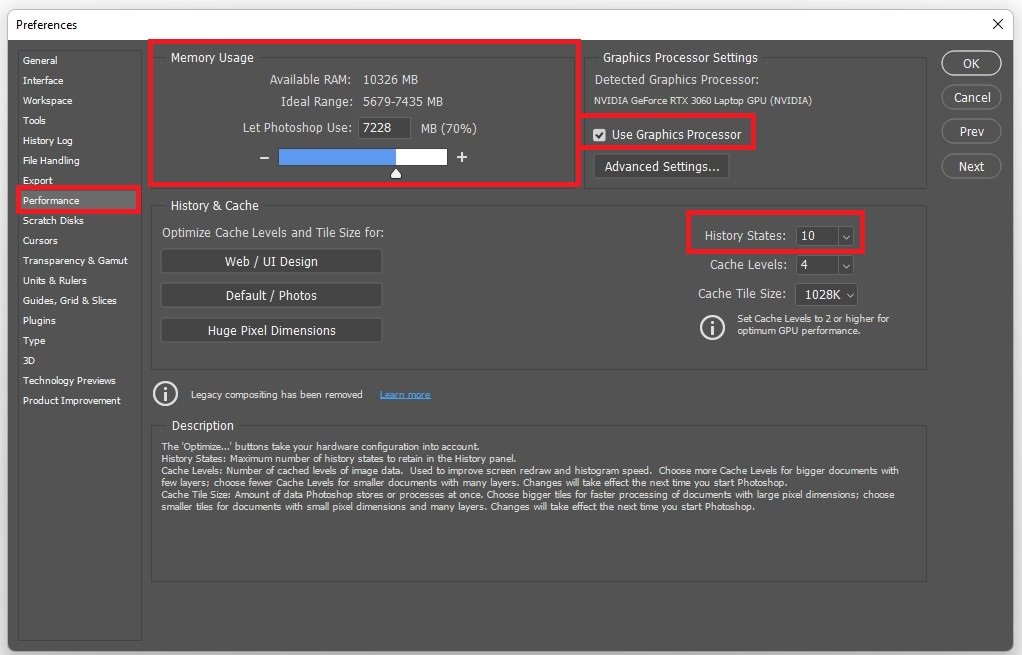
Photoshop Preferences > Performance > Memory Usage
Under Scratch Disks, check your C: and D: drive, and close your Photoshop settings. You should also prevent having too many different Photoshop projects open simultaneously.
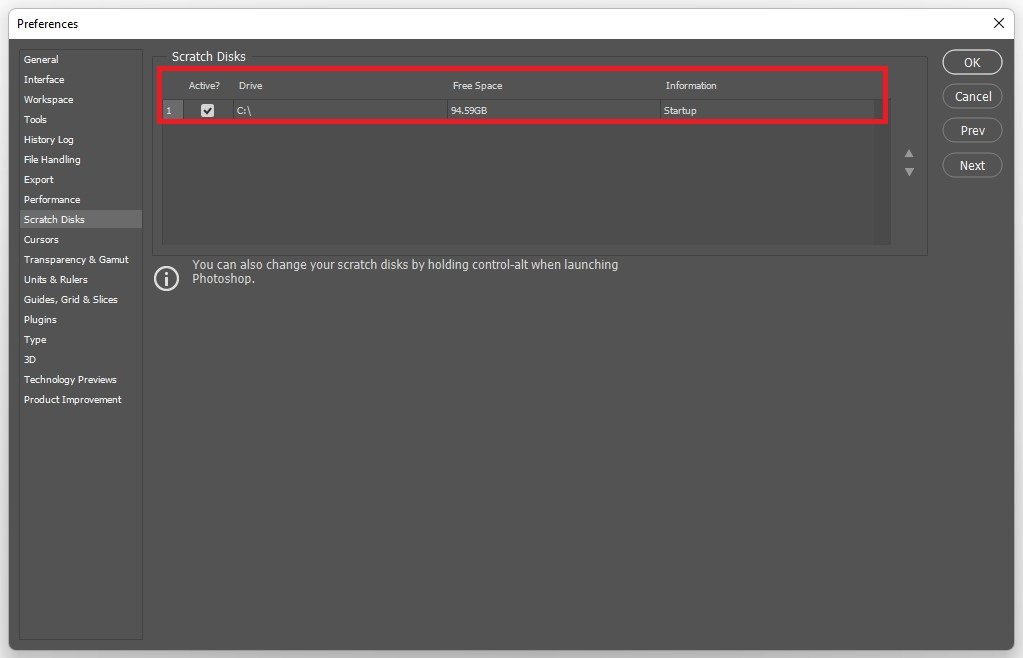
Photoshop Preferences > Scratch Disks
End Resource-Intensive Processes
We suggest preventing resource-intensive apps from running on your PC while using Photoshop. Right-click your start icon and select Task Manager. In the Processes tab, end applications from running that could use up your available resources, such as Google Chrome, Steam, Skype, or other Creative Cloud apps. Ensure only to end processes you know won’t break your operating system.
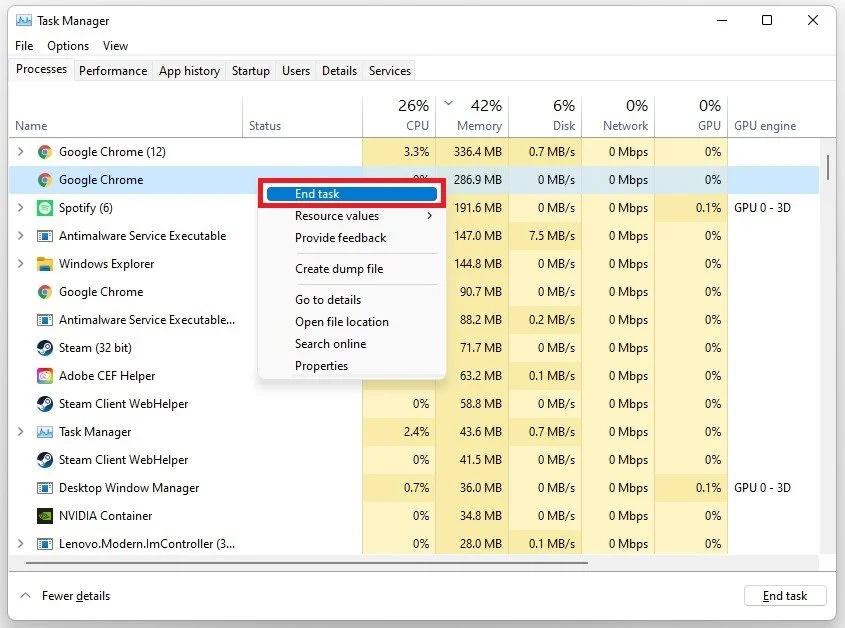
Task Manager > Processes > End Task
Update Photoshop Application
Open up your Creative Cloud application. In the Updates tab, ensure that your Photoshop application is up to date. If this is not the case, click on Update, and the application will take a few minutes to download and install the latest update.
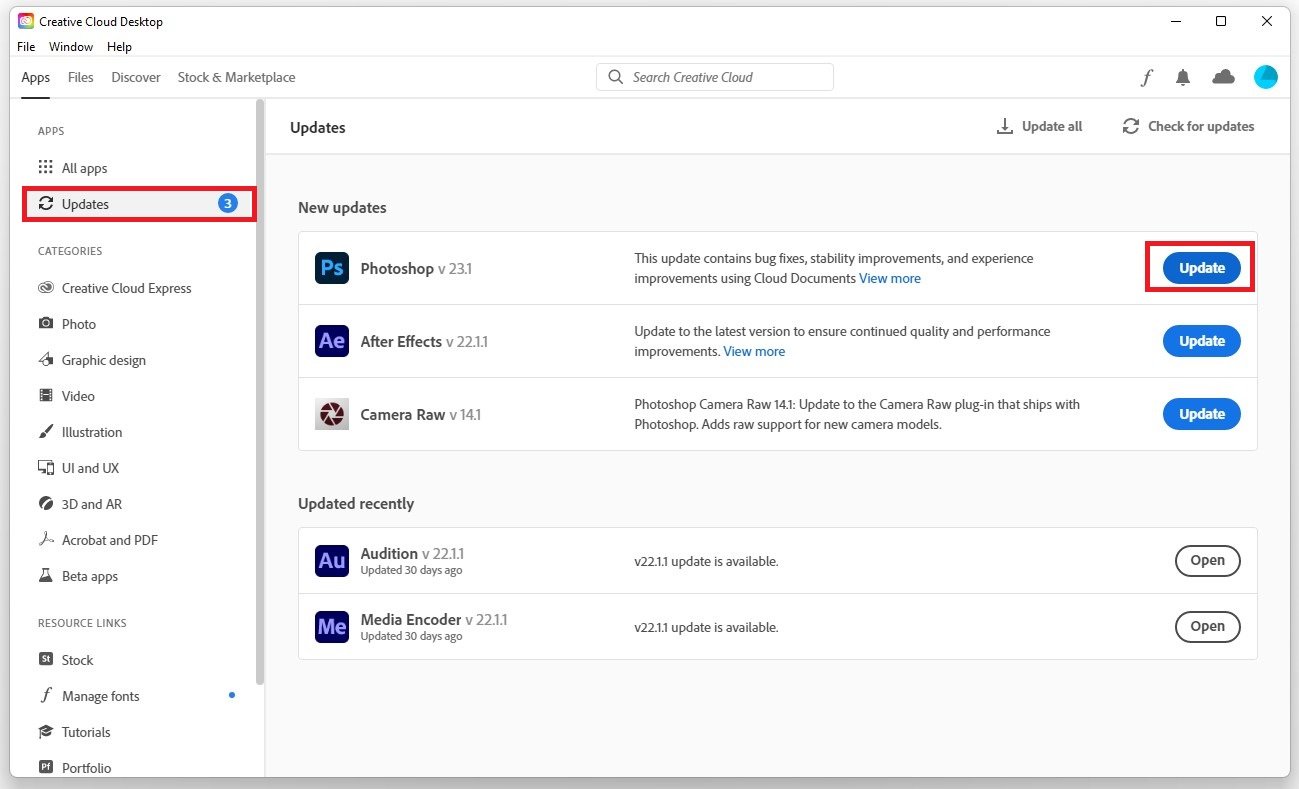
Creative Cloud > Updates
Update Windows Operating System
Ensure that your Windows operating system and graphics driver is up to date. Search for Update in your Start Menu search and select Check for Updates. In your system settings, click Check for updates, Download, or Install now. Restart your system to install the latest Windows update when the download is completed.
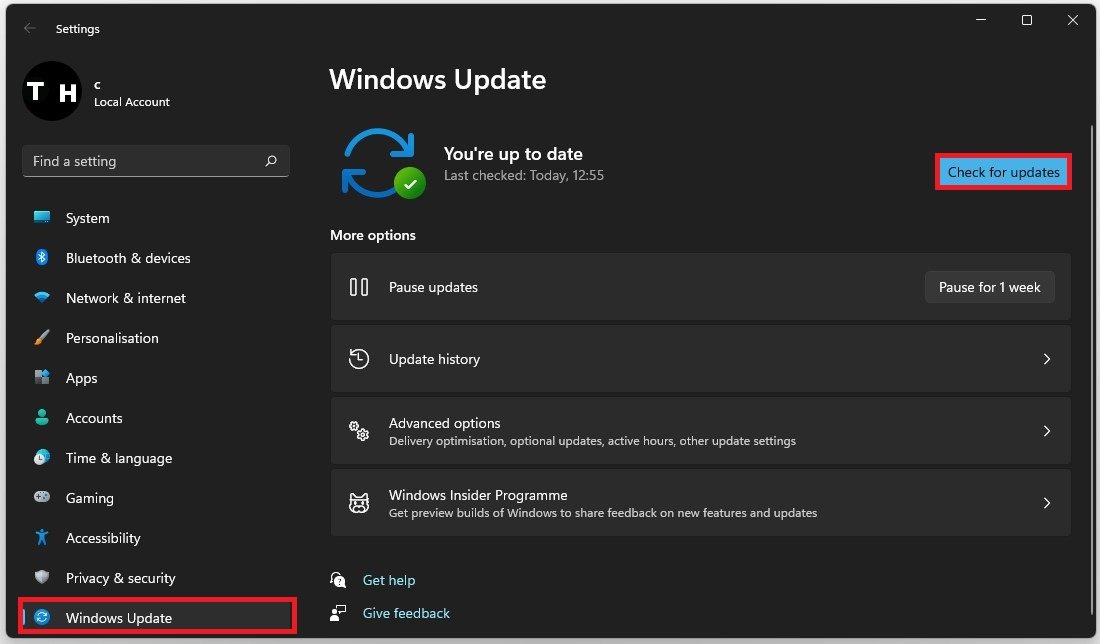
Windows Settings > Windows Update
Update your Graphics Card Driver
Ensure that your graphics driver is up to date. Open up your Device Manager. On this window, expand your Display Adapters. Right-click your Graphics Card and select Update Driver. Ensure to Search automatically for drivers.
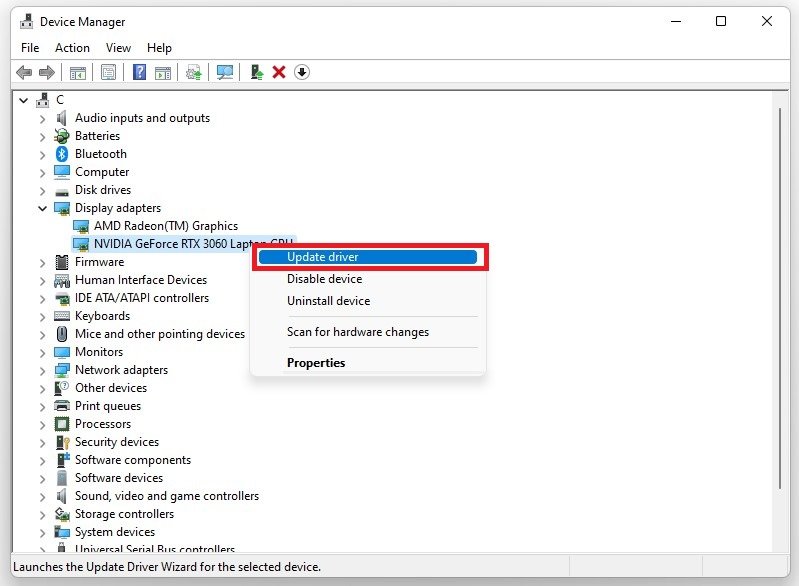
Device Manager > Display Adapters > Update Driver
For NVIDIA GPU users, we recommend making use of the GeForce Experience application. In the Drivers tab, click on Download. This will automatically download and install the latest GPU drivers and should fix lag issues with Photoshop on your PC.
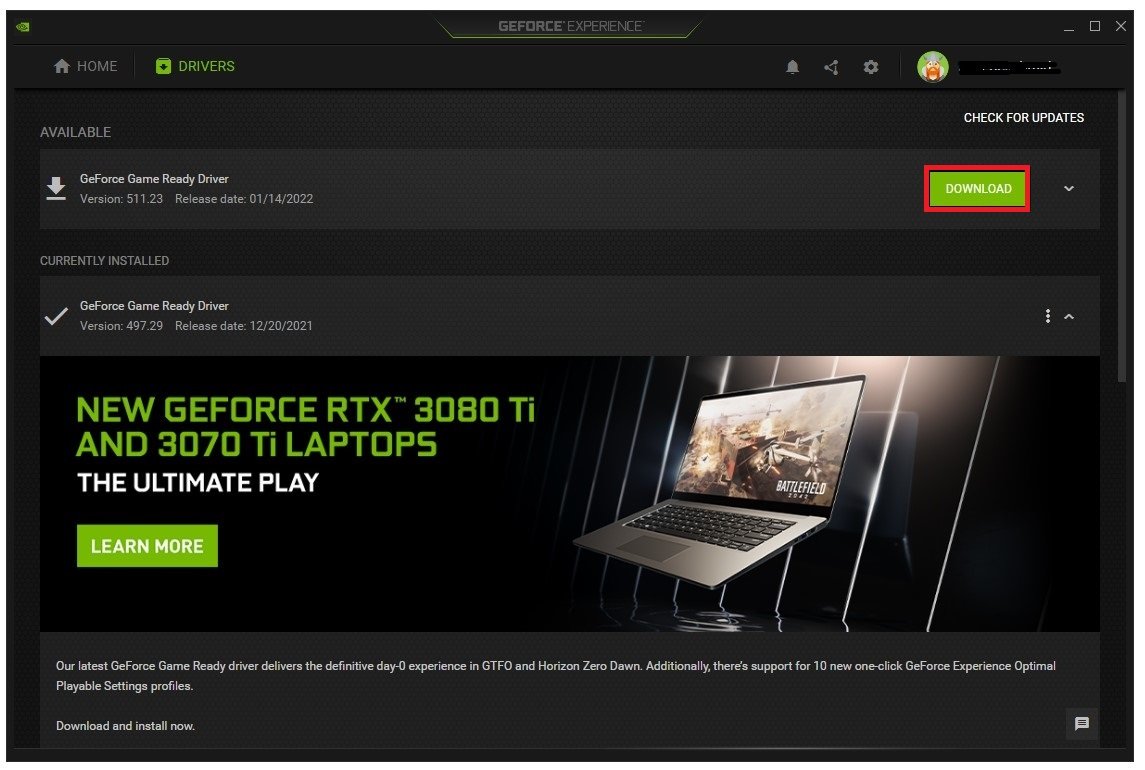
GeForce Experience > Drivers > Download