How To Record Minecraft for Free with OBS

Are you an avid Minecraft player who wants to share your gaming adventures with the world? Or perhaps you're a content creator who wants to produce Minecraft tutorials or let's plays? Whatever your reason, recording your Minecraft gameplay is a great way to showcase your skills and share your passion for the game. And the best part? You can do it for free using OBS, the open-source video recording and live streaming application.
In this article, we'll show you how to use OBS to record Minecraft gameplay on your PC, step by step. We'll cover everything from setting up OBS to configuring your settings and exporting your recorded video. So whether you're a seasoned Minecraft player or a complete beginner to video recording, this guide will help you get started.
Download & Install OBS to Record Minecraft
If you don’t have OBS installed on your PC, navigate to obsproject.com. You can download the installer for Windows, macOS or Linux. The download will take a minute, and your browser can help you find your downloaded files. After the installation, double-click the icon to open up OBS.
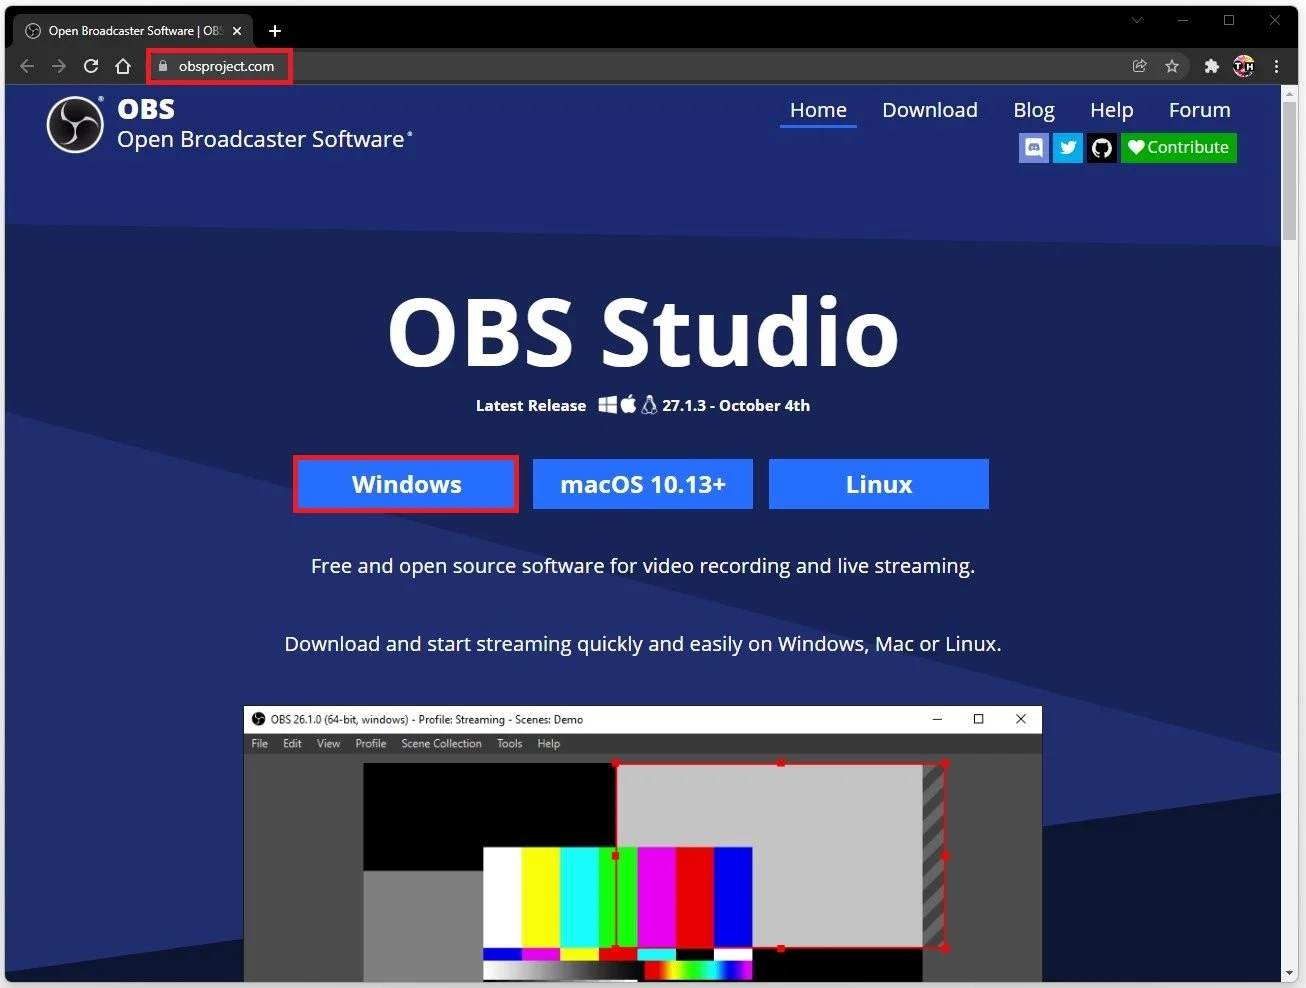
Download the OBS Studio installer for your operating system
Setup OBS to Record Minecraft
Ensure you have a scene set up. A scene is composed of different sources. We will create a scene to record the computer screen by clicking on the plus icon to create a new scene. You could also rename your existing scene.
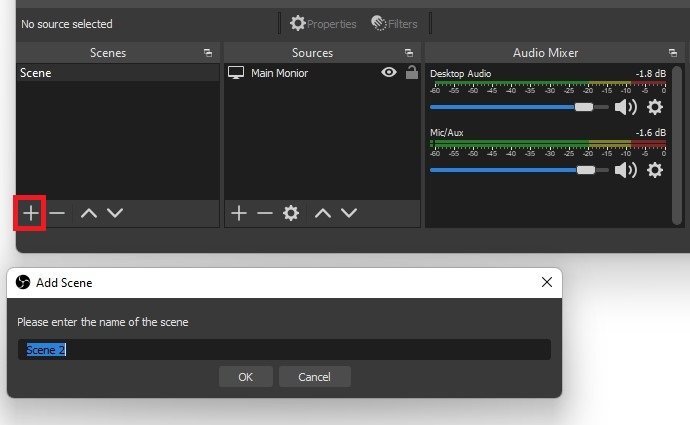
OBS Studio > Add a Scene
Display Capture Source
We will need to add a Display Capture source. Name it whatever makes sense for you. I will call it Main Monitor.
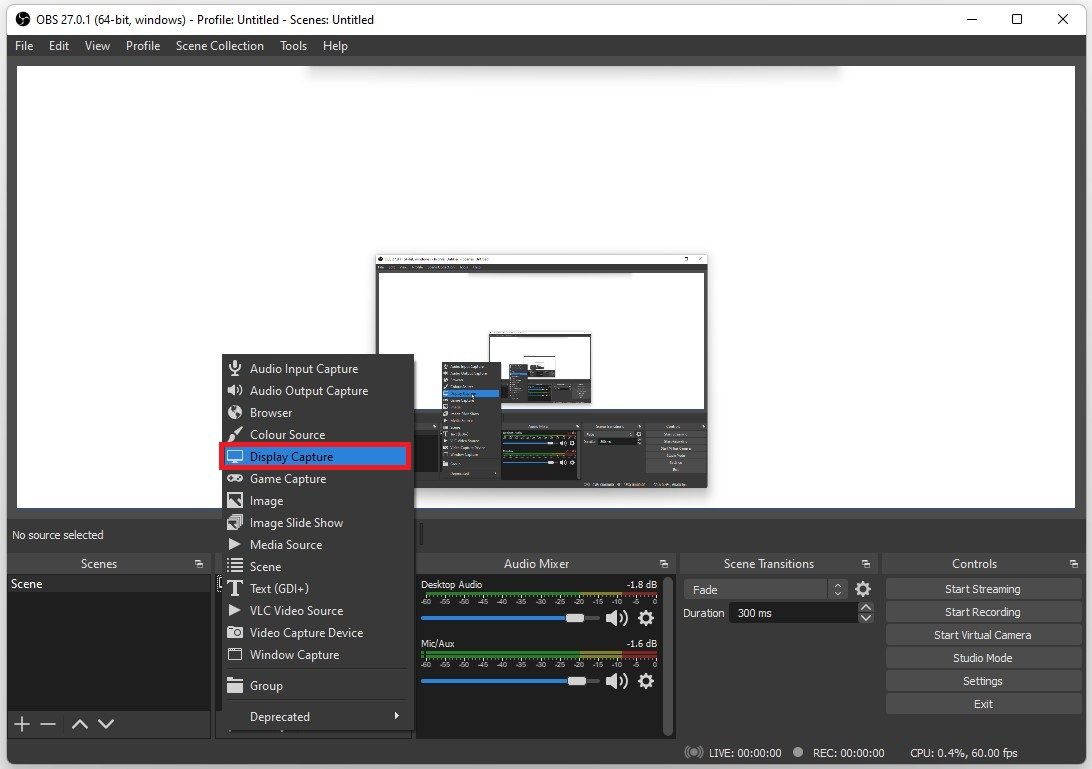
OBS > Sources > Display Capture
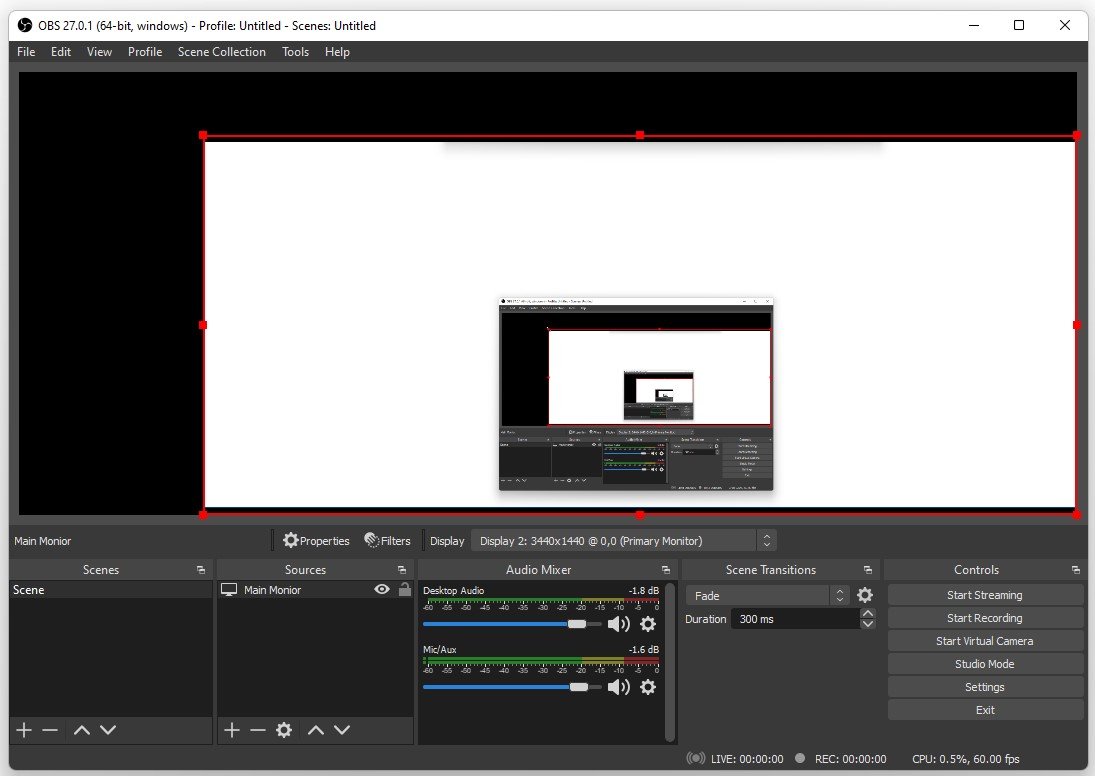
Click on Ok, and leave the Capture Method option to Automatic if this option is available for you, and below select the correct Display which should be captured. You also have the option to prevent OBS from recording your cursor, but we prefer to keep the option enabled. When clicking on Ok, the source will be added and you should be able to see your screen.
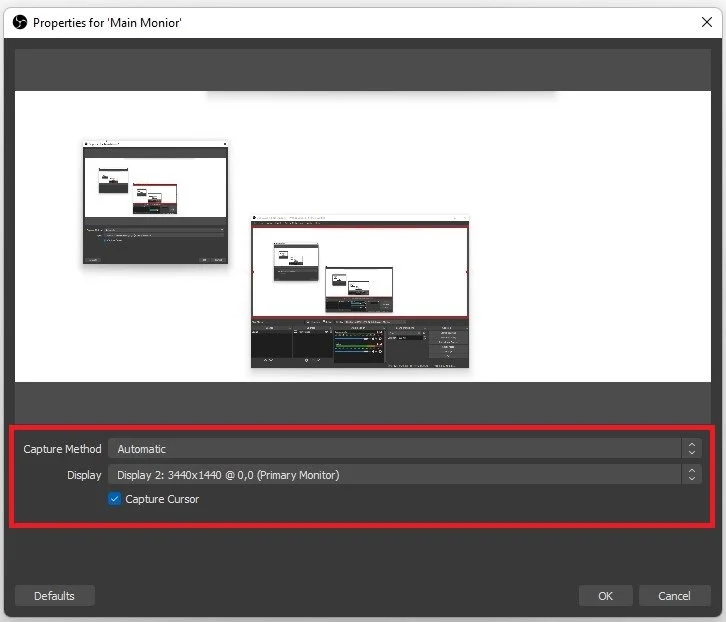
Properties for the display capture OBS source
Game Capture Source
You can add a Game Capture source, which only records your Minecraft window and not the entire screen. This can be beneficial when not playing in fullscreen mode. To do so, ensure Minecraft is running in the background and then select to create a new Game Capture.
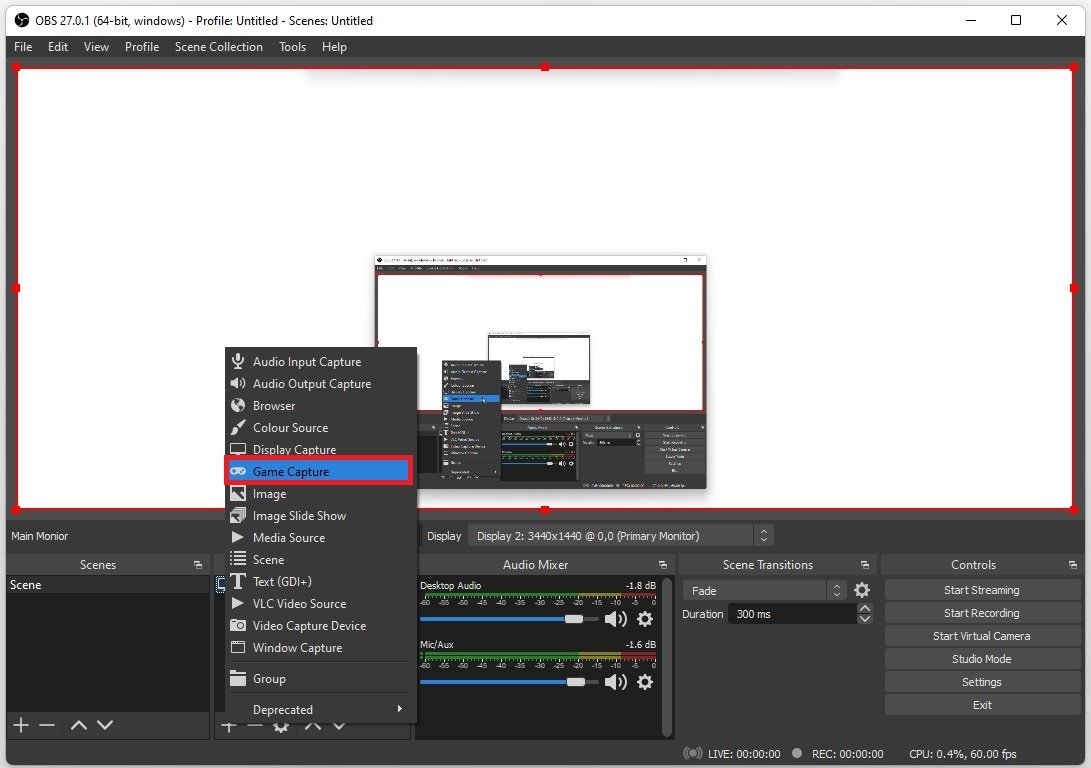
OBS Studio > Sources > Game Capture
Name the scene whatever makes sense to you and click on Ok. Under Mode, select Capture specific window. Below, under Window, choose the Minecraft.exe window. When clicking Ok, you should see the Minecraft window in your OBS preview.
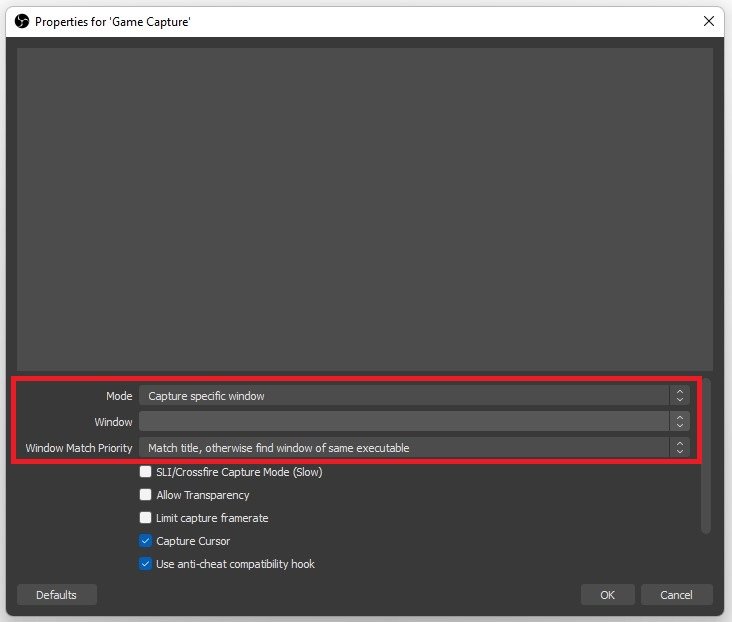
Game Capture source Properties in OBS Studio
How To Resize the OBS Sources
If you are using an abnormal screen resolution, or if OBS is displaying a zoomed-in screen for other reasons, you can resize and change the way OBS records your screen. Click and drag the handles on the sides to resize your image. You can also use the shortcut CTRL + F to zoom out and recenter your screen recording image quickly. When holding Shift while resizing, the image will recenter and adjust the image to the height of the recording canvas.
Change the size of OBS sources
OBS Video Capture Device Source
You can add additional sources, such as a Webcam. Add a Video Capture Device.
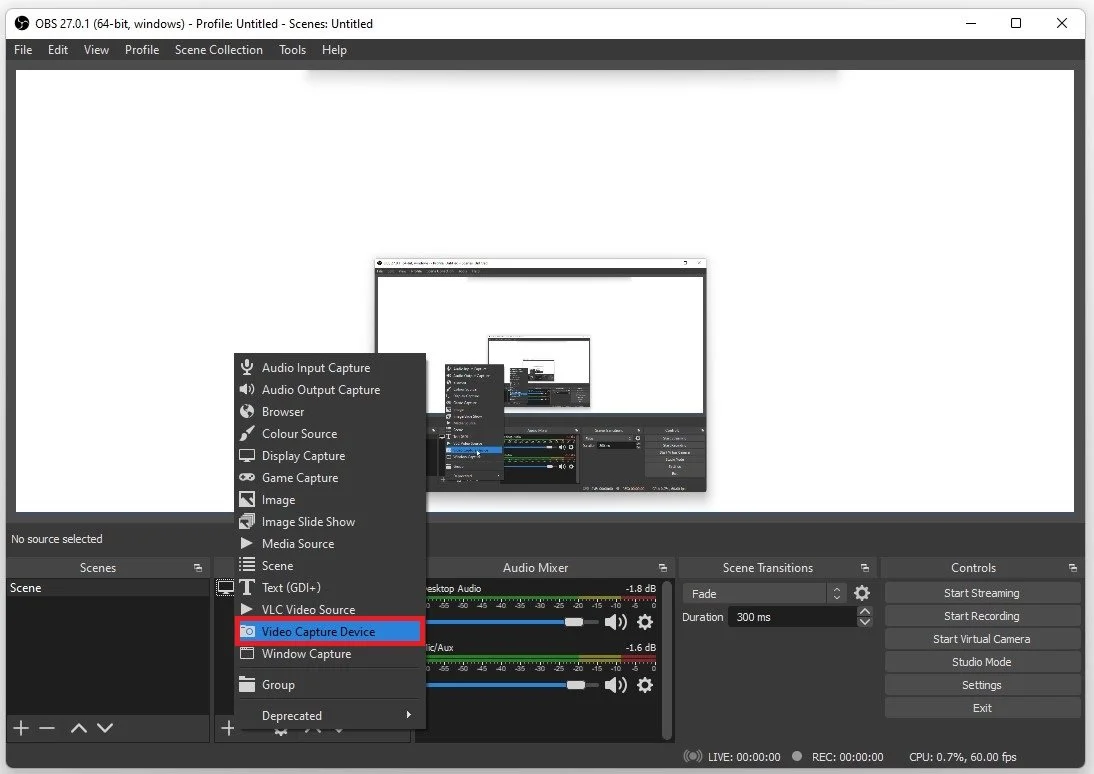
OBS > Sources > Video Capture Device
OBS Studio Audio Mixer
You should now move your attention to the Audio Mixer panel. This will allow you to decide which audio sources will be picked up by OBS and ensure none of the sources are too loud or too quiet.
Your Desktop Audio is the sound from your PC. Your Mic / Auxiliary slider lets you change your microphone input volume. You might have other audio sliders below, such as your Video Capture Device, your webcam or another microphone.

OBS Studio > Audio Mixer > Filters
When clicking on the gear icon of your Microphone sound input, you can add filters that will allow you to improve your overall microphone quality by using a Noise Gate, Limiter, or Compressor.
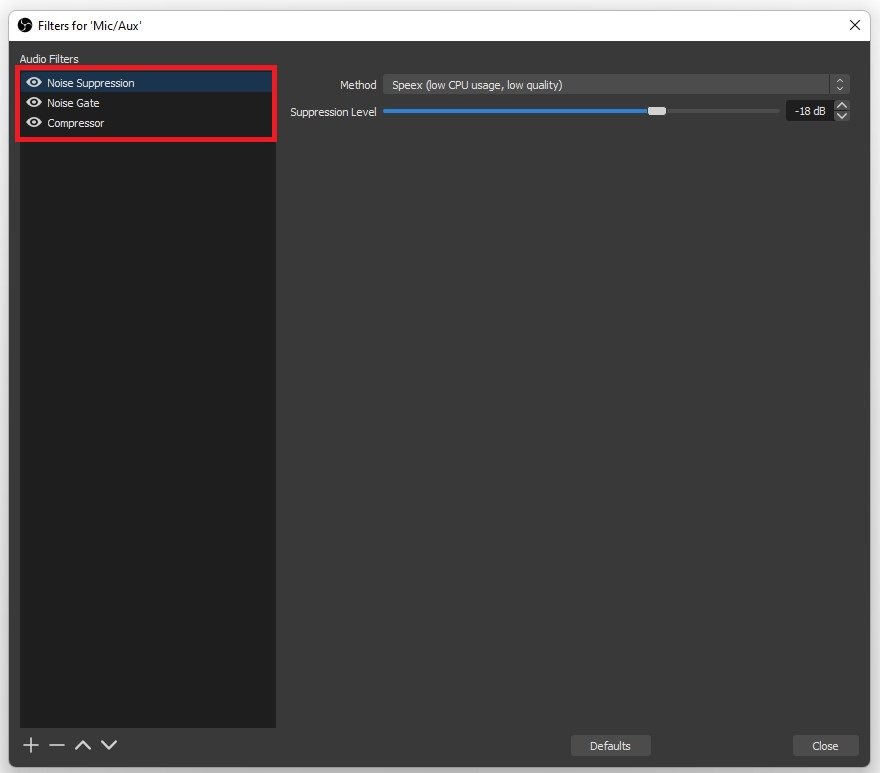
Filters for your audio input device in OBS
Run the Auto-Configuration Wizard
To quickly optimise your OBS recording settings, use the Auto-Configuration Wizard.
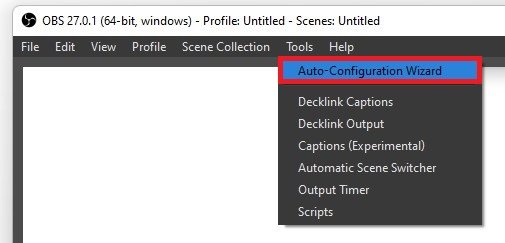
OBS Studio > Tools > Auto-Configuration Wizard
Under Tools, select the Auto-Configuration Wizard option, and you will be presented with three options. According to your preference, OBS will adapt your recording settings. In this example, we will Optimise OBS for recording and not streaming, so choose this option if it’s according to your preference.
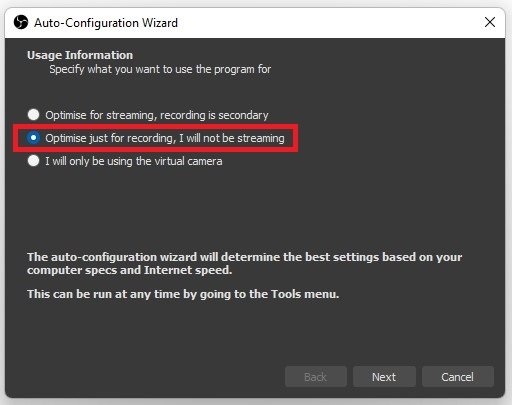
Auto-Configuration Wizard > Optimise for Recording
Click on Next, and set the Base, or Canvas resolution to your native monitor resolution. Set your FPS option to 60 or 30, but prefer 60 when possible. This will allow OBS to choose the best option, depending on your CPU and GPU usage.
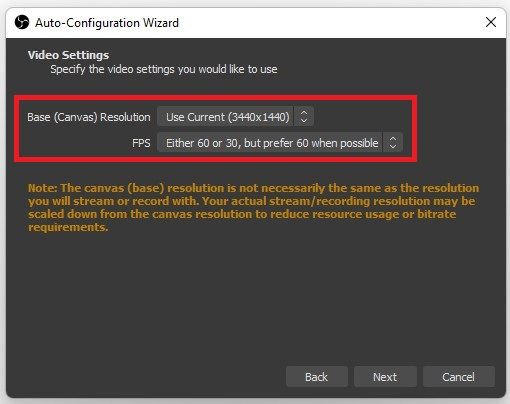
Auto-Configuration Wizard > Resolution
Best OBS Settings to Record Minecraft
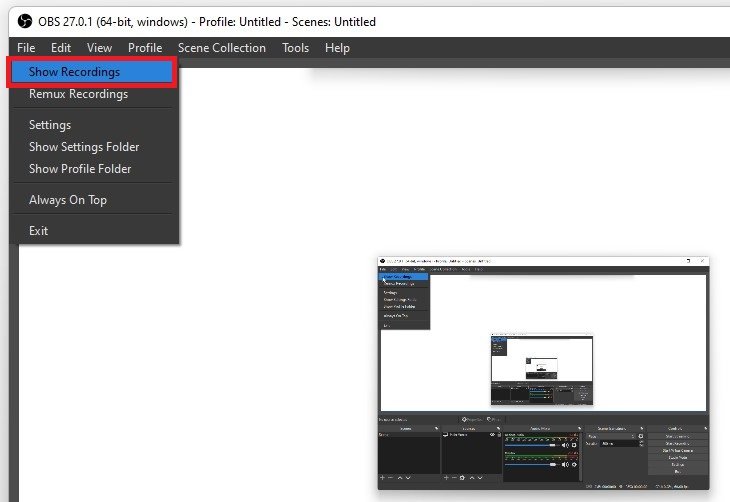
To record your Minecraft gameplay, select Start Recording and Stop Recording again when you’re done. When navigating to File, you can choose Show Recordings, which will open up your default folder where OBS recordings will be saved.
Start / Stop / Show Minecraft Recording
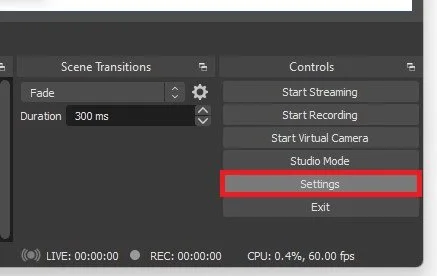
To add shortcuts to start and stop recordings or to change your default folder, open up your Settings.
OBS Studio > Settings
OBS Output Settings
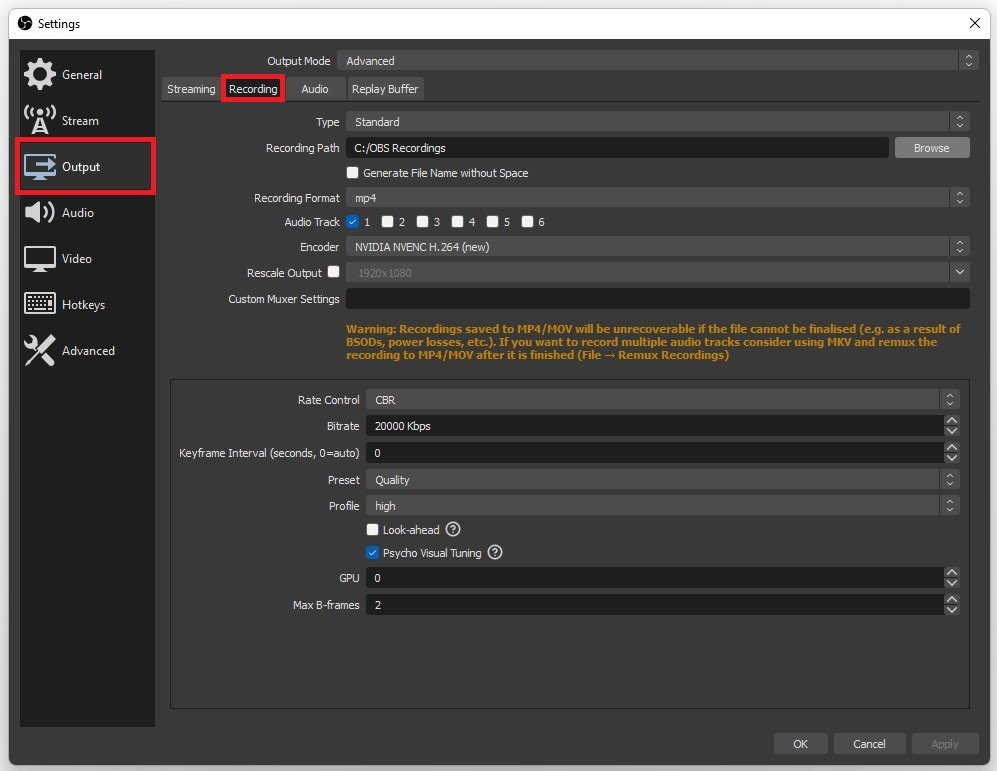
Under Output, navigate to the Recording tab. You have the option to change your Recording Path. Click on Browse, and choose an existing or create a new folder in your file explorer to where your OBS recordings should be saved.
OBS Studio Settings > Output > Recording
OBS Video Settings
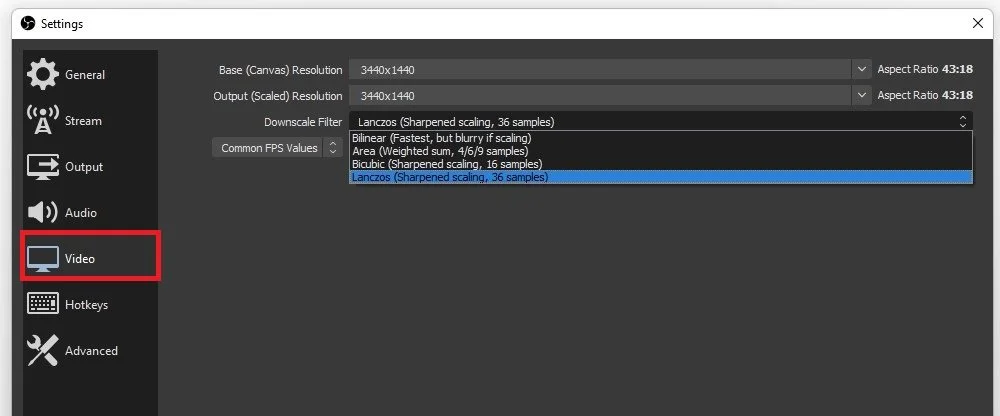
Under Video, you can rescale your output resolution if you wish to do so. For example, this can be helpful for users with a widescreen aspect ratio. We prefer the Lanczos Downscale Filter, as it will provide the sharpest recorded video, but you might want to reduce it to Bicubic if you’re using a low-end PC.
OBS Settings > Video > Downscale Filter
OBS Hotkeys Settings
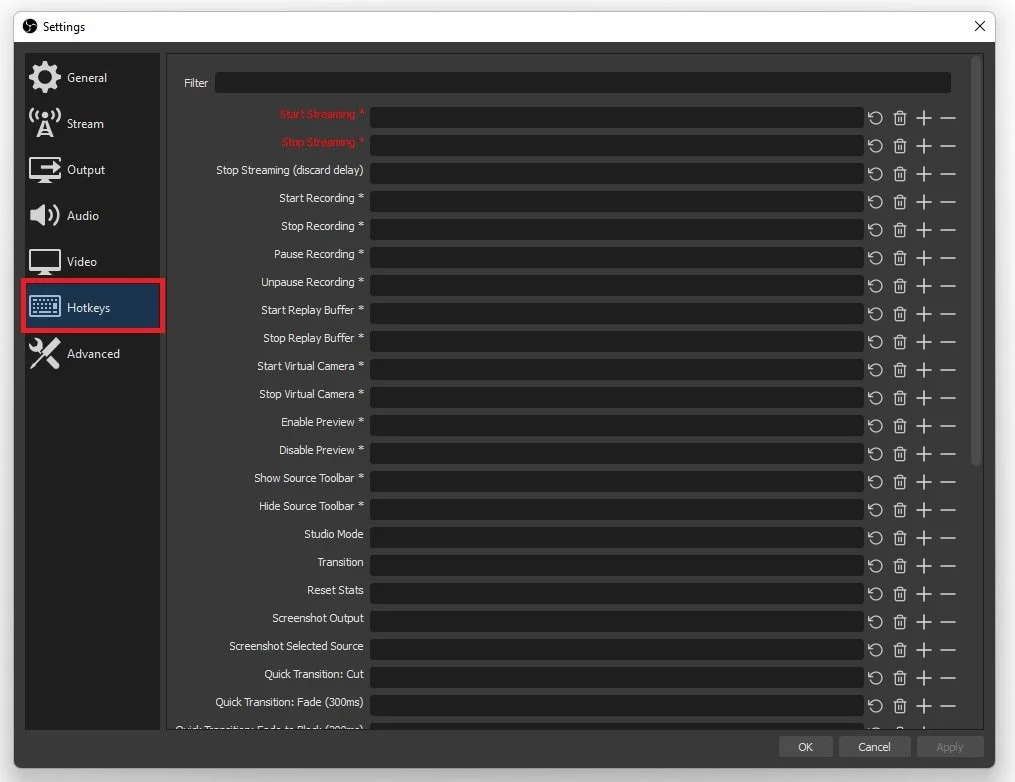
Under Hotkeys, you can set custom shortcuts to start and stop streaming, start and stop recording, pause your recording, and much more.
OBS Settings > Hotkeys
OBS Advanced Settings
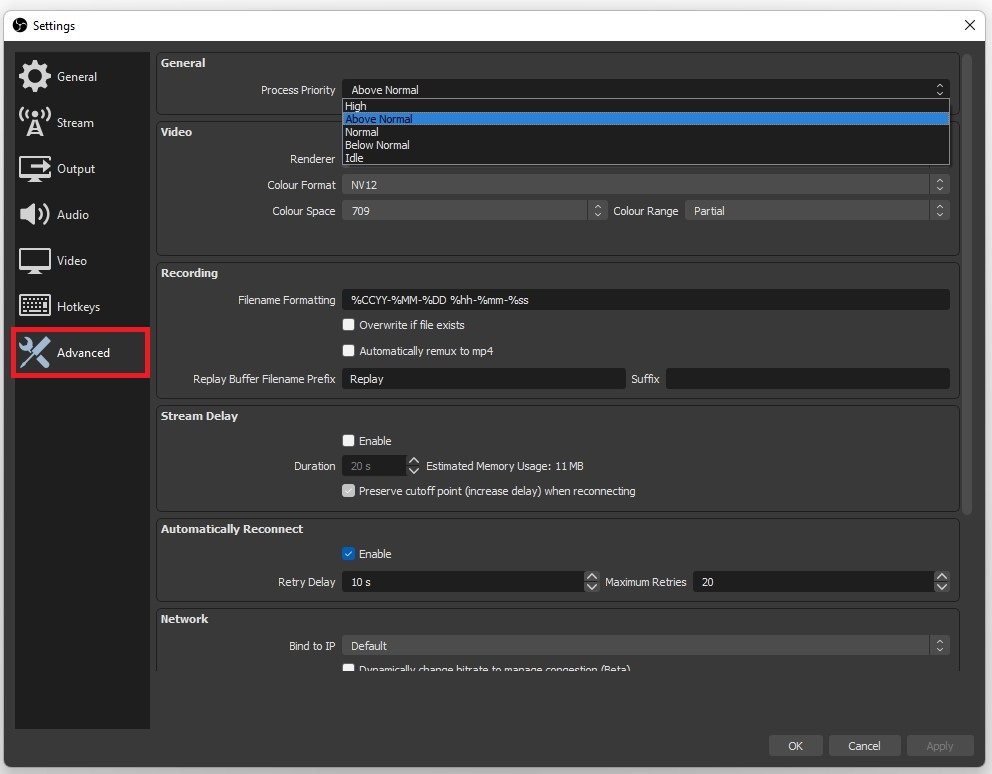
Under Advanced, we suggest setting the Process Priority option to Above Normal. This will ensure that OBS will run fine if other resource-intensive applications are also running on your PC. After applying your changes, you can record your Minecraft gameplay for free using OBS Studio.
OBS Settings > Advanced
-
OBS stands for Open Broadcaster Software, a free and open-source software that allows you to record and stream video content. It works by capturing your computer screen and audio output and encoding it into a video file or stream that you can share with others.
-
Yes, OBS is safe to use, and it's widely used by gamers, content creators, and live streamers worldwide. You can download OBS from the official website at obsproject.com.
-
Yes, you can use OBS to record Minecraft gameplay on a Mac. The process is similar to recording on a PC, but you may need to adjust some settings to ensure compatibility with your Mac system.
-
OBS is a lightweight software that doesn't require a powerful computer to run. However, it's recommended to have a CPU with at least four cores and 4 GB of RAM to ensure smooth recording and streaming performance.
-
Once you've recorded your Minecraft gameplay using OBS, you can edit your video using video editing software such as Adobe Premiere Pro, Final Cut Pro, or iMovie. You can trim, cut, add effects and transitions, and export your video in various formats for sharing.