Easily Create a Painting Effect in Photoshop - Tutorial
Introduction
Immerse yourself in the world of digital artistry with our latest tutorial on how to effortlessly craft a stunning painting effect in Photoshop. Whether you're a seasoned professional or just starting your creative journey, this guide will open the door to a myriad of artistic possibilities, allowing you to transform ordinary images into extraordinary digital masterpieces.
Discover the magic of Photoshop's powerful tools and features as we explore the art of transforming your photos into captivating, painted imagery. This tutorial doesn't merely offer a step-by-step guide; it provides an insightful journey into the heart of digital painting, revealing how you can channel your inner artist and breath new life into your images.
Download the Photoshop Painting Action
Get ready to elevate your Photoshop experience with the dynamic 'Photoshop Painting Action'. This handy tool automates the process of adding intricate brush effects and other fine-tunings to your images, enabling you to create your artistic masterpiece with just a few clicks.
To procure this powerful asset, navigate to the Envato Elements page. As a first-time user, take advantage of their 7-day free trial to not only gain access to the Photoshop Painting Action but also to a vast treasure trove of other addons, plugins, and templates. Explore the limitless opportunities these tools provide, enhancing your work in Photoshop and other creative applications.
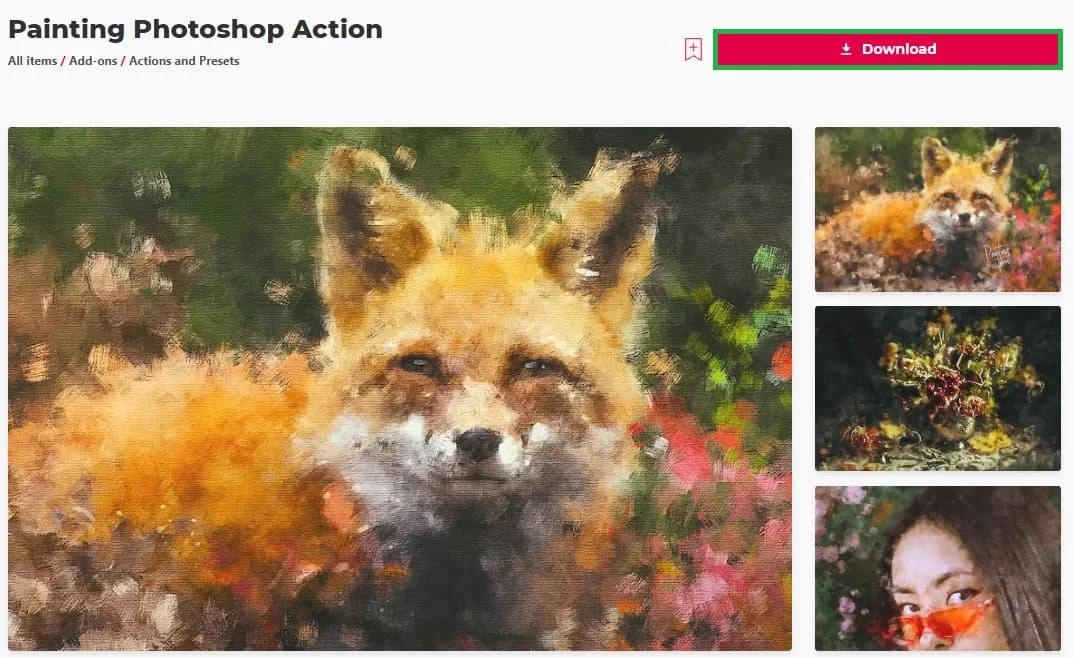
Envato Elements Painting Photoshop Action
Once you've initiated the download, it will seamlessly finish within a minute, landing in your downloads folder. Keep in mind that most files from Envato Elements come compressed for easy download. To access the file, all you need to do is right-click the .zip file and opt to extract it on your Windows PC. If you're working on a Mac, the process remains the same.
Upon extraction, a new folder will emerge, housing your newly acquired Photoshop Painting Action. Now, you're all set to infuse your images with a touch of painted elegance. Enjoy exploring this new facet of your creative journey in Photoshop!
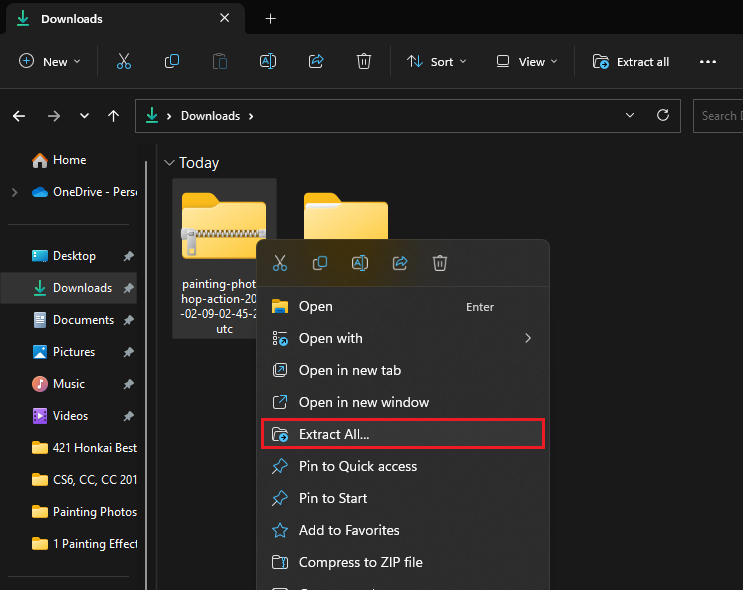
Unzip the downloaded Painting Action
Photoshop Project Preparation & Adjustments
Let's now prepare your image for the transformative journey it's about to embark upon in Photoshop. To begin with, launch Photoshop and open the image you wish to embellish with the painting effect. This could be anything from a scenic landscape shot to a candid portrait, the choice is yours.
The key here is to ensure that your chosen photo forms the 'Background' layer of your project. If it doesn't, navigate the path: Layer > New > Background from Layer. This will help in preserving the integrity of your original image while you work your magic on it.
Set layer as background
Next up, dive into your layers panel and click on the panel menu icon situated at the top right corner. This will lead you to your 'Panel Options'. Here, make sure the 'Add "copy" to Copied Layers and Groups' option is ticked. This step ensures that any changes you make are applied to a copied layer, preserving the original.
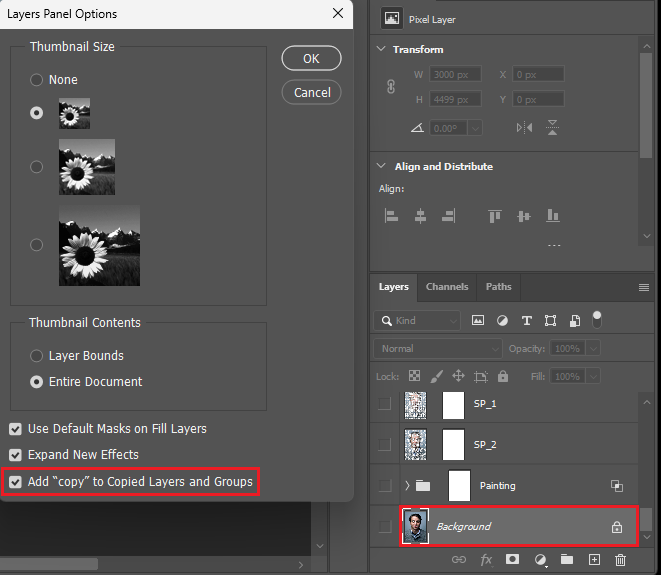
Photoshop Layers Panel Options > Add Copy to Copied Layers and Groups
Now, go to Image > Mode. In this setting, confirm that your photo is being processed in the vibrant RGB Color mode and that it's utilizing the 8 Bits/channel mode. These settings are crucial in retaining the color quality and depth of your image.
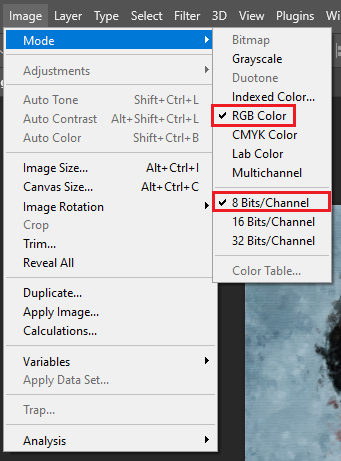
Image > Mode > RGB Mode & 8Bits/Channel
The next tool to acquaint yourself with is the 'Art History Brush Tool (Y)' - a vital instrument in creating the painting effect. Pick this tool from your toolbox and start adjusting its settings. Set the brush size to a generous 250 pixels, the 'Mode' to 'Normal', opacity at a full 100%, style to 'Tight Short', area to a neat 50 pixels, and the tolerance option to 0%. These settings will help in achieving a detailed and realistic painting effect on your image.
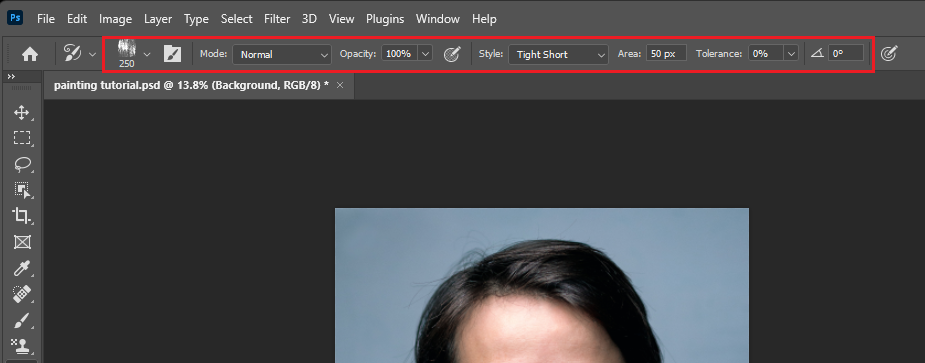
Photoshop Brush Preferences
Import the Photoshop Action, Pattern, and Brush
Now that we've got our image set up and ready, it's time to introduce the Photoshop action, brush, and pattern we downloaded earlier. These tools are the secret ingredients that will morph your image into a digital masterpiece.
Start by heading over to the 'Window' in your menu bar and choosing 'Actions'. Here, you will find a small menu icon on the top-right corner, click on it and select 'Load Actions'.
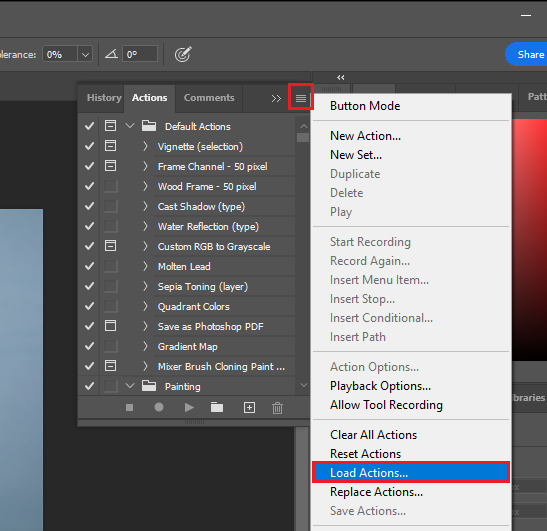
Actions Panel > Settings > Load Actions
This action will open up your file explorer where you can find and select the 'Painting ATN File' from the unzipped folder you downloaded earlier.
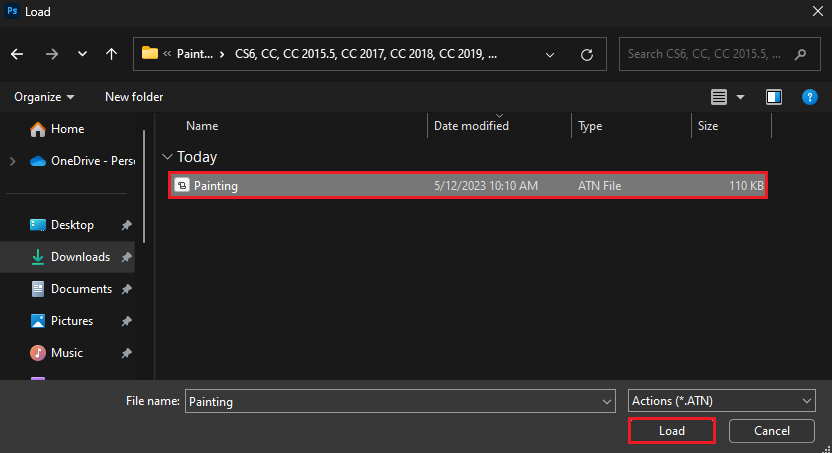
Locate the downloaded “Painting.ATN” file
Now that we've loaded the painting action file, let's proceed to import the brush that will be used to paint over your image. From your toolbox, select the brush tool. After that, open the brush selection panel, click on the gear icon and choose to import a new brush (Import Brush). In your file explorer, locate and load the 'Painting_Brushes' file. You'll see a new set of brushes appear in your brush selection panel, ready to create magic!

Brush Panel > Settings > Import Brushes
Finally, it's time to import the pattern that will give your image the distinctive texture of a painting. To do this, pick the 'Pattern Stamp Tool (S)' from your Photoshop tools menu. Then, click on the arrow icon next to the pattern thumbnail in the menu bar. Click on the gear icon and choose 'Import Patterns..'. Navigate to the 'Painting_Patterns' file, select it, and hit 'Load'. Your new pattern will now be available in your 'Patterns' panel.
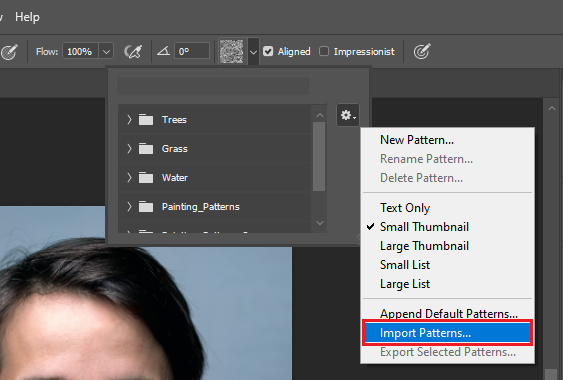
Import new Pattern
Play the Photoshop Painting Action
Now that we've successfully imported all the necessary tools, it's time to put the Painting action into play. Let's begin by setting up a new layer. To do this, navigate to 'Layer > New > Layer', and name this new layer 'brush'.
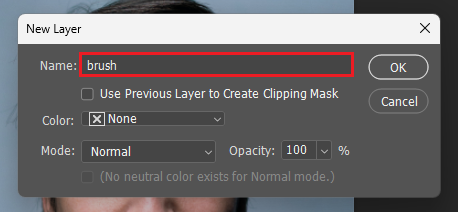
Layer > New > Layer > “brush”
With your newly created 'brush' layer selected, head over to 'Window > Actions' to access the actions panel on the right-hand side. Here, you'll find the 'Painting' action you previously imported. Simply click on it, and then hit the play button.
As the action begins to transform your image, keep in mind that it might take a little while for all the actions to execute, especially if your computer is a bit slower or you're working with a larger image file. If you happen to encounter any errors or issues during this process, double-check that all three files (the action, brush, and pattern) were correctly imported and the 'brush' layer is accurately named. To speed things up, you can enable hardware acceleration in your Photoshop settings, which allows Photoshop to leverage your graphics card to speed up processing times.
Remember, patience is key. The transformation process may take up to 2 minutes, but the end result is well worth the wait. Your image will soon reveal itself as a stunning digital painting, brought to life by your creativity and the power of Photoshop.
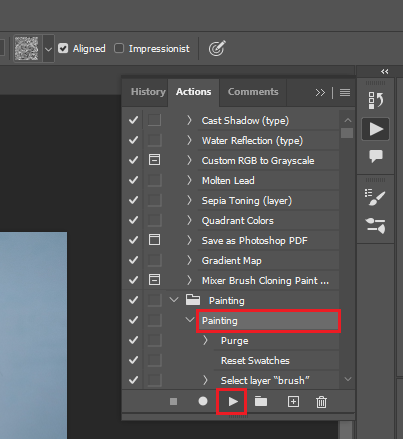
Actions Panel > Painting > Start
Photoshop Painting Adjustments
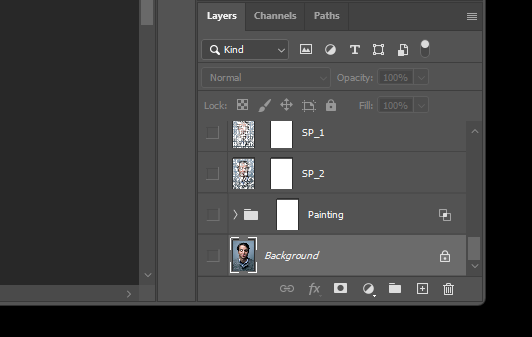
Once the painting action has run its course, it's time to examine your digital masterpiece and make any desired adjustments. Feel free to explore the various layers that have been created, modifying them as needed to perfect your image. Whether you wish to move or rotate layers, or perhaps even disable a few to highlight key features such as eyes in a portrait, you have the freedom to experiment and refine.
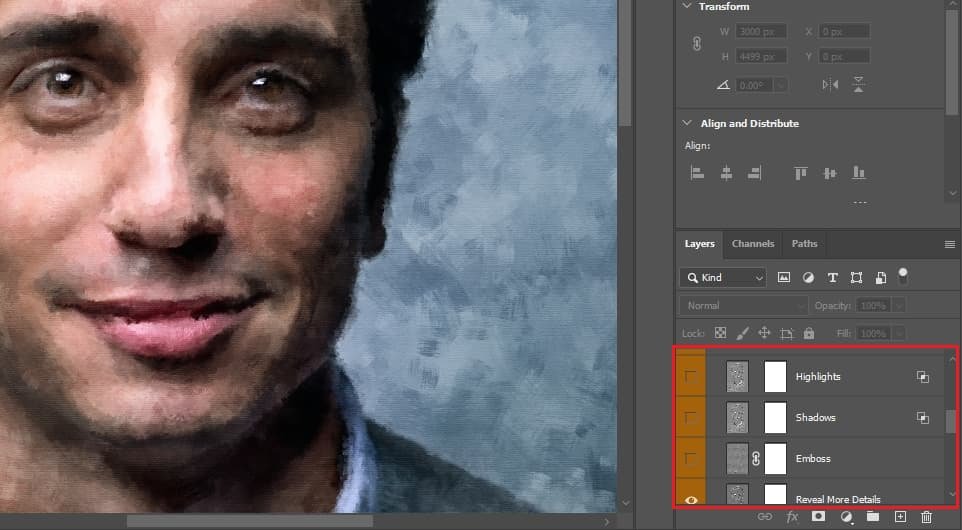
Photoshop Painting Adjustments
For the most impressive painting effects, consider starting with a high-resolution image. A higher base resolution will naturally capture more detail, enhancing the richness of your digital painting. If your starting image is of a lower resolution, don't worry - simply resize the image on a larger canvas. You can easily adjust your canvas size by navigating to 'Image > Canvas Size', and making the necessary changes in pixels.
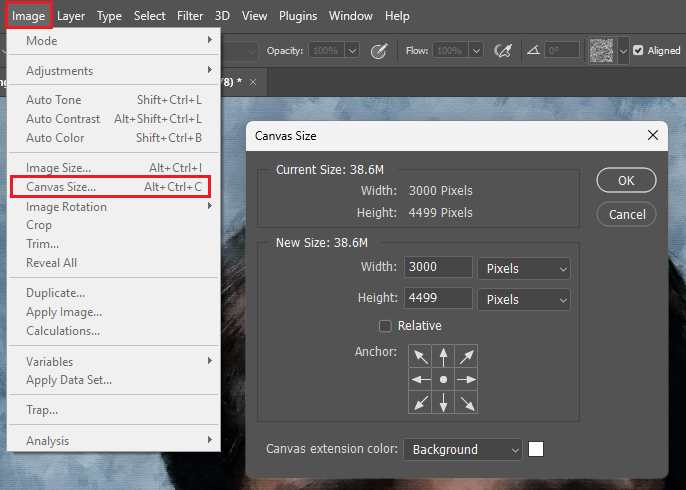
Image > Canvas Size
For those finer, more delicate tweaks, why not add a new image layer and employ the painting brush tool manually? This allows you to maintain a high level of control over your image's transformation.
To apply broader effects or crops to your image, consider duplicating the layers you've created and merging them. This method will not only serve to enhance your image but also streamline your workflow, saving you valuable time when creating your digital painting.
Remember, the beauty of Photoshop lies in its versatility and flexibility. So, let your creative juices flow, and craft the perfect digital painting that's uniquely yours!
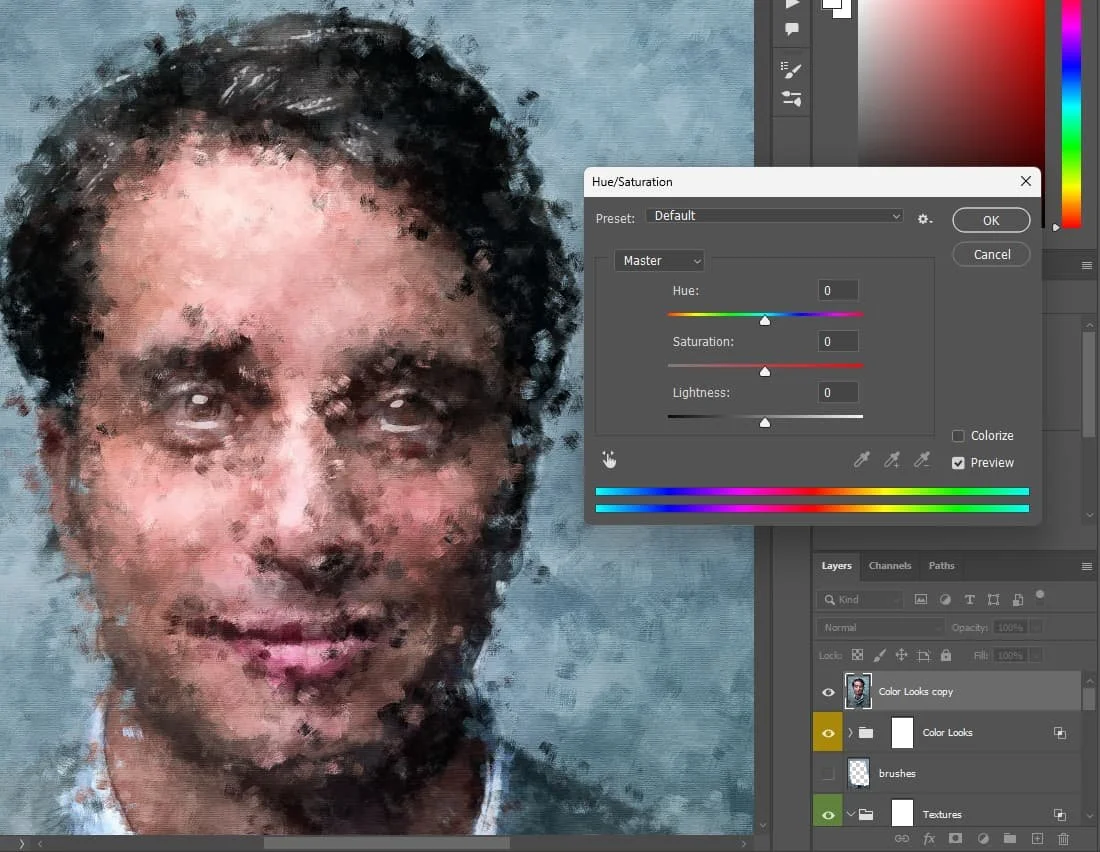
Photoshop > Painting > Change Hue/Saturation
-
Creating a painting effect in Photoshop involves using a downloaded Photoshop action, pattern, and brush. The process includes importing these elements into your Photoshop project, then running the 'Painting' action on a new layer, and finally, making adjustments to the generated layers for the desired painting effect.
-
The Photoshop action, brush, and pattern required for creating a painting effect can be downloaded from the Envato Elements page. After signing up for a 7-day free trial, you can access these resources along with thousands of other addons, plugins, and templates for Photoshop and other creative apps.
-
Before importing the painting action, ensure your photo is the 'Background' layer of your project. Check the 'Add "copy" to Copied Layers and Groups' option in your 'Panel Options'. Your photo should be rendered in RGB Color and use the 8 Bits/channel mode. You'll also need to select the 'Art History Brush Tool (Y)' and adjust the brush settings as needed.
-
If you encounter errors while running the painting action, double-check to ensure that you've imported all three files (action, brush, and pattern) correctly and that your layer is named correctly. Enabling hardware acceleration in your Photoshop settings can also help by allowing Photoshop to use your graphics card, speeding up the process.
-
After running the painting action, you can improve the painting effect by adjusting the layers. This can involve moving, rotating, or disabling some layers to enhance key features of your image. Starting with a high-resolution image or resizing a lower resolution image on a larger canvas can also help to bring more detail to your painting. You can also add a new image layer and use the painting brush manually for minor changes.