

Fix Valorant Download & Installation Problems on Windows 11

The world of online gaming is a never-ending adventure that takes players to new and exciting realms. With the release of Valorant, the excitement has reached new heights, with players eager to experience its fast-paced, tactical gameplay. However, for some players, the journey has been marred by download and installation problems on Windows 11. Don't let these issues stop you from joining the action - in this article, we'll show you how to fix Valorant download and installation problems on Windows 11 with ease.
End Valorant & Riot Games Processes
When facing installation issues for Valorant, you should close your Riot Client and open up your Task Manager. In the Processes tab, ensure to end all Riot, Valorant, and Vanguard processes still running in the background. It would be best if you also prevented your antivirus from running when following the next steps to ensure it’s not blocking parts of the installation.
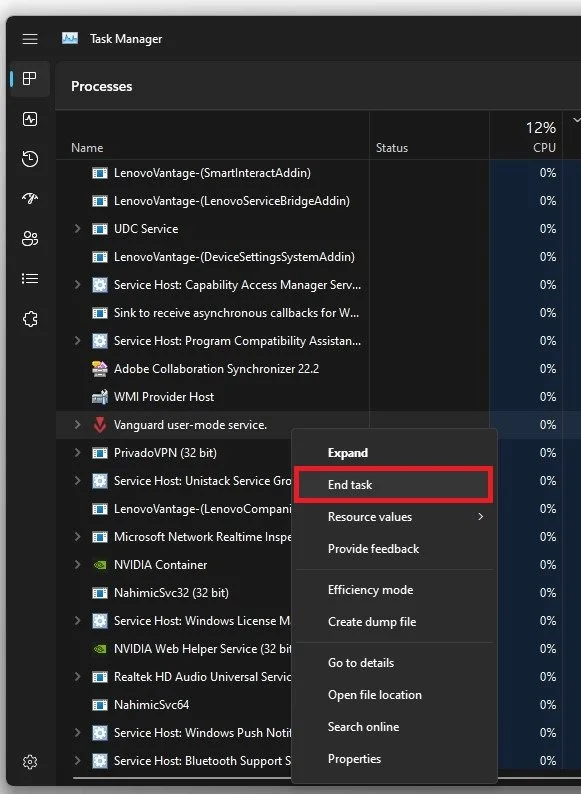
Task Manager > Processes
Start the VGC Service
You can then close your task manager and search for Services to open your Service Control Manager. Select a service and start typing VGC to find the Vanguard.exe process. Right-click the service and select Properties.
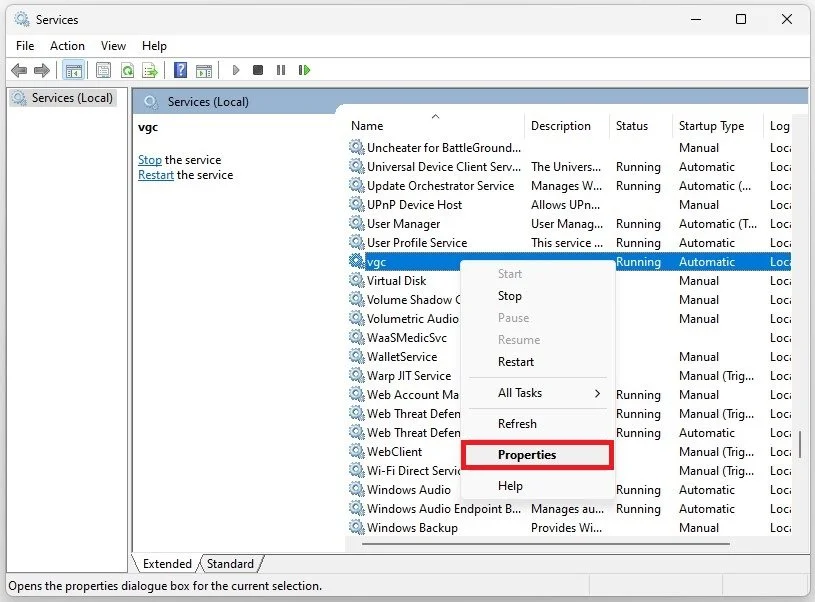
Service Control Manager > VGC > Properties
In your VGC properties panel, ensure you’re in the General tab and set the Startup Type to Automatic. You should also start the service if the service status is set to Stopped. This will ensure that reinstalling Riot Vanguard will allow Valorant to install and start on your system correctly.
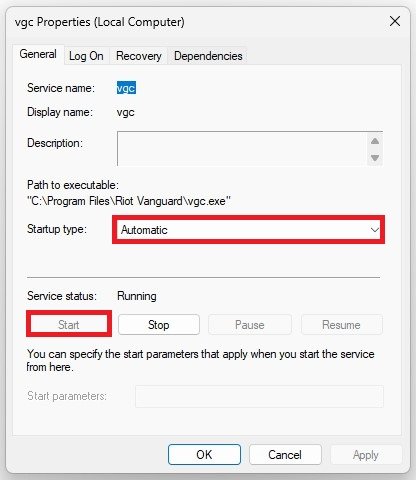
Startup type: Automatic
Uninstall Riot Vanguard
You can then close this window and open up your Windows Settings. Under Apps, navigate to your Installed Apps.
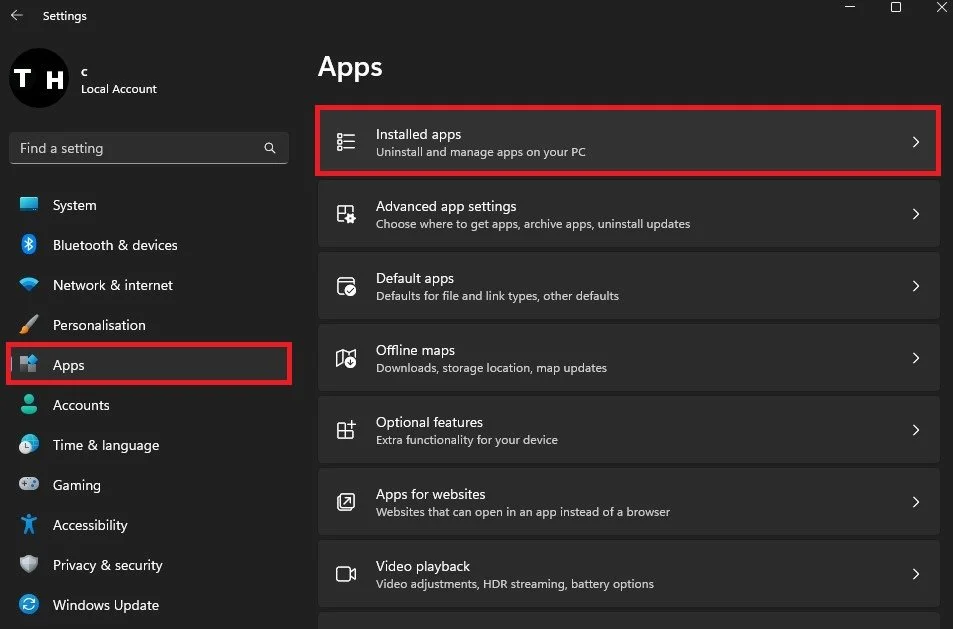
Windows Settings > Apps > Installed apps
Make sure to filter your search by all drives and search for Riot Vanguard. Proceed to uninstall Riot Vanguard from your system. It will be reinstalled correctly the next time you launch your Riot Client.
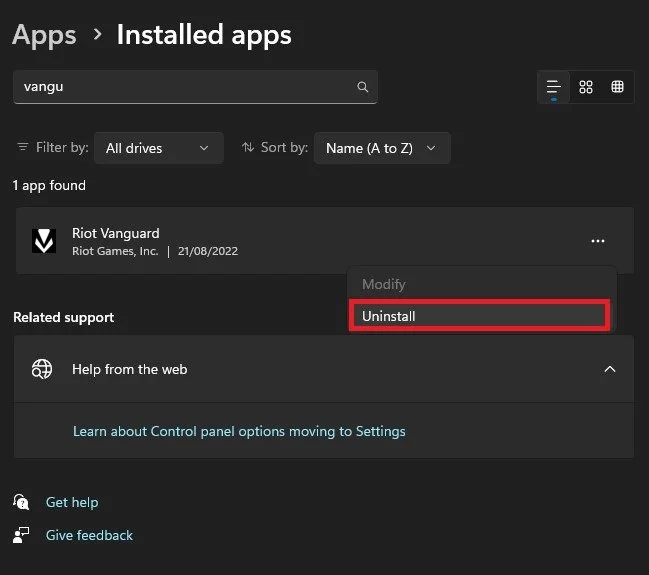
Installed Apps > Riot Vanguard > Uninstall
Delete Temporary Files
Before opening up the client, navigate to your system settings and select Storage. It might take a few seconds to load your storage information and select Temporary Files. Applications, such as Valorant, will store files that should be deleted and can prevent a clean installation of the game.
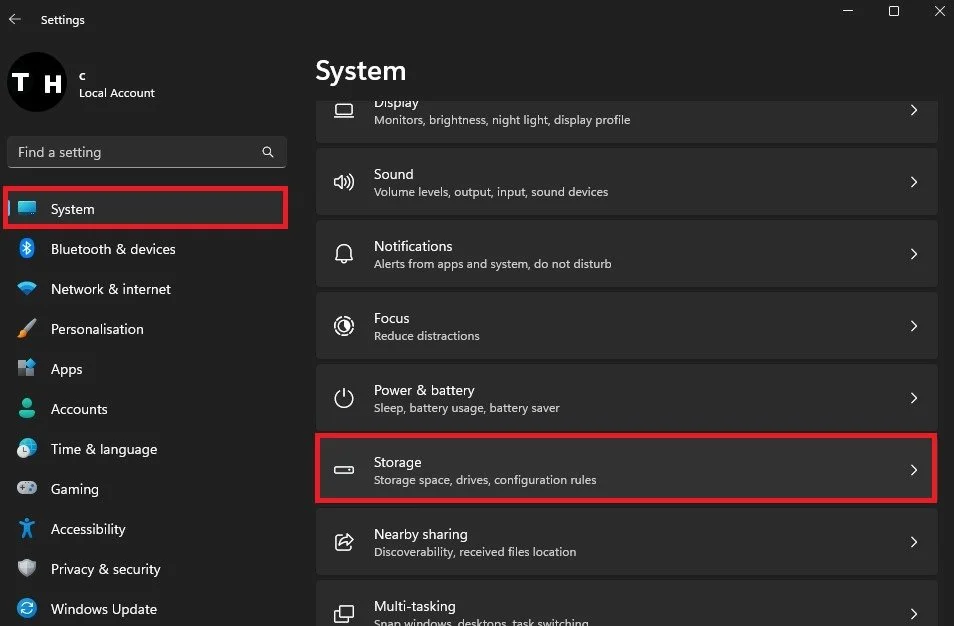
Windows Settings > System > Storage
Make sure that Temporary Files is selected and click on Remove files. Depending on how often this has been done before, you might be able to clear up a lot of storage from your drive.
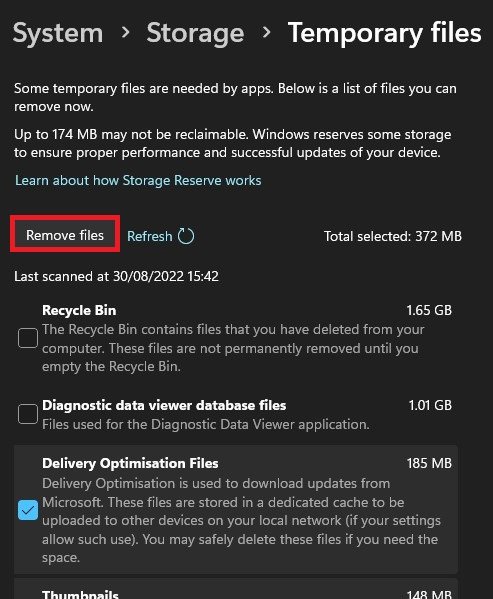
Windows Settings > System > Storage > Temporary Files
Windows Update
After deleting your temporary files, you should also ensure that you run the latest Windows version. In the Windows Update section, click on Check for Updates and proceed to download the latest update before restarting your PC. You can reopen your Riot Client and reinstall any missing files before launching Valorant to see if this fixed your installation problem.
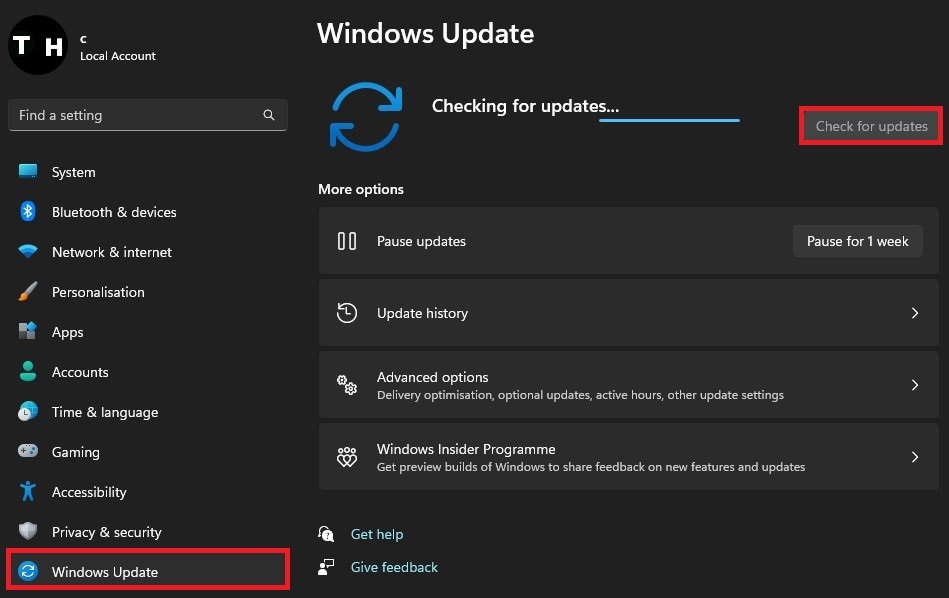
Windows Settings > Windows Update
Test Network Connection
If you’re facing problems where your download is stuck or very slow. First, you should ensure that you are using a reliable network connection. Use a speed testing site, such as speedtest.net or fast.com, to test your internet speed and latency to the nearest server. It would be best to disable any VPN or proxy connection when downloading Valorant or a new update.
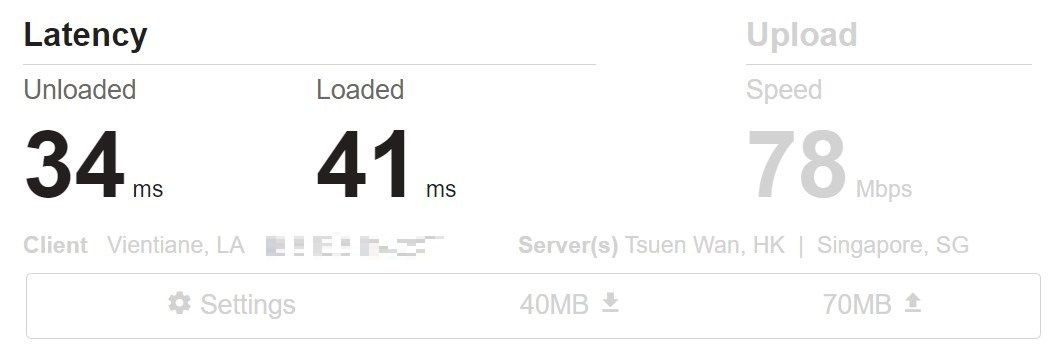
Test Internet Connection
Change Valorant Compatibility Settings
As a last resort, you will have to change the compatibility settings for Valorant, as your operating system might be preventing the game from being installed properly. To do so, open up your file explorer and navigate to the drive on which you save Riot Games.
The default install location for Valorant is under Riot Games > VALORANT > live > ShooterGame > Binaries > Win64. Here, scroll down until you can find the VALORANT-Win64-Shipping application. Right-click Valorant and navigate to the application’s properties.
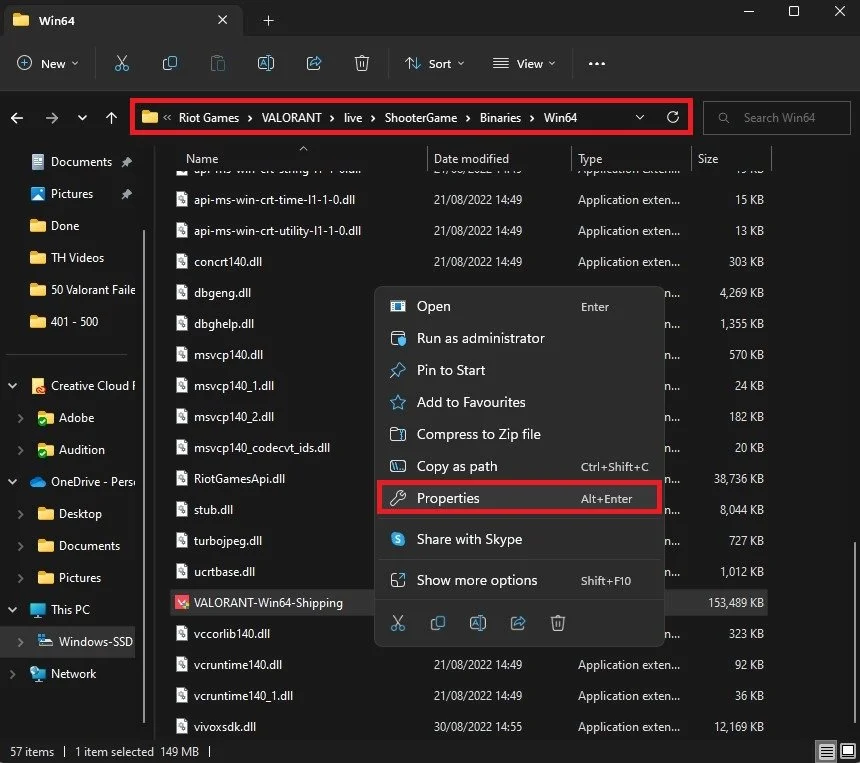
Riot Games > VALORANT > live > ShooterGame > Binaries > Win64
In the Compatibility tab, make sure to enable the Run this program in compatibility mode for option and set it to Windows 7. Changing this option will often fix issues when launching Valorant or installing the game to your system. Make sure to apply your changes, and you can install Valorant on your system.

Valorant Properties > Compatibility


