Fix CSGO VAC Was Unable To Verify Your Game Session Error

Have you ever encountered the error message "VAC was unable to verify your game session" while trying to play your favorite game, Counter-Strike: Global Offensive (CSGO)? Don't worry, you're not alone. Many players have experienced this issue, which can often be fixed with a few simple steps. In this article, we'll guide you through the process of fixing the "VAC was unable to verify your game session" error in CSGO and get you back to playing your favorite game.
Exit Steam Application
In most cases, the CSGO VAC error is caused by an unreliable network connection, not because Valve Anti Cheat has banned your account. First of all, close CSGO and your Steam launcher. Next, open up your system tray, right-click the Steam icon, and select Exit to exit entirely from the application.

Exit Steam in System Tray
Test Network Connection
When this is done, you should proceed to test your network connection. Open up your favorite browser and ensure a reliable download and upload speed by using a speed testing site such as Speedtest.net or Fast.com. Suppose you experience a high ping or latency. In that case, I’d suggest using an ethernet cable to your router or modem and reducing the number of devices utilizing the same network connection.
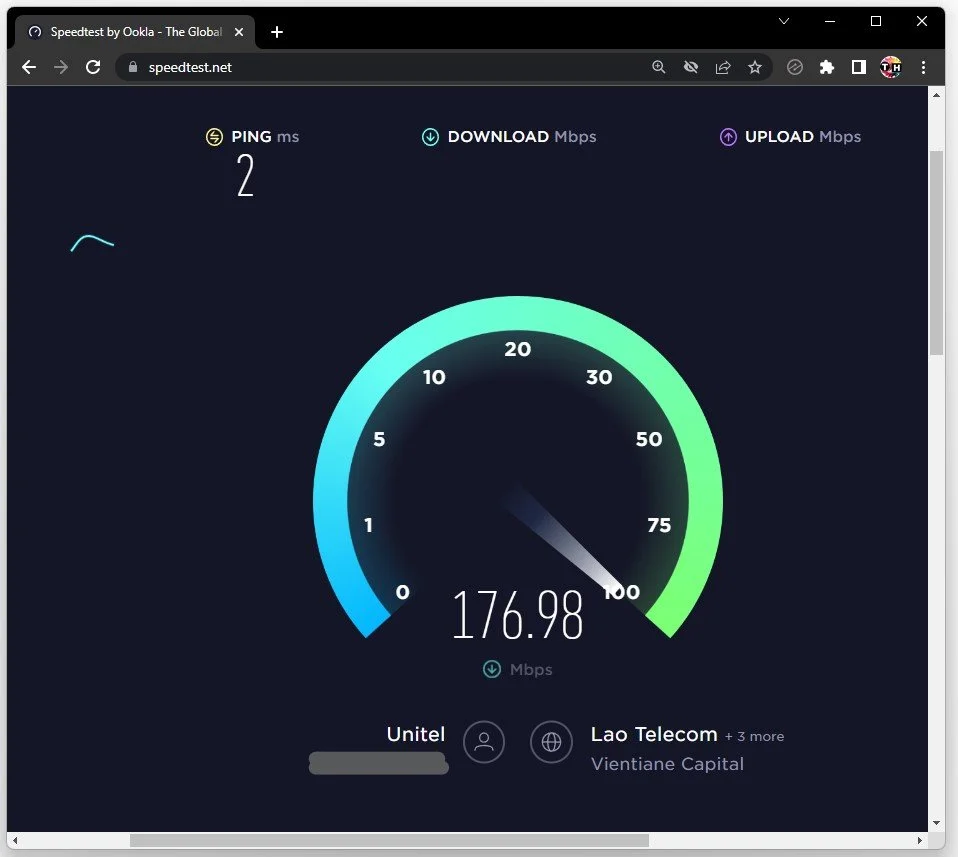
Test Internet Connection
Verify the Integrity of CSGO Game Files
When this is done, you can proceed to re-open your Steam launcher. In your Steam Library, locate CSGO and right-click the game to get to its properties.

Steam Library > Counter-Strike Properties
In the Local Files tab, click on Verify Integrity of Game Files. This will take a minute or two to check all of your game files, and it will download and replace any corrupted or missing files. You can then re-launch CSGO to see if this fixed your issue.
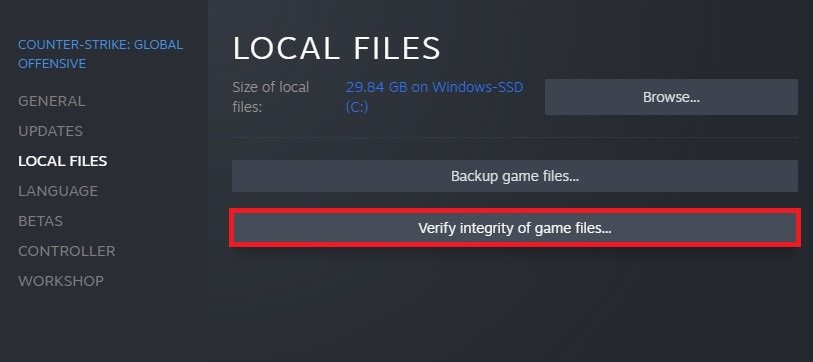
CSGO Properties > Local Files > Verify integrity of game fies…
Run Steam as an Administrator
If you’re still getting the VAC error, close your Steam launcher and open up your file explorer. Navigate to the drive on which you installed the launcher, Program Files > Steam. Here, right-click the Steam application and select Properties.

Program Files > Steam > Properties
In the Compatibility tab, check the Run this program as an administrator option before applying your changes.
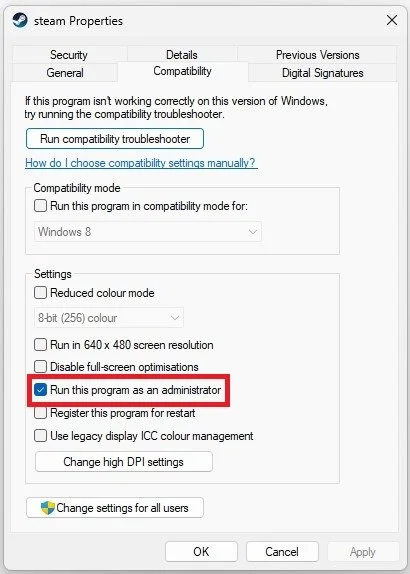
Steam Properties > Compatibility > Run as an Admin
Exclude CSGO in Windows Defender Firewall
Lastly, search for Firewall to open your Firewall & Network Protection system settings window. Click on Allow an app through firewall.
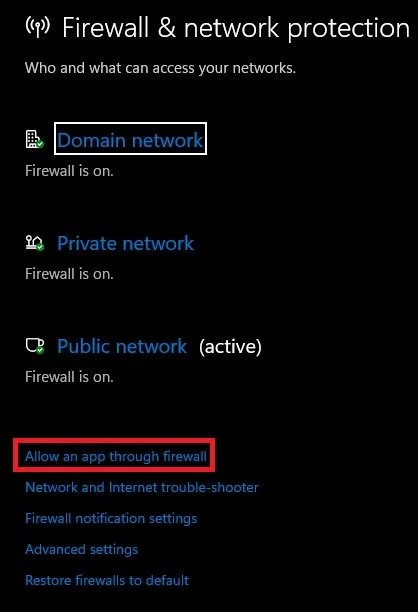
Firewall & Network Protection > Allow an app through firewall
On this new window, click on Change Settings and locate the Counter Strike Global Offensive game process in this list of applications. In this list of allowed apps, ensure that CSGO is also checked. If you cannot find the game process in this list, click on Allow Another App.

Change Settings > All Counter-Strike Global Offensive
In your file explorer, navigate to the drive on which you installed Counter-Strike > Program Files > Steam > steamapps > common > Counter-Strike Global Offensive. Select csgo and click on Open. You can then proceed to launch CSGO without getting the VAC was unable to verify your game session error.
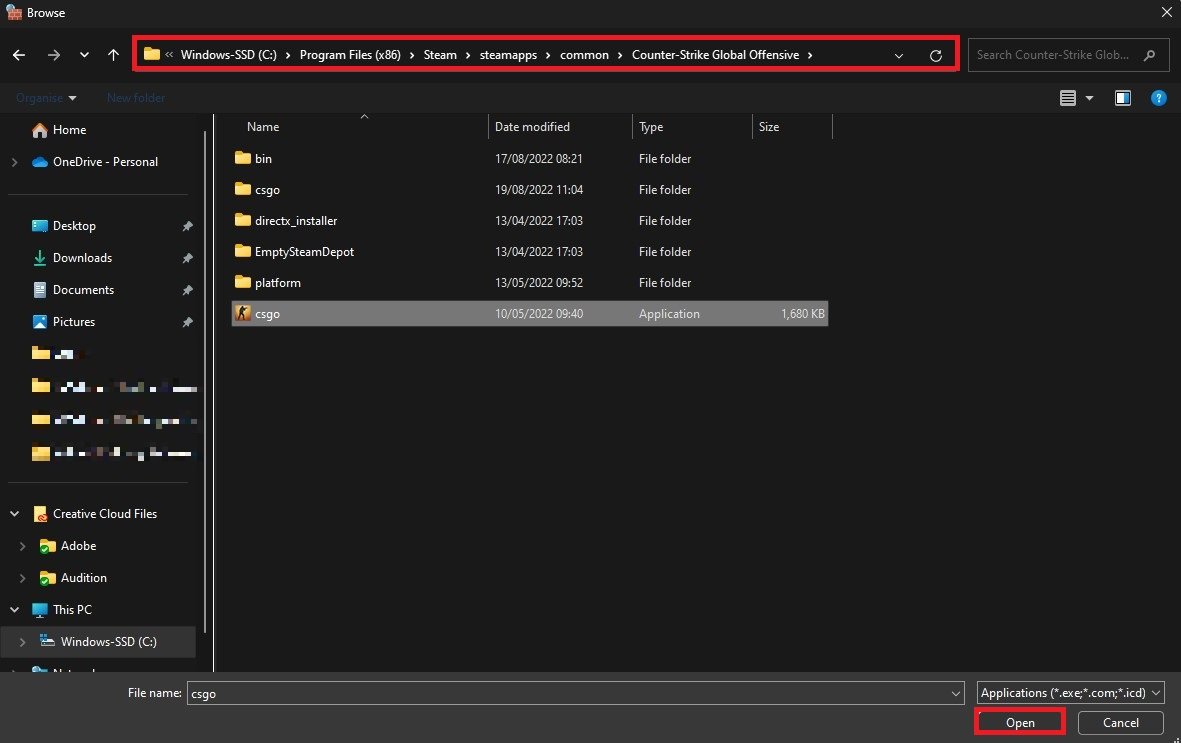
Program Files > Steam > steamapps > common > Counter-Strike Global Offensive
-
The error message "VAC was unable to verify your game session" means that the anti-cheat software, Valve Anti-Cheat (VAC), is unable to verify the integrity of your game session. This can be due to several factors, such as an outdated version of the game, a third-party modification, or an issue with your network connection.
-
No, you will not get banned for encountering the "VAC was unable to verify your game session" error in CSGO. However, if VAC detects any malicious software or third-party modifications, you may be banned from playing the game.
-
Reinstalling CSGO can often fix the "VAC was unable to verify your game session" error, but it's not a guaranteed solution. Before you go through the process of reinstalling the game, it's recommended to try other methods such as verifying the game cache or updating the game.
-
There is no permanent solution to the "VAC was unable to verify your game session" error in CSGO as it can occur due to several different factors. However, by following the steps outlined in this article, you can fix the error and get back to playing your favorite game. It's also recommended to keep your game updated and avoid using third-party software to prevent the error from reoccurring.