Discord - How To Use OBS as Camera Source
Discord has become an indispensable tool for online communication, especially in today's remote working world. However, sometimes, it can be challenging to find the right camera source to use in your Discord video calls. This is where OBS comes into play. OBS, short for Open Broadcaster Software, is a popular open-source software used for streaming and recording content on various platforms. By using OBS as a camera source, you can enhance your video call experience on Discord, whether it's for gaming, online meetings, or socializing with friends and family.
In this article, we will guide you on how to use OBS as a camera source on Discord, step-by-step. We will cover everything from setting up OBS to configuring it to work with Discord. Additionally, we'll discuss some of the benefits of using OBS as your camera source and how it can improve your overall video call quality
Install OBS Virtualcam
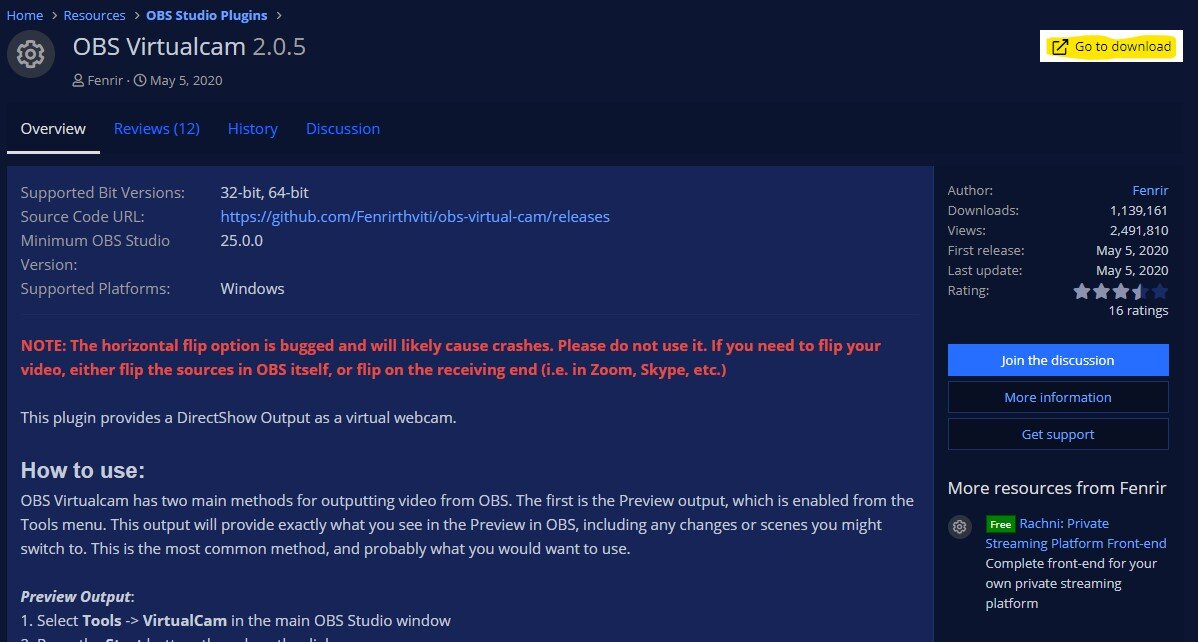
To use OBS as a camera source on Discord, you must have an OBS plug-in installed on Windows 10. If you haven’t installed the OBS plug-in, click here to access the official OBS Project website. Click on Go to download, which will download the plugin for you. Double-click the downloaded plugin, and it will be installed.
Adjust the Discord Video Settings
Once the OBS plug-in is installed, you can easily use it as your camera source. To do that, navigate to the User Settings icon at your window's bottom left. Scroll down on the left-hand side menu. Under the App Settings, you’ll find the Video & Voice option. Click on it. The video and voice settings will open up. Scroll down to the Video Settings. You will see the Camera option. Click on the drop-down arrow, and a drop-down menu will appear. Here select OBS-Camera. You can check the preview of your OBS Camera by clicking on the Test Video option on the right. This will add OBS as your camera source!
Discord User Settings > Voice & Video > Video Settings > Camera > OBS-Camera


