Create Glass Text in Photoshop - Tutorial & Template
Introduction
Unleashing the magic of Photoshop opens up a realm of creativity, letting you transform ordinary text into visual art. In this tutorial, we'll embark on a creative journey to craft a mesmerizing glass text effect, which stands as a testament to the endless possibilities within Photoshop. With easy-to-follow steps, we’ll unravel the secrets to achieving a captivating glass text aesthetic. Whether you’re a novice exploring the basics, or a seasoned designer keen on enhancing your skillset, this tutorial offers a chance to master the art of glass text effects and add a sophisticated touch to your digital projects.
Acquiring and Unzipping the Template
To kickstart this project, you'll need to obtain the glass text template. It's available on Envato Elements. When you sign up for Envato Elements, not only do you get this specific template, but you also unlock a treasure trove of other resources like plugins, additional templates, and creative add-ons for Photoshop and many more applications.
Here's how you get the template ready for use:
Downloading:
Navigate to the Envato Elements page via the link.
Click on 'Download' to get the template.
The file will be downloaded to your 'Downloads' folder and is usually in a compressed (.zip) format.
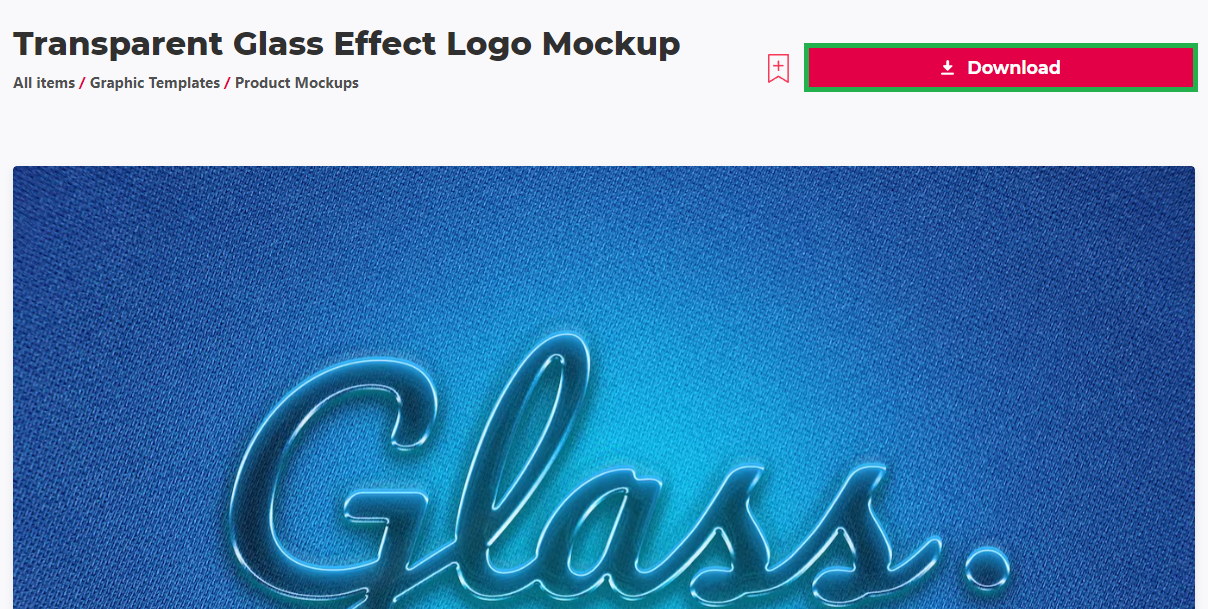
Download Transparent Glass Effect Logo file
Extraction:
On a Windows PC:
Locate the .zip file in your 'Downloads' folder.
Right-click on the file and choose 'Extract All...' to unveil the contents.
On a Mac:
Simply double-click the .zip file, and the system will automatically extract the contents for you.
Once the extraction is complete, a new window will pop up, displaying the files you've just unzipped. Now you are set to dive into the creative process with Photoshop!
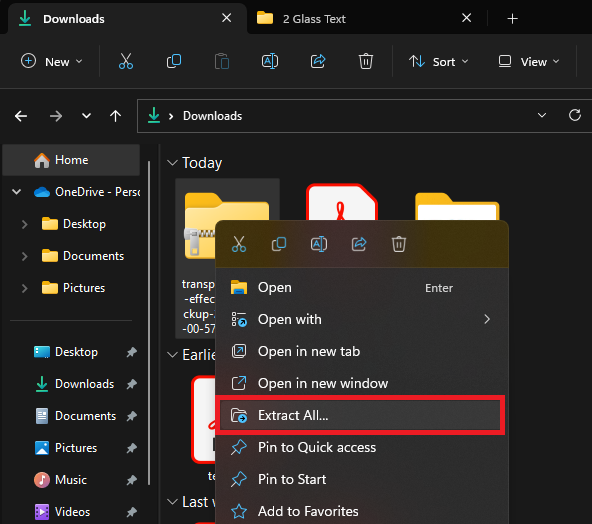
Extract the downloaded template file
Customize Your Glass Text Effect
Getting your glass text or logo just right is a breeze with Photoshop. Here’s how you can tailor the “Transparent Glass Effect Logo Mockup” to your taste:
Opening the File:
First, open Photoshop.
Drag and drop the mockup file into Photoshop to access the project.
Preview and Adjust Background:
Once the file loads, you'll see the initial glass effect.
If you prefer a clear background, simply toggle off the visibility of the “Background” layers.
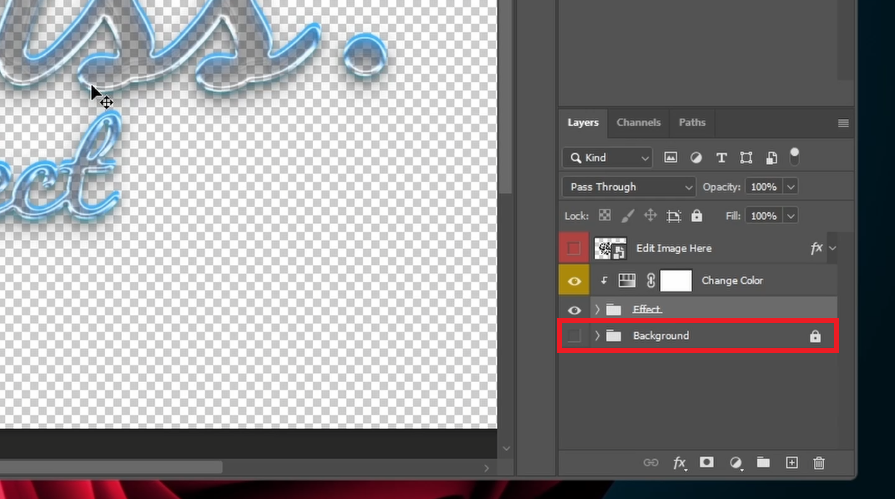
Toggle the background layers ON or OFF
Editing Text or Image:
To alter the text or image, double-click on the “Edit Image Here” thumbnail found in your layers panel. This action will usher you to a new tab.
Here, select the type tool from the toolbar to modify the text. For instance, change it to “Tech How” and “Tutorials”.
Saving Changes:
Press
CTRL + Son your PC orCMD + Son your Mac to save your modifications. This will instantly reflect on your original glass effect project.Navigate back to the initial file tab to view the updated text or logo.
Now, your personalized glass effect is ready! Feel free to experiment with different words or logos until you achieve the desired look.

Change the text effect
Tailoring Glass Effect
The creative journey continues as we refine the glass effect to perfection. Here’s a step-by-step guide to tweak the colors, background, and effects to match your vision:
Import Logo or Stick With Text:
You have the option to bring in a logo image to replace the text. Just ensure your logo file is transparent for the best results.
Color Tuning:
Once you've settled on the text or logo, head to the “Change Color” layer.
Here, you can play around with the hue, saturation, and lightness sliders to get the color tone just right. A tip: keeping the lightness level at +1 often yields a captivating glass text effect.
Background Adjustment:
You might want to see how the glass effect interacts with different backgrounds.
You can either turn off the background layer visibility or swap it with a background of a different color.

Adjust the color settings
Effect Layer Customization:
Before you wrap up, delve into the “Effect” layers folder.
Here, you have the liberty to enable, disable, or alter the blending options of the shape effects to your liking.
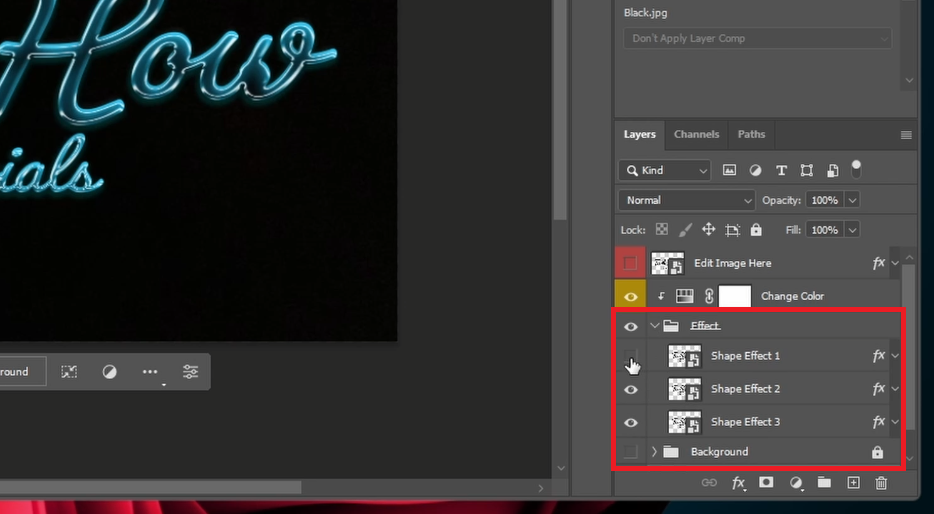
Change the glass shape effects
Project Export
Your masterpiece is now ready to see the light of day. Here’s how to save it:
Saving Your Project:
Navigate to “File” in the toolbar and opt for “Save a Copy”.
Rename your file to something memorable.
If you wish for a transparent background, choose the .PNG format. Otherwise, JPEG works fine for a solid background.
Now, your project is all set and ready to be showcased wherever you desire!

Save your Photoshop file
-
Any modern version of Photoshop, starting from CS6 and above, should work fine for creating the glass text effect as outlined in this tutorial.
-
While Photoshop is preferred for its extensive features, other software like GIMP or CorelDRAW can also be used to create a glass text effect, though the steps vary and you’ll have to use a different Envato template.
-
You can access the template by signing up for Envato Elements. Once signed up, click on the link provided in this article to access the template.
-
Absolutely! Just ensure your logo is a transparent file, drag and drop it into the Photoshop project, and follow the tutorial steps to apply the glass effect.
-
In Photoshop, select the “Change Color” layer and adjust the hue, saturation, and lightness to your liking to change the color of the glass effect.
Affiliate Disclosure: Some of the links on this page are affiliate links, which means that we may earn a commission if you click through and make a purchase from our recommended template providers. This doesn’t affect the price you pay and helps us maintain this site to continue providing you with the best template recommendations.