Photoshop CC - How To Fix “There Is Not Enough Memory” Error (RAM)

Are you struggling with the frustrating "There Is Not Enough Memory" error in Photoshop CC while trying to edit your images? Don't worry, you're not alone. This error occurs when Photoshop CC can't access enough RAM to perform a particular action, which can be caused by several factors such as a lack of available memory, incompatible plugins, or corrupt preferences. Fortunately, there are several solutions to fix this error, from adjusting Photoshop CC settings to upgrading your hardware. In this article, we'll explore the most effective ways to troubleshoot the "There Is Not Enough Memory" error in Photoshop CC, so you can get back to creating stunning images without interruptions.
Close Memory Hungry Applications
Open up your Task Manager. In the Processes tab, sort the processes by their memory usage, and close some applications from running that you don’t need, but make sure only to end processes that you know won’t break your operating system. This could be your browser, Steam, Skype, or any other application.
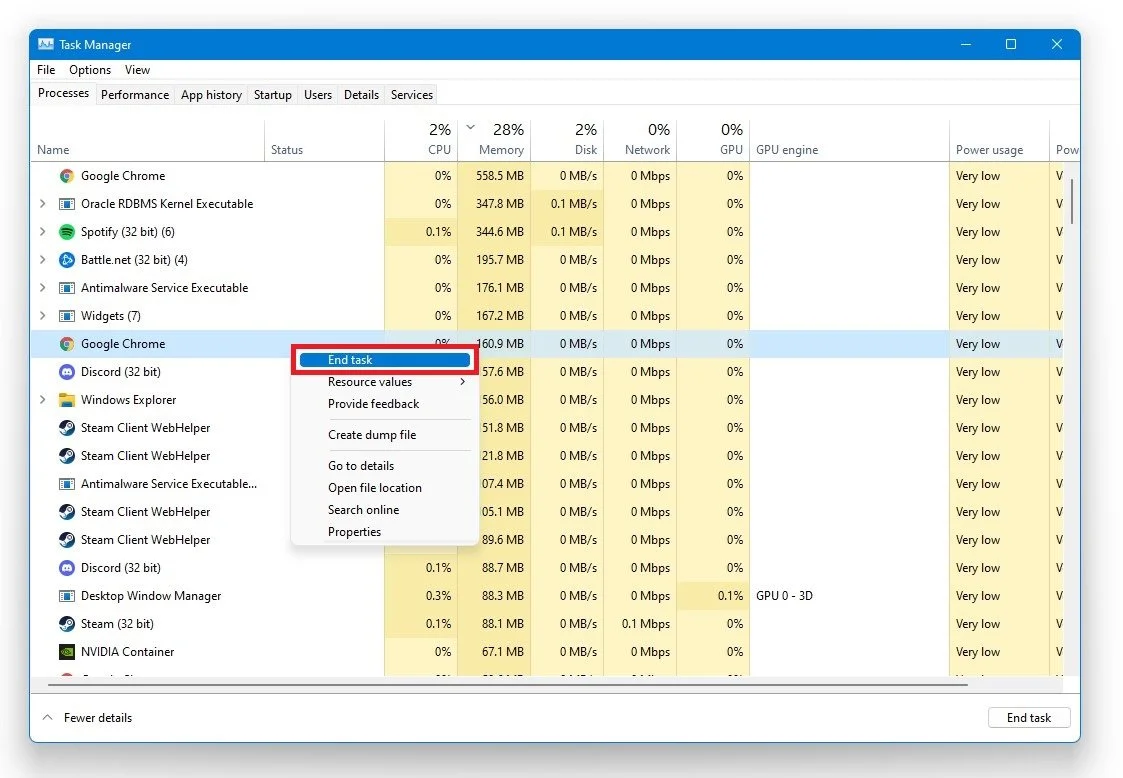
Task Manager > Processes > End Task
Update Graphics Card Driver
NVIDIA Graphics cards can utilize the GeForce Experience application. Click here to download the application to your system. When the download is completed, open up the application, and in the Drivers tab, select Download. This will download and install the latest GPU update and should take a few minutes to complete.
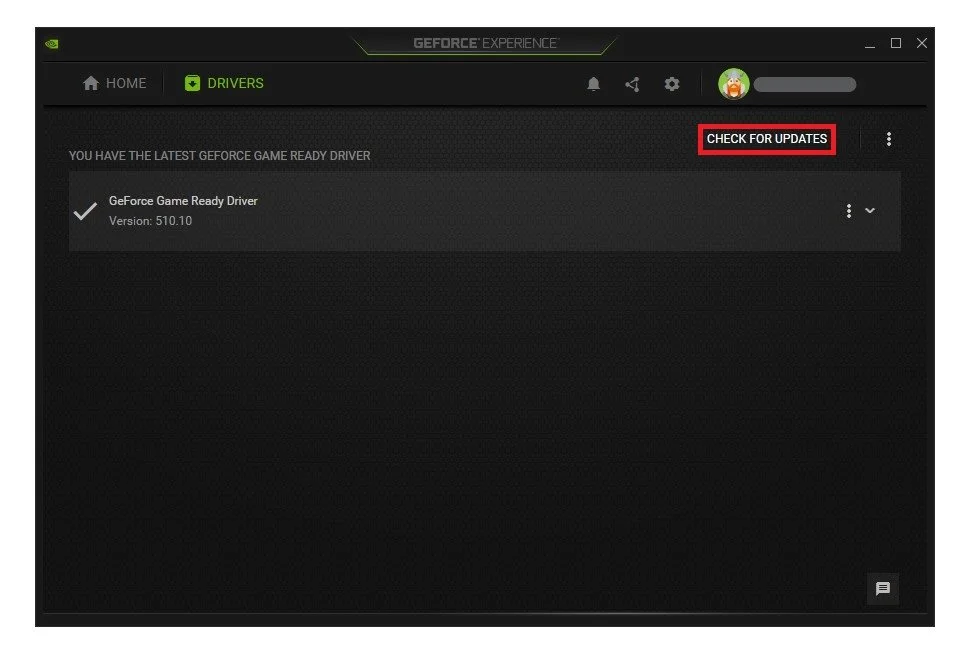
GeForce Experience > Drivers > Download
Update Operating System
To optimize your system for performance, you should ensure your operating system is up to date. Search for Update in your taskbar search. In your Check for updates system settings window, download the latest update and make sure to restart your PC after that the download is completed. This will can help resolve the memory error for Photoshop.

Windows Settings > Windows Update
Make Changes to your Registry Editor
Search for REGEDIT in your taskbar search and hit enter to open up your registry editor. Navigate to: HKEY Current User > Software > Adobe > Photoshop and select the numeric value folder, which in this case is named 150.0, but the value can vary for you.

Override Physical Memory (in MB)
Right-click some empty space and select to create a new DWORD 32-bit value and name it OverridePhysicalMemoryMB, capitalization is also essential for this step to work. Double-click the new DWORD file, make sure that the base is set to Decimal, and set the value to how much RAM you can reserve for Photoshop to use. In this case, we got a system with 32 GB RAM, so we set the value to 16000, which is about 16GB of RAM free to be utilized by Photoshop.