How To Prevent iPhone Photos from Syncing with Google Photos
Introduction
Managing the privacy and storage of your iPhone photos is crucial, especially if you're using multiple cloud services. In this article, we'll guide you on how to prevent your iPhone photos from automatically syncing with Google Photos. Whether it's due to privacy concerns or simply because you prefer another backup service, understanding how to control your photo sync settings is key. We'll walk through the steps to adjust settings in the Google Photos app and your iPhone to ensure your photos stay where you want them. This easy-to-follow guide is designed to give you complete control over your photo library's privacy and syncing preferences.
Turning Off Backup in Google Photos
To ensure your iPhone photos don't automatically sync with Google Photos, follow these straightforward steps:
Open the Google Photos App: On your iPhone, launch the Google Photos application.
Access Settings: Tap the profile icon, usually located at the top right corner of your screen.
Navigate to Settings: In the dropdown menu, select "Google Photos settings."
Locate the 'Back Up & Sync' Feature: In the settings menu, find and select the “Back Up & Sync” option.
Disable Photo Backup: You'll see a toggle next to 'Back Up & Sync'. Tap on it to turn it off.
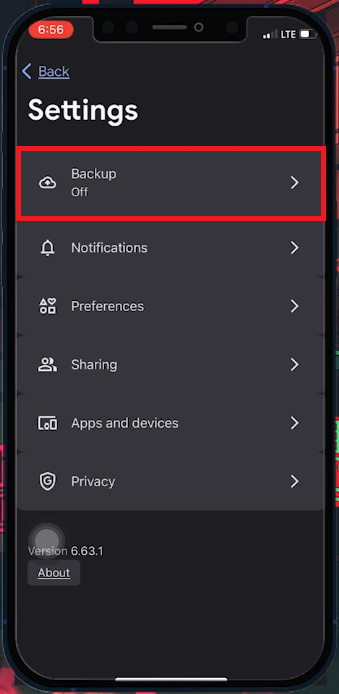
Google Photos Settings > Backup > OFF
Restricting Google Photos Access on iPhone
If disabling the backup feature in Google Photos doesn't work as intended, you can take further steps to restrict the app's access:
Access iPhone Settings: Start by opening the 'Settings' app on your iPhone.
Find Google Photos Settings: Scroll through your apps until you locate 'Google Photos'. Tap on it to view its specific settings.
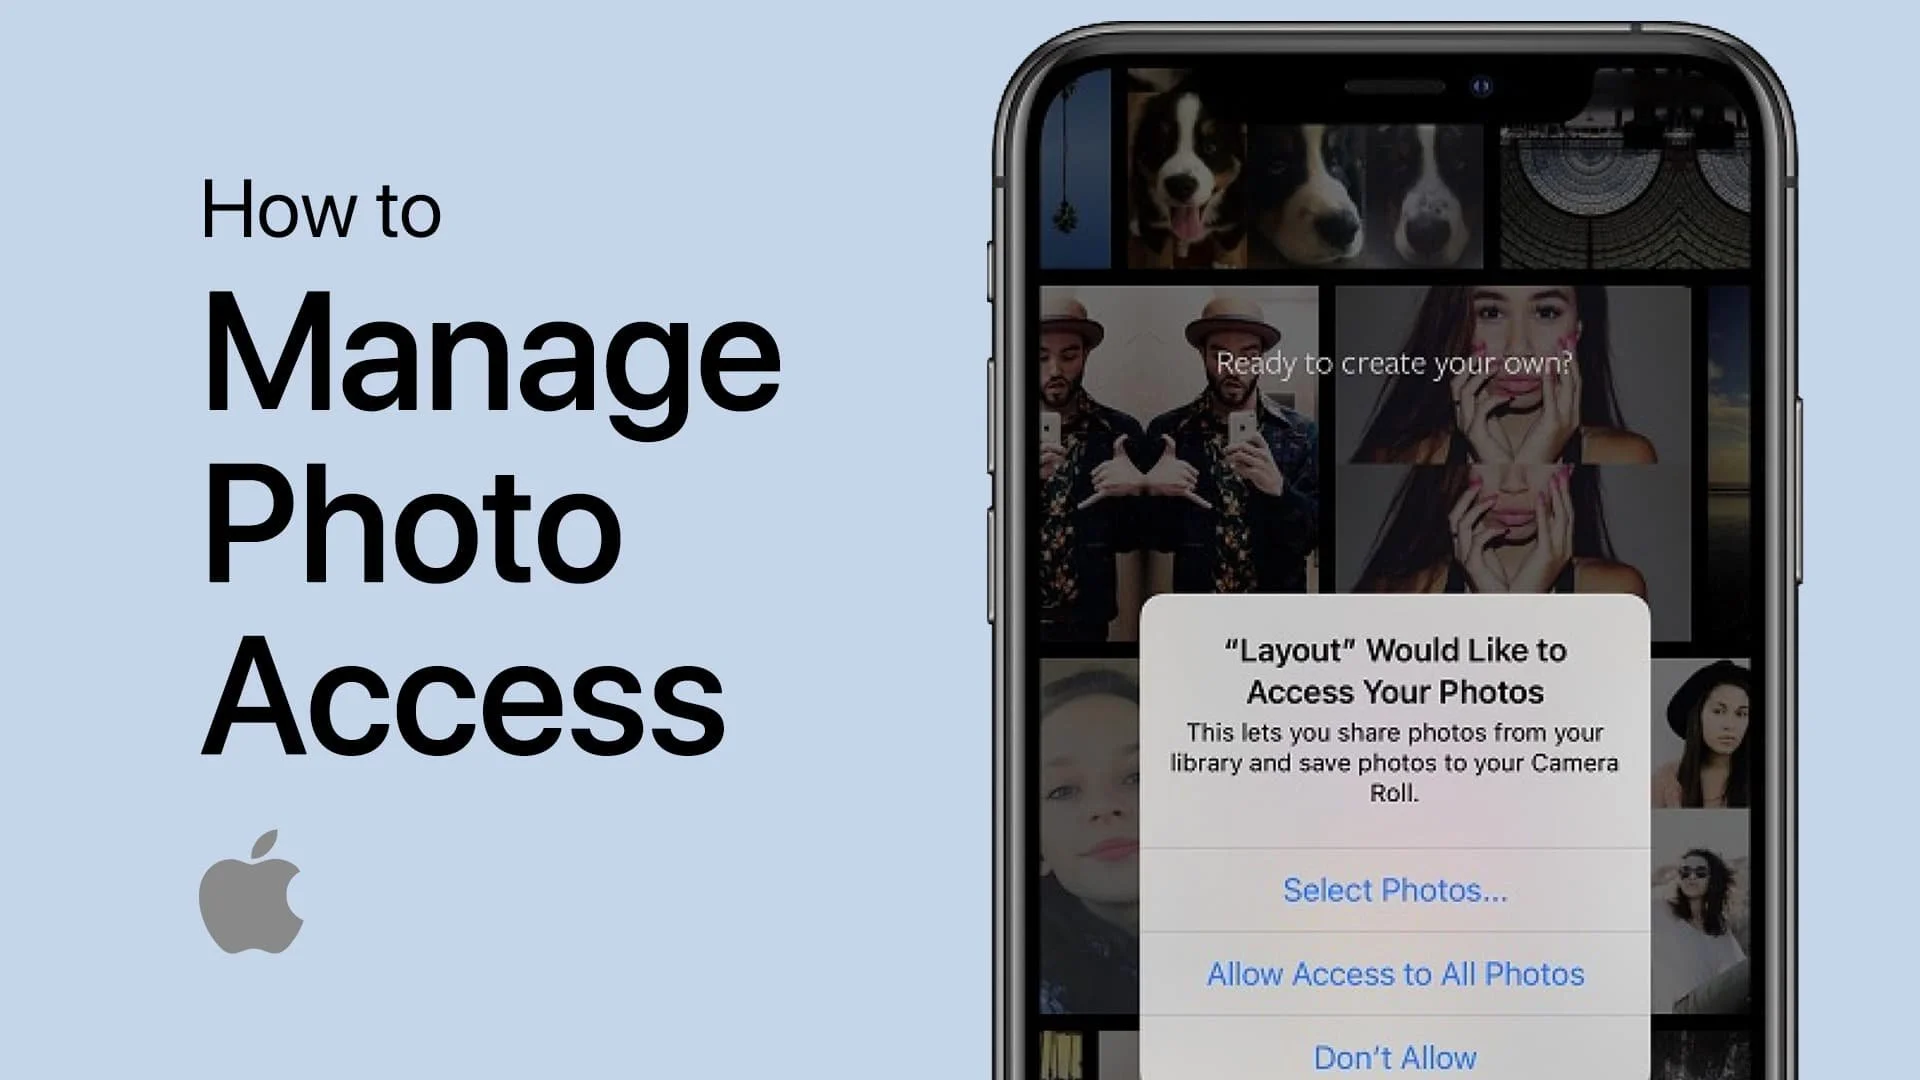
Adjust Photo Access Permissions: Look for the 'Photos' option within the Google Photos settings. Select it to view the access permissions.
Set Access to 'None': Change the permission setting for Google Photos to 'None'. This action revokes the app's access to your iPhone's photo library.
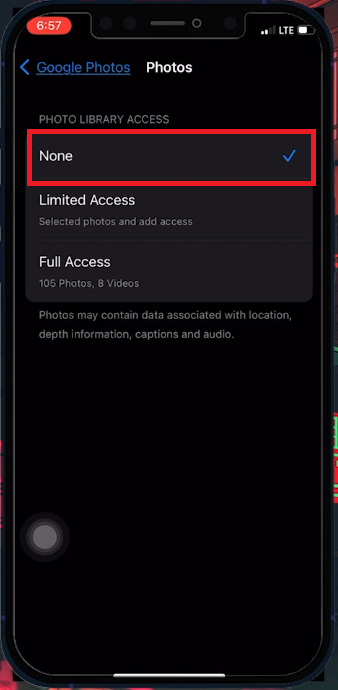
iPhone Settings > Google Photos > Photos > None
Resetting the Google Photos App on iPhone
If disabling backups and restricting access in the Google Photos app doesn't halt photo syncing, consider a reset approach:
Turn Off Backup: Begin by ensuring that the 'Back Up' option in the Google Photos app is turned off.
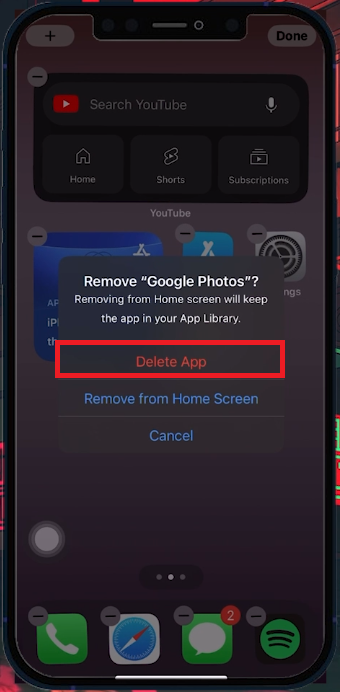
Uninstall Google Photos: To remove the app, press and hold the Google Photos icon on your home screen until it wiggles. Then, tap the “X” to uninstall the app.
Reinstall the App: Navigate to the App Store, search for Google Photos, and reinstall it on your device.
Log In and Adjust Settings: Once reinstalled, open the app and log back into your account. Immediately navigate to the settings and confirm that the 'Back Up' option remains turned off.
This process serves as a complete reset for the Google Photos app, addressing any lingering issues with photo syncing. By reinstalling the app, you ensure that all settings are refreshed, which often resolves synchronization problems and stops unwanted photo syncing.
Reinstall the Google Photos app via the App Store
-
Yes, you can prevent Google Photos from automatically backing up your iPhone photos by turning off the 'Back Up & Sync' feature in the Google Photos app settings.
-
If disabling backup doesn't stop syncing, restrict Google Photos' access to your photo library via the iPhone's Settings app. Set Google Photos' access under 'Photos' to 'None’.
-
To uninstall, press and hold the Google Photos app icon, tap the “X”, and confirm deletion. Reinstall it from the App Store and adjust settings to prevent syncing.
-
No, reinstalling Google Photos won’t delete your existing photos stored in the app. They are linked to your Google account and will reappear once you log back in.
-
Yes, you can manually download specific photos from Google Photos to your iPhone without enabling the sync feature. Select the desired photos in the app and use the download option.