

Fix Zoom Mic Not Working - Failed To Detect Microphone Error in Windows 11
Are you tired of joining Zoom meetings and your microphone not working? It's a frustrating experience to be unable to communicate during a virtual meeting. The good news is that you're not alone, and this is a common issue faced by many Windows 11 users. Various factors, such as outdated drivers or incorrect settings can cause the problem. In this tutorial, we'll guide you through fixing the Zoom mic not working error on Windows 11.
Adjust the Zoom Audio Settings
First, we will take a look at your Zoom audio settings.
Zoom > Settings
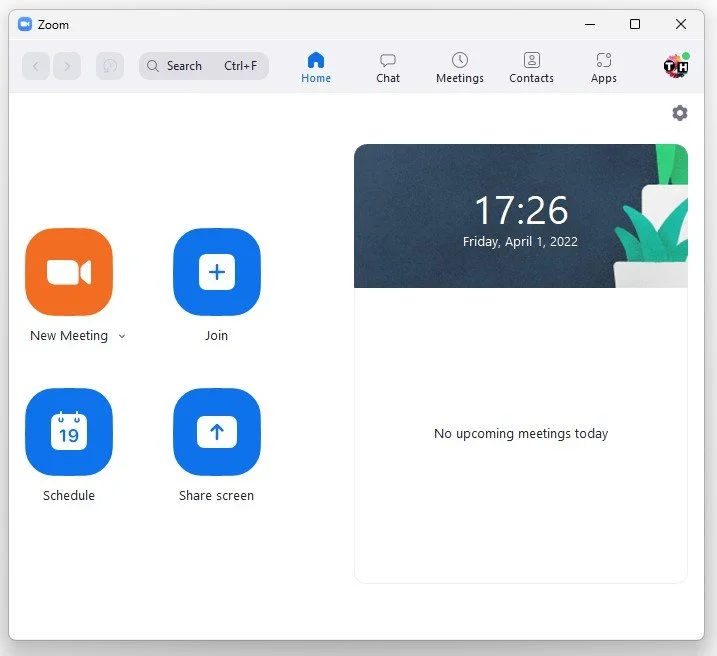
Open up Zoom, and in case you’re unable to find the window, open up your system tray and right-click the Zoom icon to access your settings.
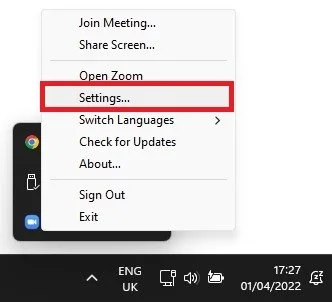
System Tray > Zoom > Settings
Ensure the correct microphone is selected in this drop-down menu in the Audio section. If your mic is not listed in this list, then make sure to unplug and replug it, preferably into a different USB port. Once selected, ensure its volume is not muted, and you should enable the Automatically adjust microphone volume option. Select Test Mic. This will allow you to test if you have any sound input quickly and if it’s well adjusted.
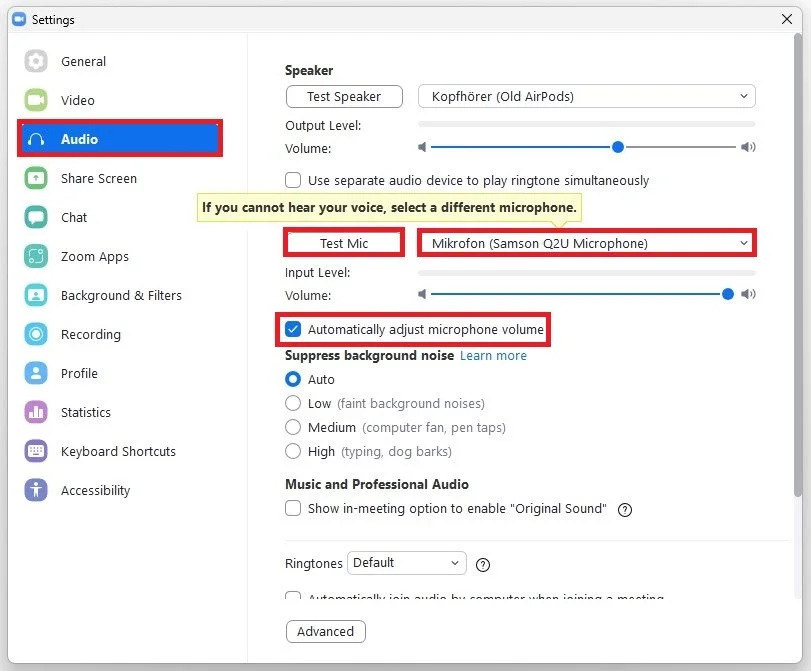
Zoom Settings > Audio > Microphone
Allow Zoom to use your Microphone
If your mic is still not on the list of available microphones, or if you’re still getting the failed to detect microphone error, then make sure to close Zoom and open up your Windows settings. In the Privacy & Security section, scroll down, and under App Permissions, select Microphone.
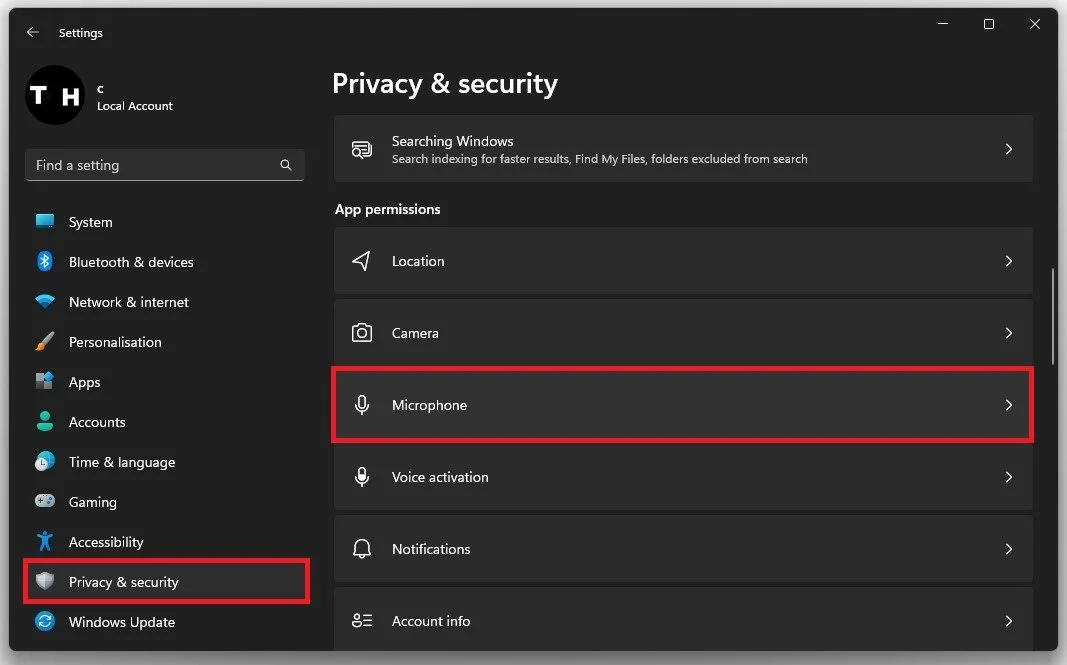
Windows Settings > Privacy & Security > Microphone
Make sure that the Microphone access option is enabled. When disabled, none of your apps will have access to your microphone. Below, you can prevent some apps from using your mic, but you should ensure that the Zoom app is enabled.
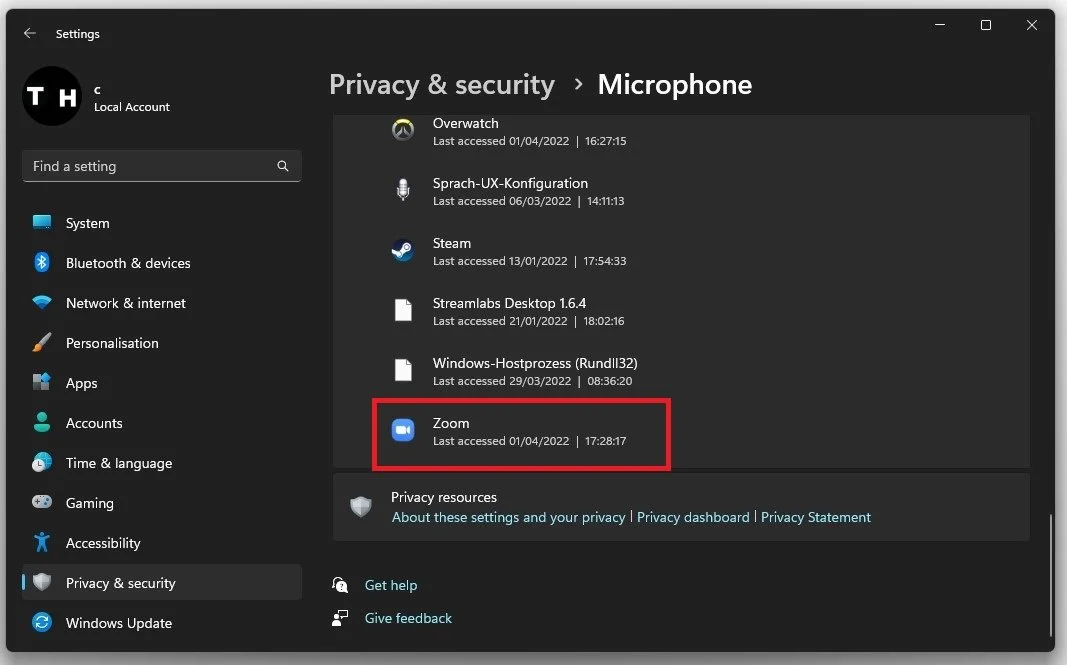
Privacy & Security > Microphone > Zoom
Adjust the Windows Sound Settings
Navigate to the System tab and click on Sound.
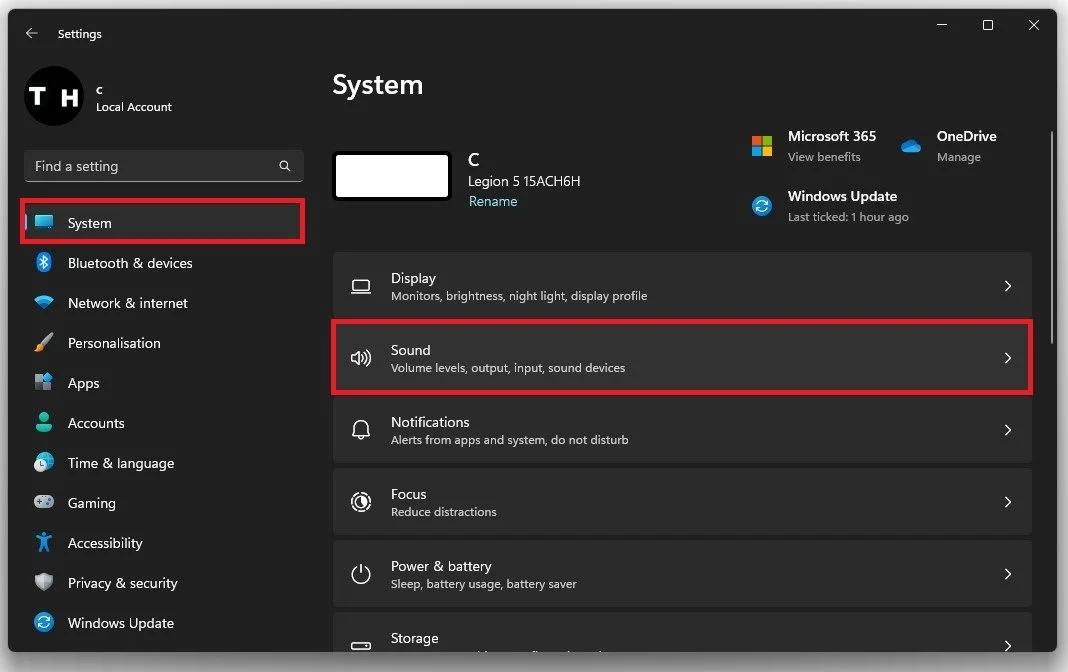
System Settings > Sound
Select the microphone you wish to use and set its Format to 2 channels 48’000 Hz or 44’100 Hz, whichever is available to you.
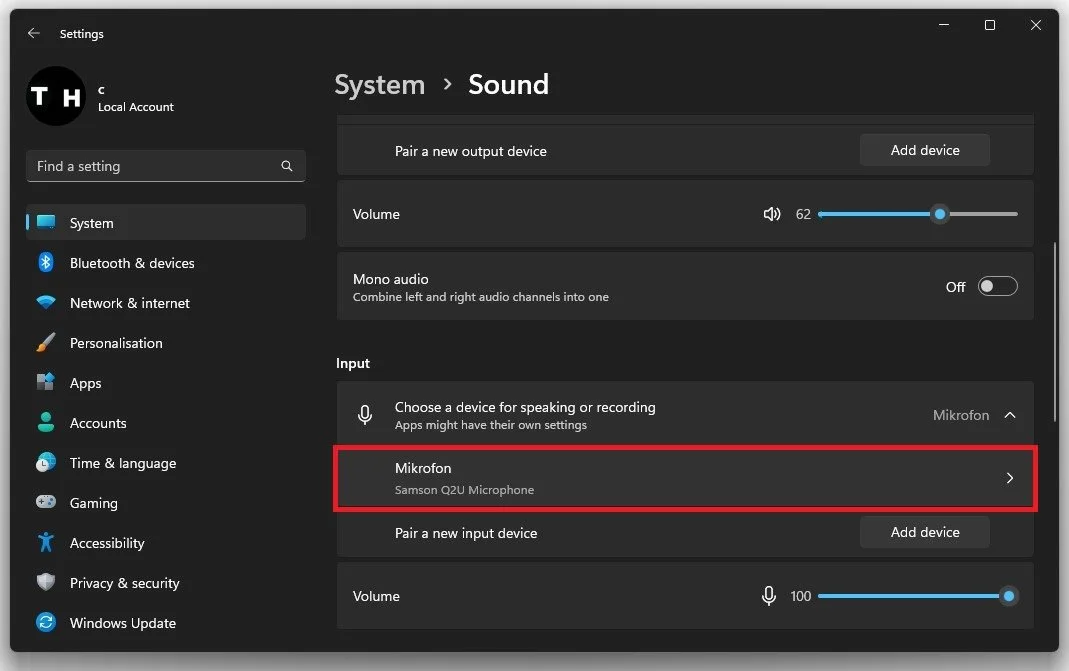
System Settings > Sound
You can also start a microphone test form here. If you don’t hear any sound input from the sound test, then make sure that a hardware switch does not mute your microphone and that it’s not faulty.
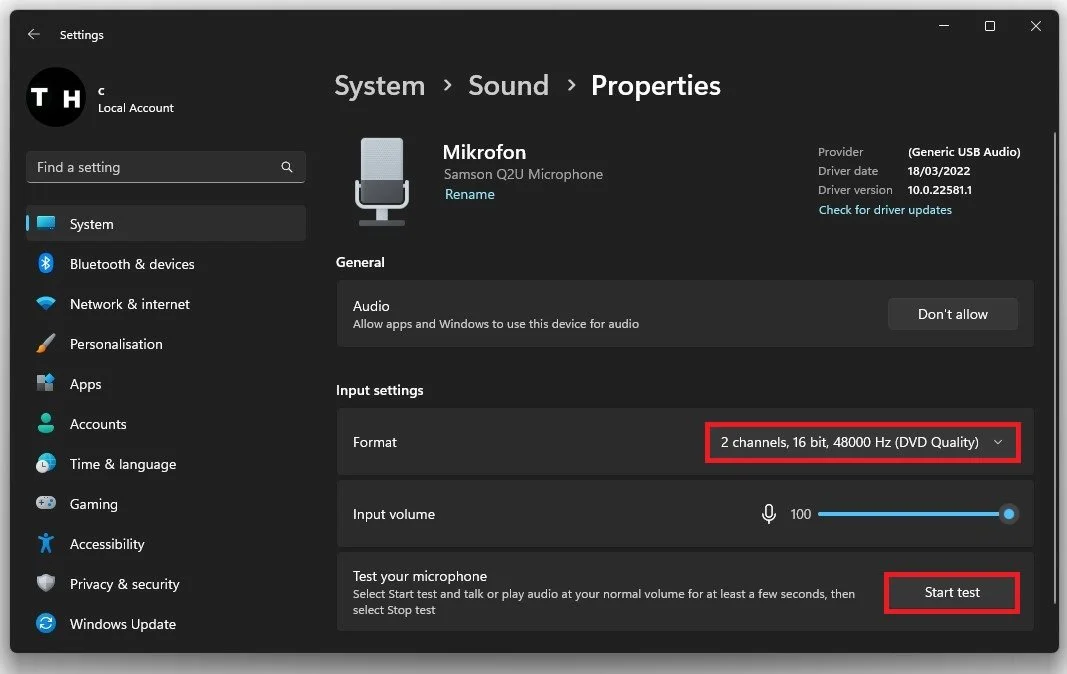
Sound Input Properties > Input Settings
Run the troubleshooter for input devices. Back in your Sound settings, scroll down, and in the advanced section, select Troubleshoot common sound problems for input devices. This will take a moment to figure out what could be wrong with your microphone.
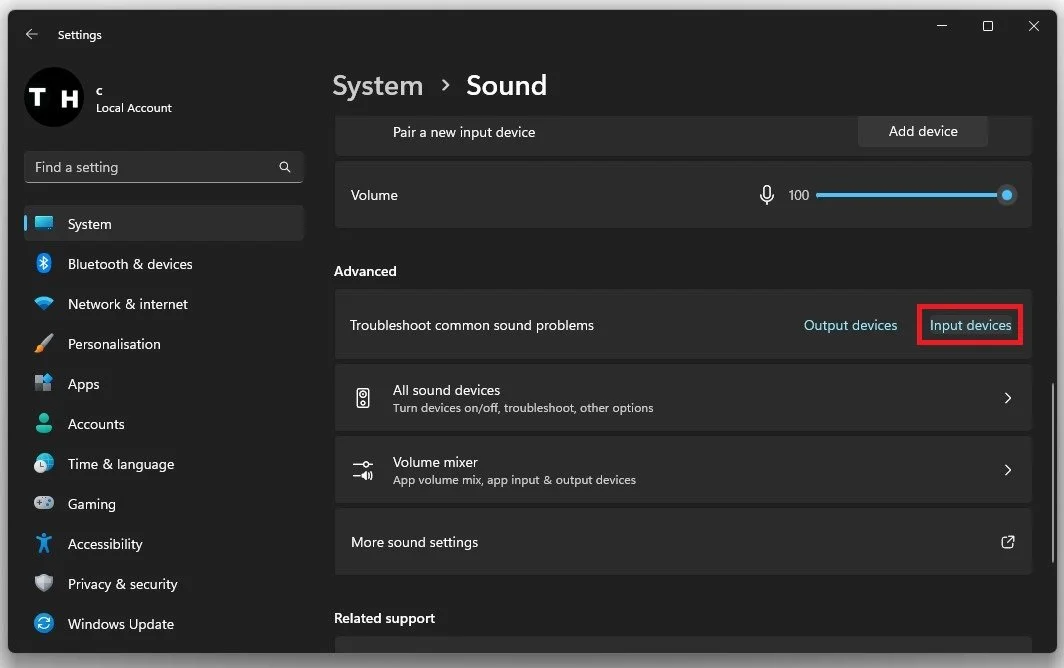
Sound Settings > Troubleshoot common sound problems
Disable all other microphones you allow Windows to use. In your input devices, select a different microphone and select Don’t Allow.
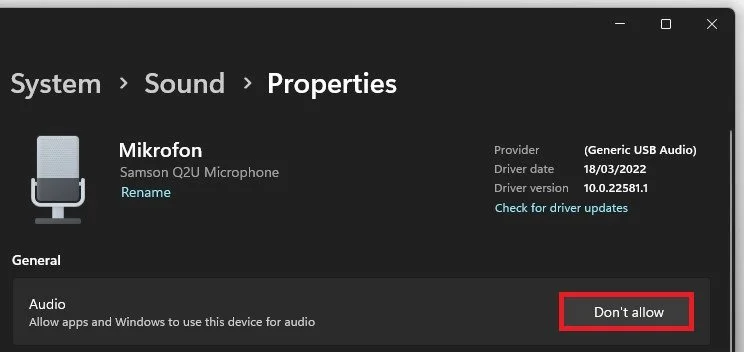
Disable other mic’s in your Windows sound settings
Update Windows Operating System
If your windows version is up to date, your microphone driver should be up to date, especially if it’s a simple USB or Bluetooth mic. After restarting your PC, you can re-open Zoom, and the “failed to detect microphone” error should be resolved.
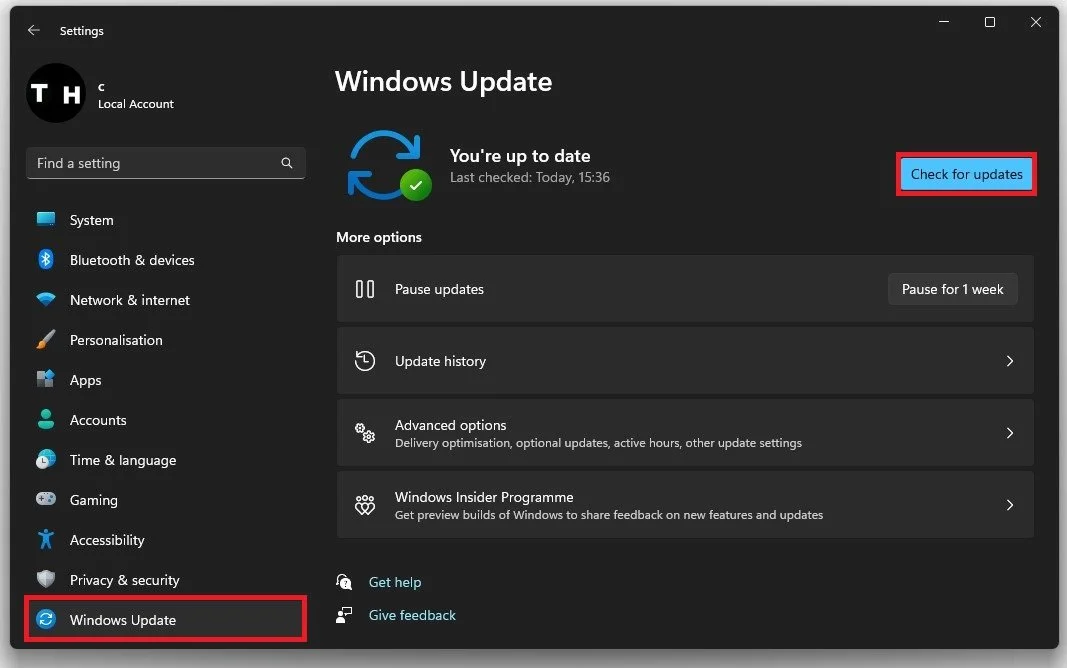
Windows Settings > Windows Update


