How To Fix Java Errors for Minecraft
Follow the instructions below
Close Minecraft & Java
Make sure that Minecraft and other applications running Java are not running in the background. Open up your Task Manager and end all of the Minecraft and Java processes in the Processes tab.

Download Java Update
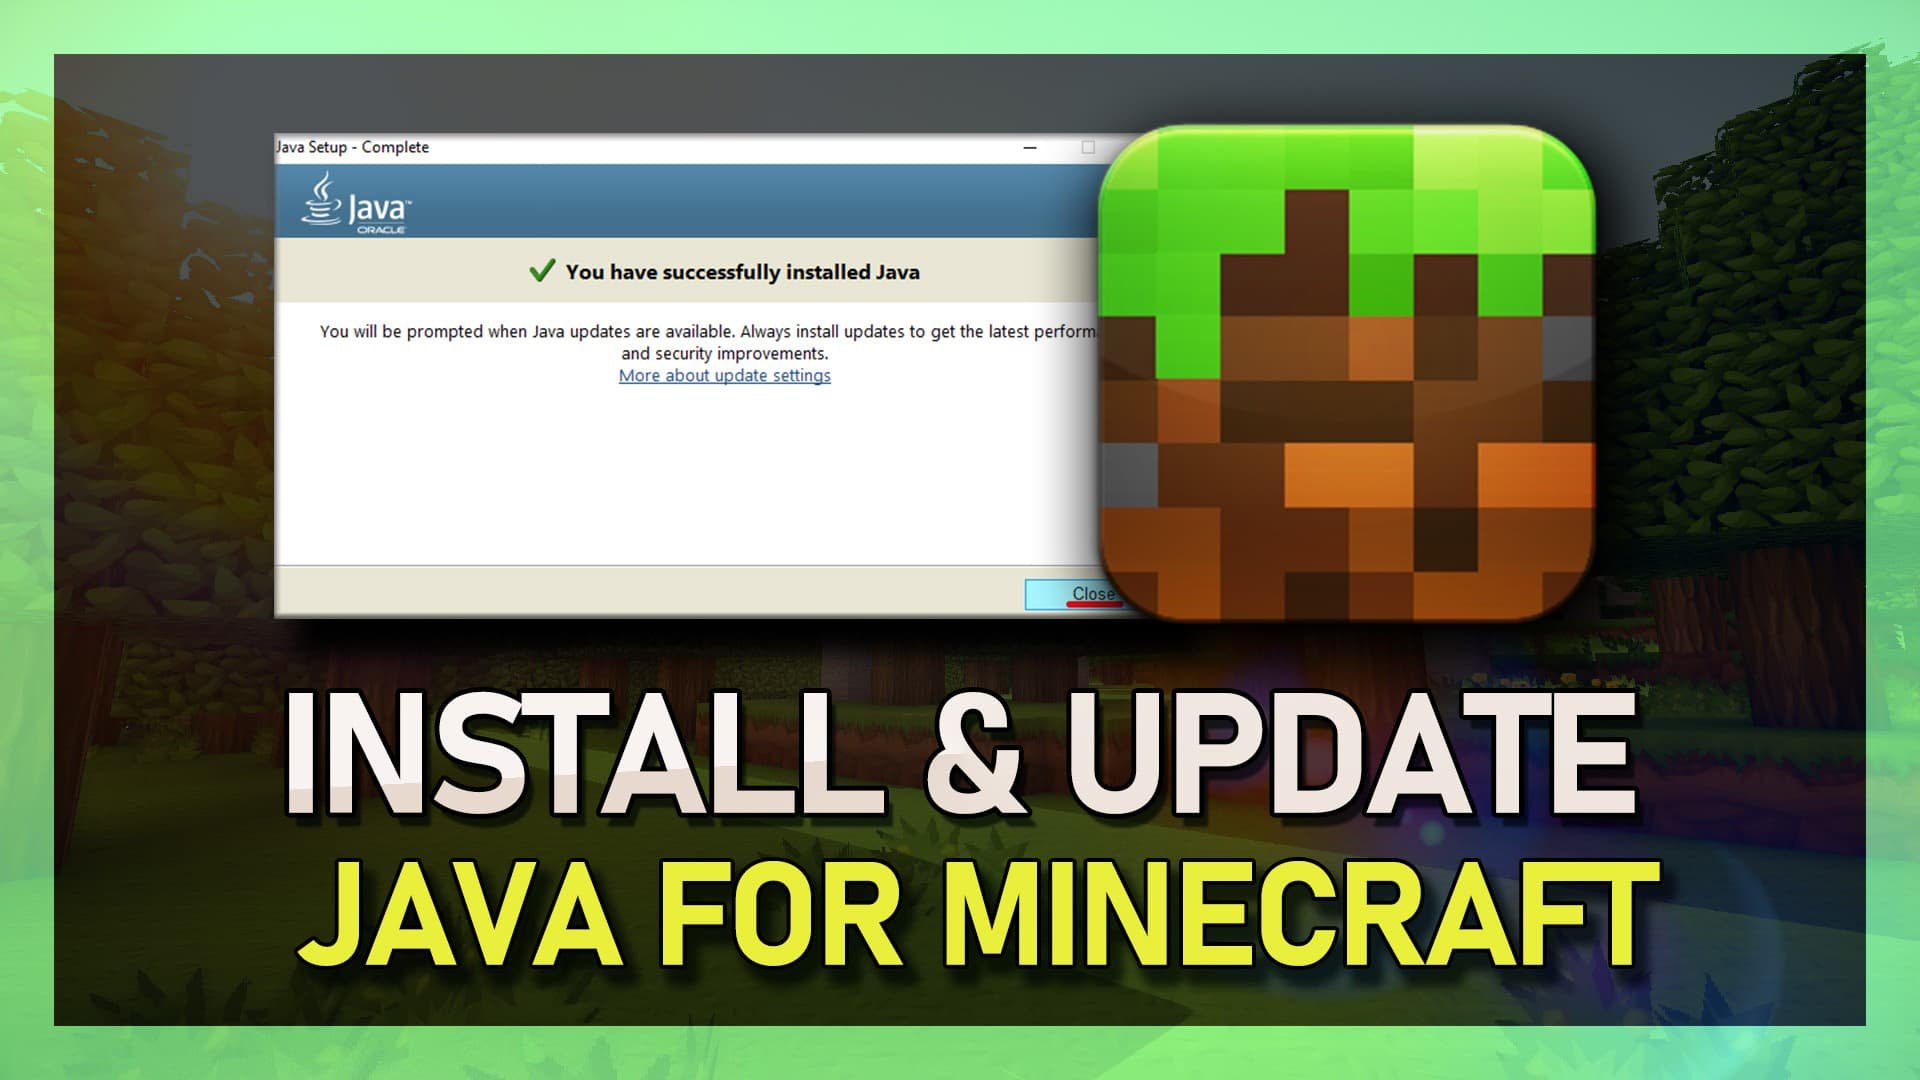
When this is done, make sure that your Java version is up to date. Click here to get to the official Java download page. The page should automatically detect your operating system type, which in my case is Windows 10 64-bit. Click on Agree and Start Free Download. This will take a minute or two to download the 80 MB executable file to your downloads folder. Once the download is complete, make sure to locate it. Your browser can also help you find your downloaded files.

Update Java
Double-click the .exe file and after a second a new window will open up. There, simply click on Install, even when you have a Java version installed on your system. This will make sure that you are using the most up to date version of Java available to you. This can take some time to complete, and once the installation is done, this window will automatically close.

Launch Minecraft
You may get a message saying that another of your installed Java versions is not up to date. Simply follow the install wizard and after a minute or two, you should be done. When starting up your Minecraft launcher, you should see that your Java runtime error and other Java errors for Minecraft Java edition will be fixed.