Windows 11 - How to Change Account User Name

Windows 11 is the latest operating system developed by Microsoft. Its modern and user-friendly interface offers many useful features and tools for users to customize their experience. One such feature is the ability to change the account user name. This is particularly useful for those who may have misspelled their name during the initial setup or simply want to change it for personal reasons. This article will explore the step-by-step process of changing the account user name on Windows 11. Whether you are a seasoned Windows user or a beginner, this guide will provide all the necessary information to change your account user name easily.
Change the Account Name in your Control Panel
Open up your start menu. You can see your username on the bottom left. To change it, search for Control Panel to open it up. Select the user you wish to change. You have the option to change the account name.
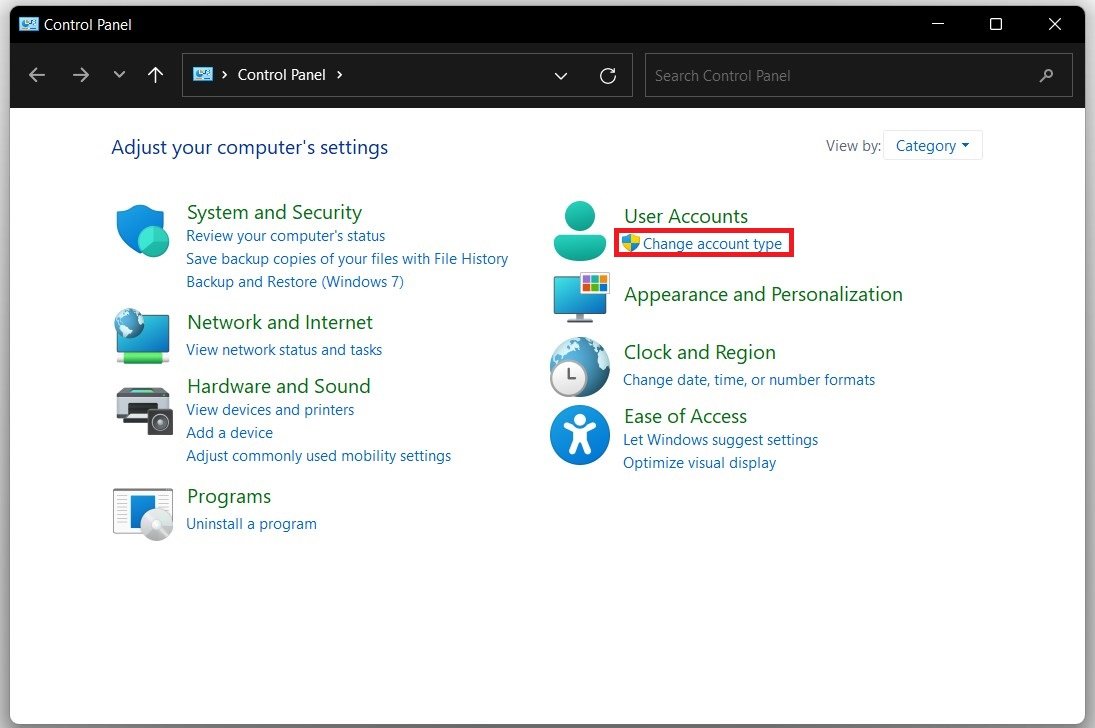
Control Panel > User Accounts > Change Account Type
Select the option, and you can set a new account name here. In most cases you will need to restart your PC, or at least sign-out and sign back into your account for the changes to take effect.
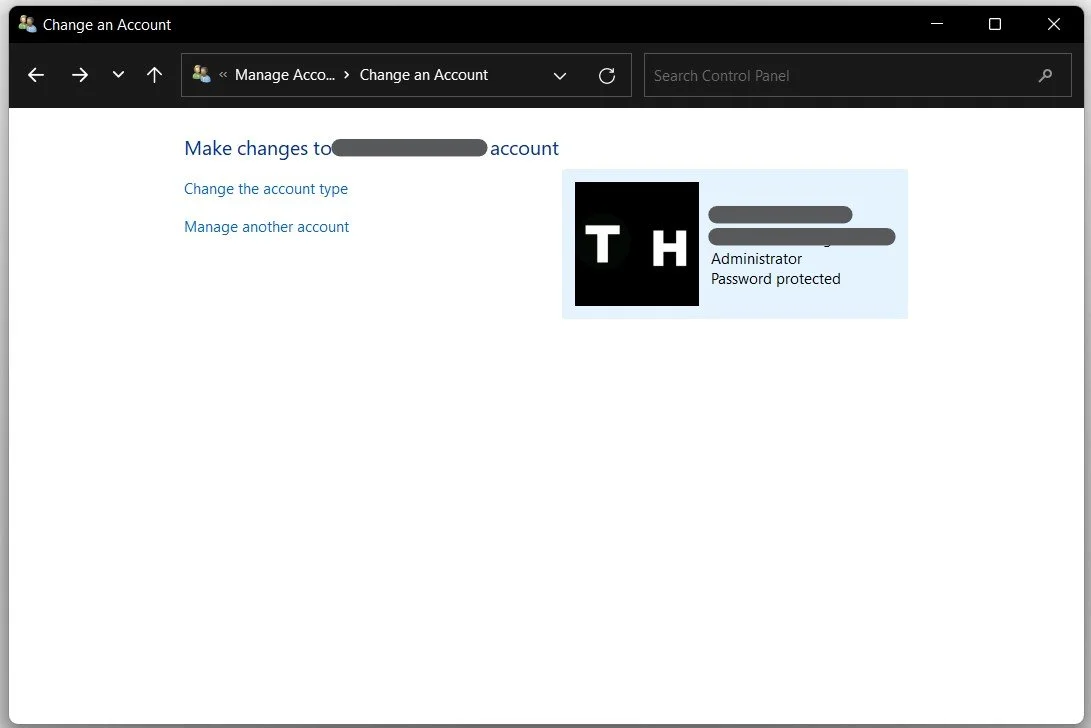
Set a new account name