

Unable To Toggle Real-Time Protection on Windows - Problem Fix
Introduction
Facing challenges with enabling Real-Time Protection on your Windows PC can be a hurdle in maintaining your system's security. This guide will walk you through the steps to unlock and regain control over this essential feature, simplifying the process to ensure your device stays protected against real-time threats. Whether the issue stems from system policies or corrupted files, our method focuses on using the Registry Editor to effectively resolve the problem, ensuring a smooth experience in managing your Windows Security settings.
Troubleshooting Real-Time Protection in Windows
Issues with Real-Time Protection in Windows Security can arise from various factors, including administrative restrictions or system file problems. These issues can prevent you from activating crucial security measures to protect your PC in real time.
Utilizing the Registry Editor for Resolution
To tackle this issue, the Registry Editor becomes a key tool. Working with the registry carries risks and can impact your system's operation, so ensure you have a registry backup before proceeding.
Steps to Access the Correct Registry Path:
Open the Registry Editor:
Type "regedit" into the Start menu search bar and press Enter to launch the Registry Editor.
Navigate to the Required Path:
Follow this directory:
Computer\HKEY_LOCAL_MACHINE\SOFTWARE\Policies\Microsoft\Windows Defender\Real-Time Protection.
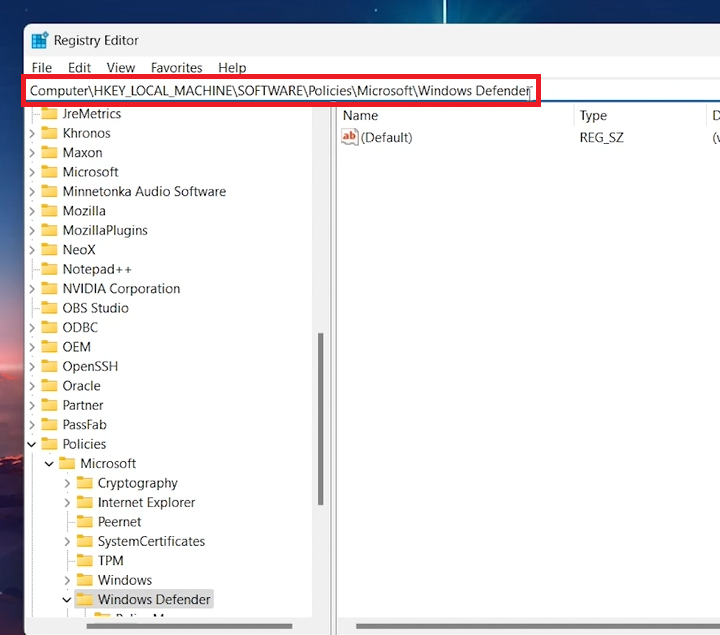
Access Registry Editor path
Removing Real-Time Protection Restrictions
Obstacles with toggling Real-Time Protection in Windows can be due to system policy modifications or registry configurations affecting Windows Defender's settings. Here’s how to restore functionality:
Steps to Remove the DisableRealTimeMonitoring Entry:
Access the Registry Location:
Navigate to
Computer\HKEY_LOCAL_MACHINE\SOFTWARE\Policies\Microsoft\Windows Defender\Real-Time Protectionusing the Registry Editor.If this path isn't available, try restarting your system to resolve temporary glitches.
Identify and Remove the Restrictive Entry:
Look for a registry entry named
DisableRealTimeMonitoring.Right-click on this entry and select "Delete," confirming any prompts to proceed. This deletion removes restrictions on Real-Time Protection functionality.
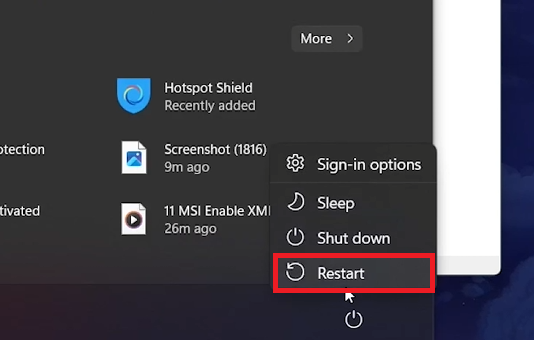
Restart Windows PC
Finalize Changes and Test:
Exit the Registry Editor.
Return to the Windows Security settings.
You should now have the flexibility to enable or disable Real-Time Protection, ensuring your PC's defense mechanisms are operational and adaptable to your security preferences.

Virus & Threat Protection Settings
This process effectively addresses and rectifies issues preventing the management of Real-Time Protection, reinforcing your system's resilience against potential security threats. By following these steps, you can ensure that your Windows PC stays protected with Real-Time Protection enabled.
-
This issue often arises due to system policy restrictions, software updates that limit access to this feature, or corruption in system files affecting Windows Defender settings.
-
Always back up the registry before making changes. Navigate to the specified path using the Registry Editor, and proceed with caution when deleting or modifying registry entries.
-
If the DisableRealTimeMonitoring entry is absent, it's likely that Real-Time Protection isn't restricted through the registry. Try restarting your PC to resolve any temporary glitches.
-
Changes should take effect immediately after restarting your computer. Check the Windows Security window to confirm that Real-Time Protection can be toggled.
-
Deleting this specific entry is generally safe and targeted at resolving the Real-Time Protection toggle issue. However, always ensure you're deleting the correct entry to avoid unintended system behavior.


