Fix Lag on Google Chrome - Windows 11

Google Chrome is one of the most popular web browsers, with millions of users worldwide. However, with the introduction of Windows 11, some users have reported experiencing lag and slow performance while using Google Chrome. This can be frustrating, especially for those who rely on the browser for work or daily browsing. Fortunately, there are several steps you can take to fix lag on Google Chrome in Windows 11. In this article, we'll explore some of the most effective solutions to help you optimize your browsing experience and improve performance. From clearing your cache to updating your drivers, we'll cover everything you need to know to get your Chrome browser running smoothly again.
Optimize the Google Chrome Settings
Open your Google Chrome browser and click on the burger menu at the top right of your browser window to access your settings.
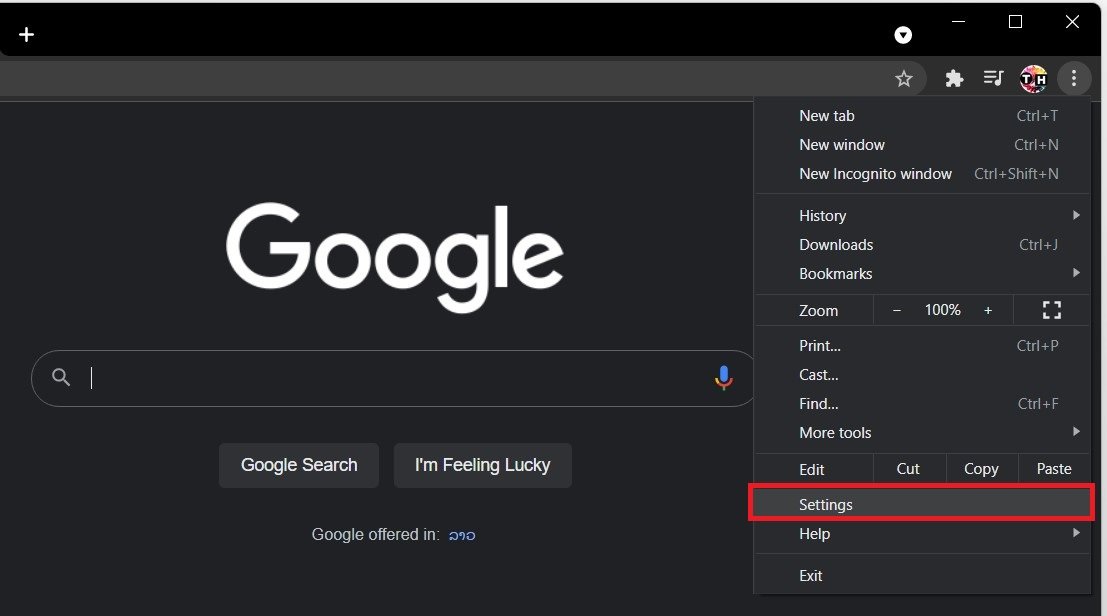
Google Chrome > Settings
Clear Browsing Data for Chrome
Search for Browsing Data, and select the Clear Browsing data setting. Lastly, choose Clear Data. In your Advanced Clear Browsing Data settings, set the time range to at least seven days, and uncheck Passwords and other sign-in data, as it will otherwise delete all of your saved passwords for the Chrome browser. This will improve your performance when using Chrome.
Clear the Chrome Browsing Data
Disable Hardware Acceleration
Search for Hardware Acceleration and uncheck the Use hardware acceleration when available option. This will prevent your browser from utilizing your graphics card to process certain tabs.
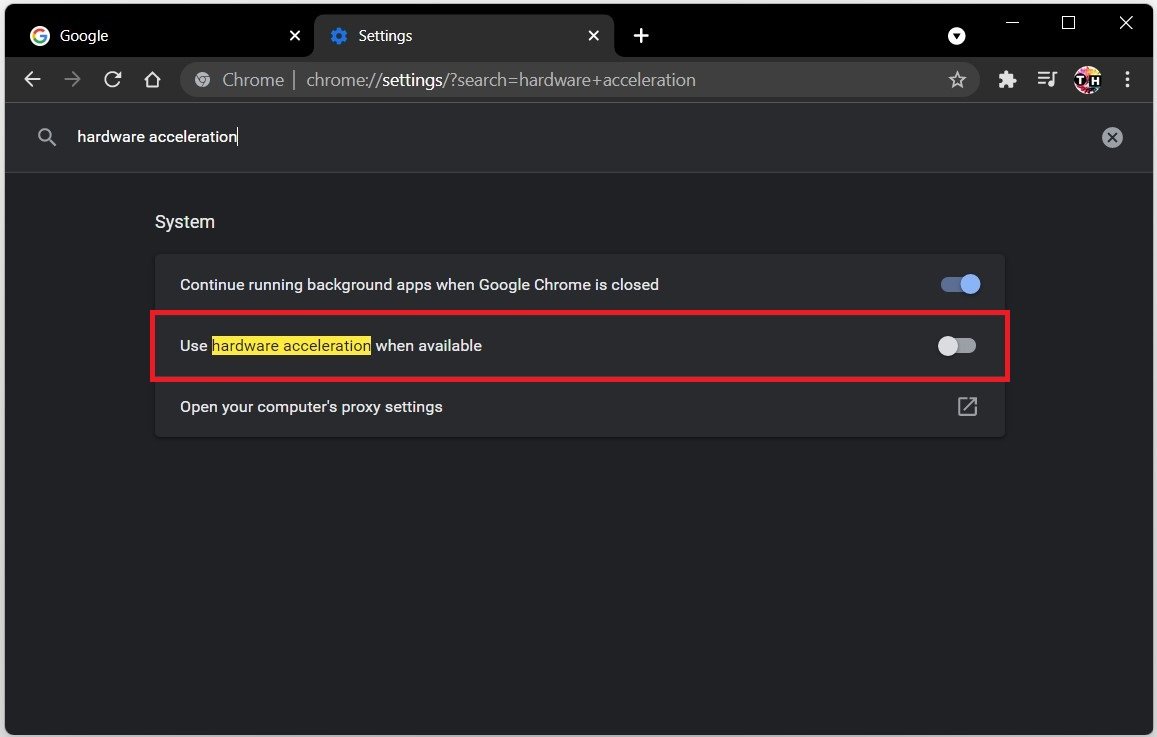
DIsable the Use hardware acceleration when available option
Disable your Chrome Browser Extensions
Right-click an extension and select Manage Extensions, or navigate to your burger menu, More Tools and select Extensions.
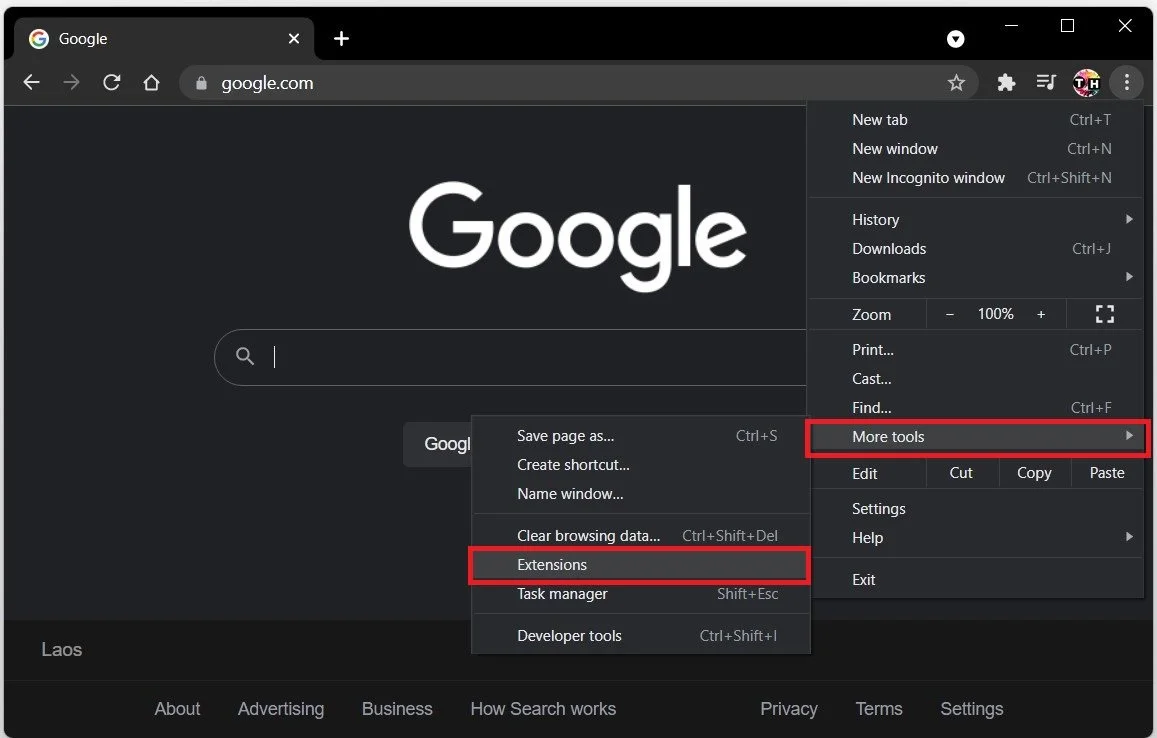
Google Chrome > More Tools > Extensions
Preview all your installed, disabled, and enabled extensions for your Google Chrome browser. We suggest removing or disabling some extensions you don’t need. Some of these extensions will also run after closing your chrome browser and utilizing your resources. The best way to troubleshoot if the browser extensions are the culprit of your lag, you should disable them all and then slowly enable them one at a time to see which one is causing your problems.
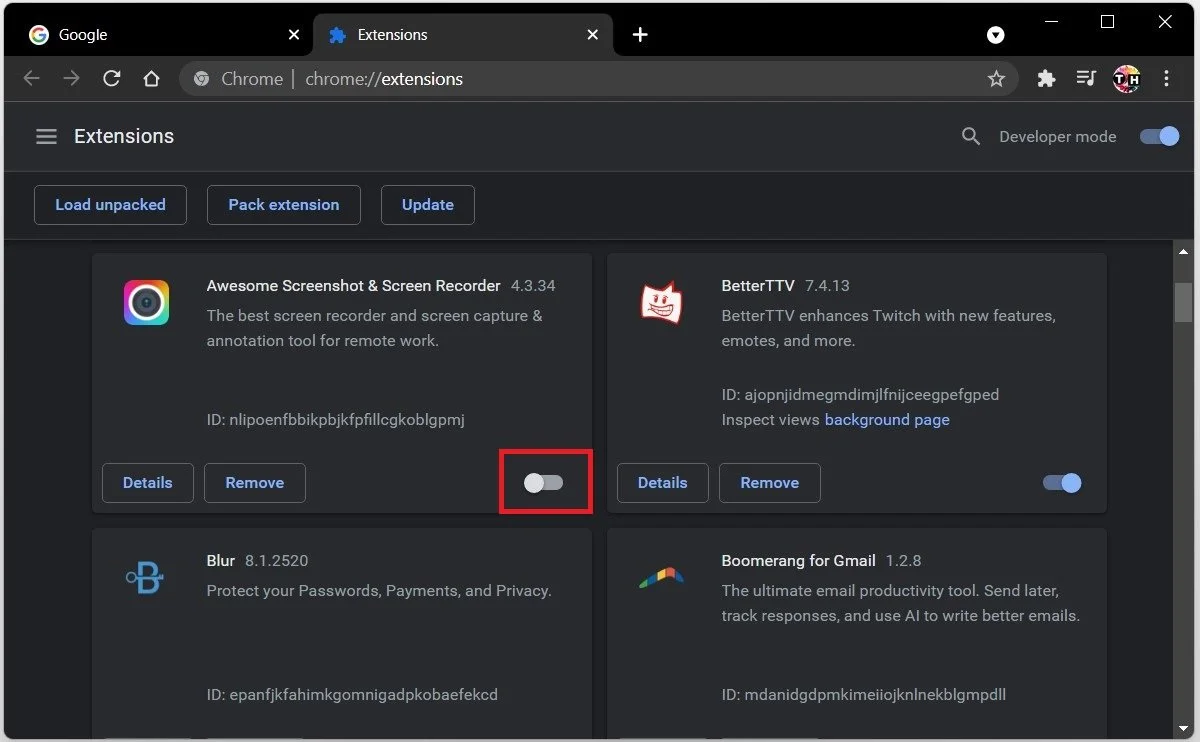
Disable Chrome Browser Extensions
End Resource-Intensive Processes
If you still experience lag while using your Chrome browser on Windows 11, you might have programs running in the background that use up your available resources. Open up your Task Manager by right-clicking your start menu icon and selecting it.
In the Processes tab, make sure to end some programs from running in the background, but make sure only to end the processes which you know won’t break your operating system. In addition, Chrome is known to use up your available RAM. Make sure to end programs from running that use up your RAM, such as Adobe applications, OBS or Office 365 applications.
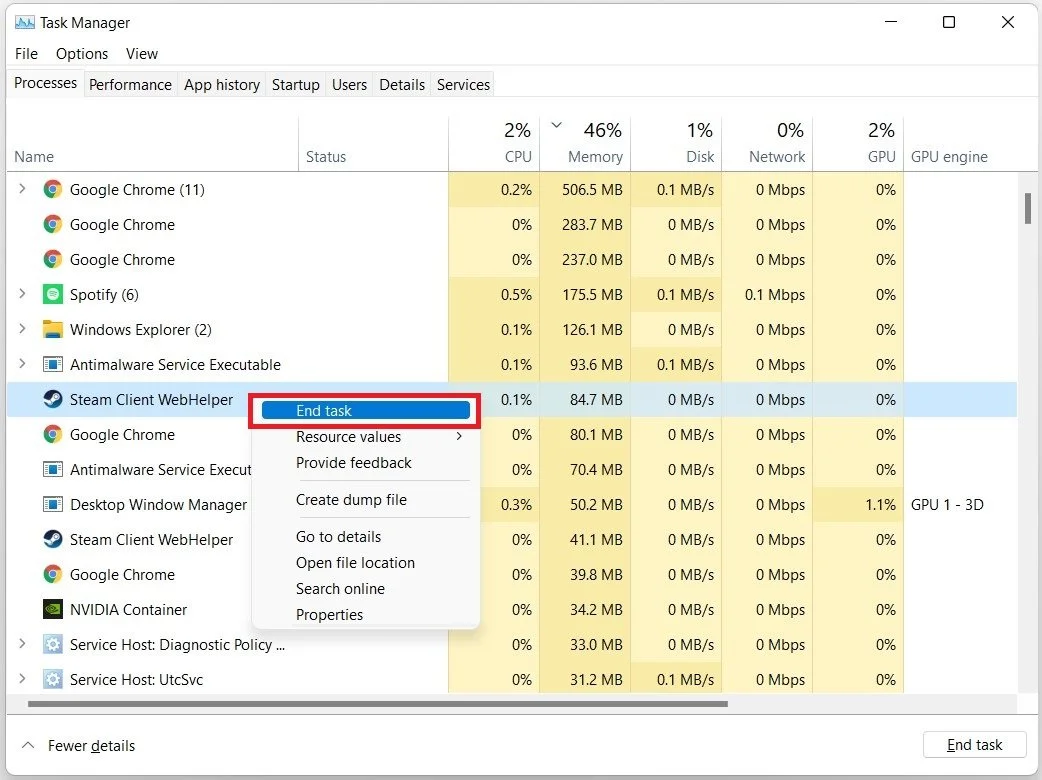
End Memory-Hungy Processes and Applications
Windows OS Update
While using your Chrome browser, you should limit the number of open tabs. Ensure you are running the latest Windows 11 version on your system. Search for Update in your start menu search to open your Check for updates system settings window. Click on Check for Updates, Download Now or Install Now. After downloading the latest update, restart your PC, which will also restart the Google Chrome services.
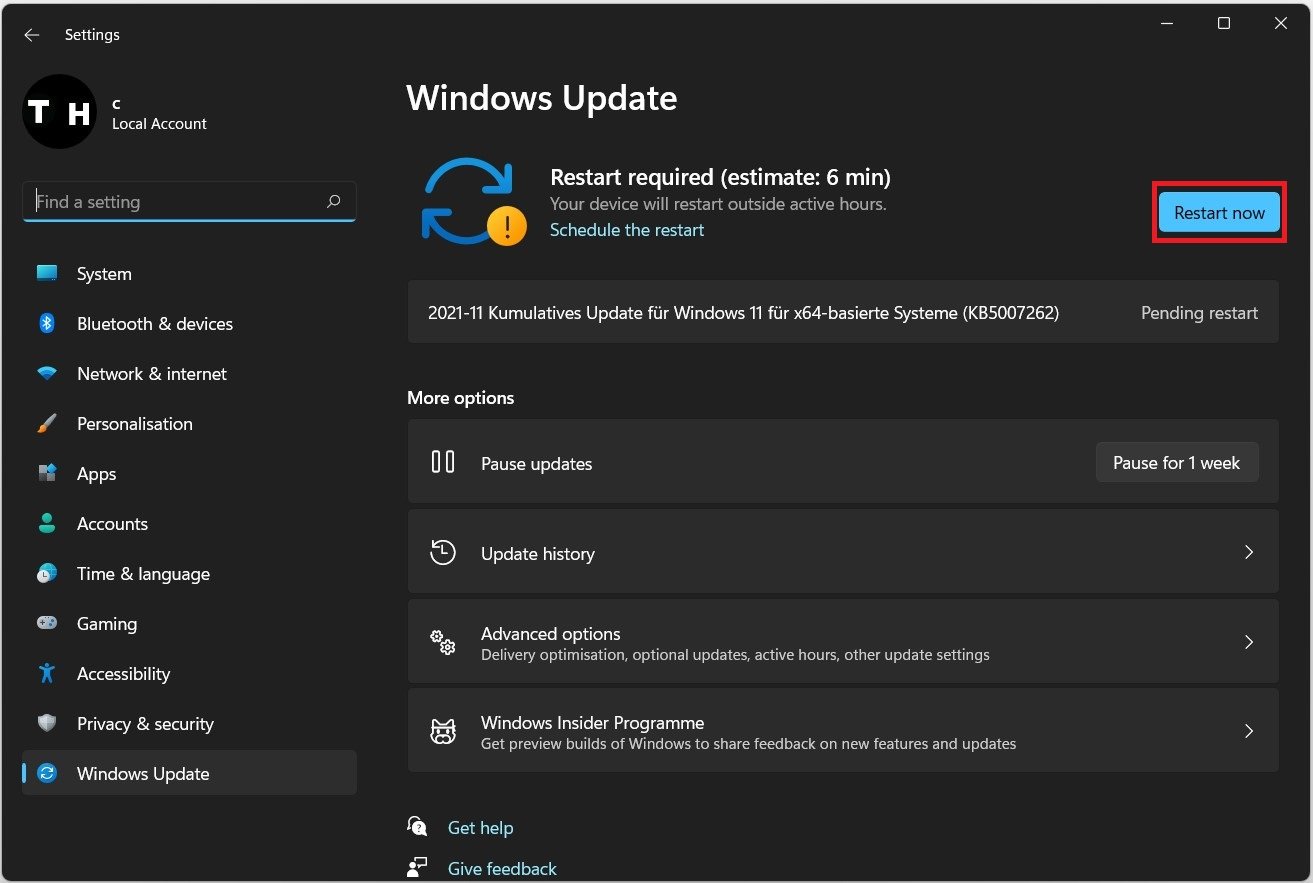
Windows Settings > Windows Update