

Fix Blurry Icons & Fonts on Windows 11

If you've upgraded to Windows 11, you might have noticed that some icons and fonts appear blurry, making it difficult to read or identify them. This can be a frustrating experience, but don't worry; there are solutions to resolve this problem. In this article, we'll provide you with a comprehensive guide on how to fix blurry icons and fonts on Windows 11. Whether you're using a high-resolution display or a standard one, these tips and tricks will help you sharpen your display and improve your overall user experience. So, let's dive in and explore some effective methods to get your icons and fonts looking crisp and clear on Windows 11.
Adjust the Windows Display Settings
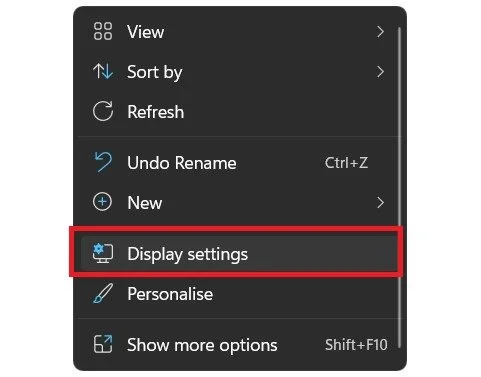
Right-click your desktop and select Display Settings.
On the window, ensure that under Scale, the option is set to 100% and that the Resolution is set to your native monitor resolution.
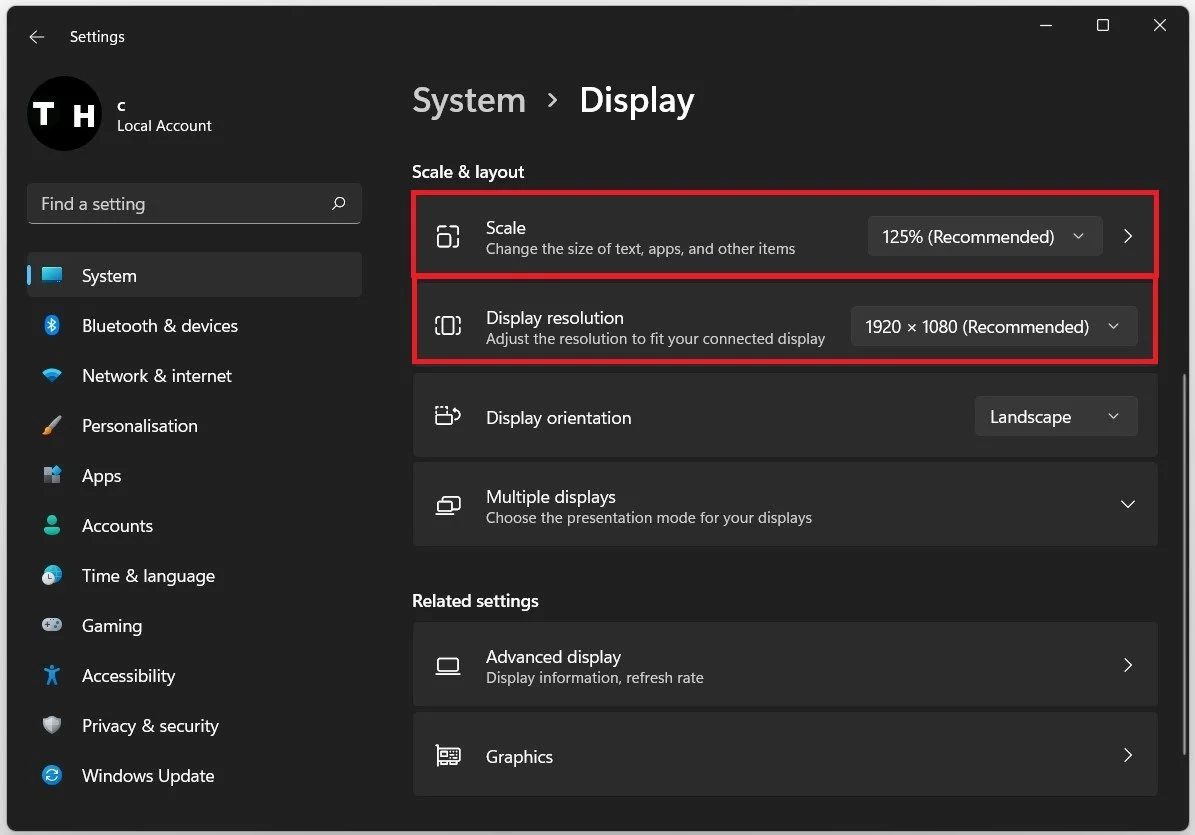
Windows Settings > System > Display
Open up the Advanced Display Settings under Related Settings.
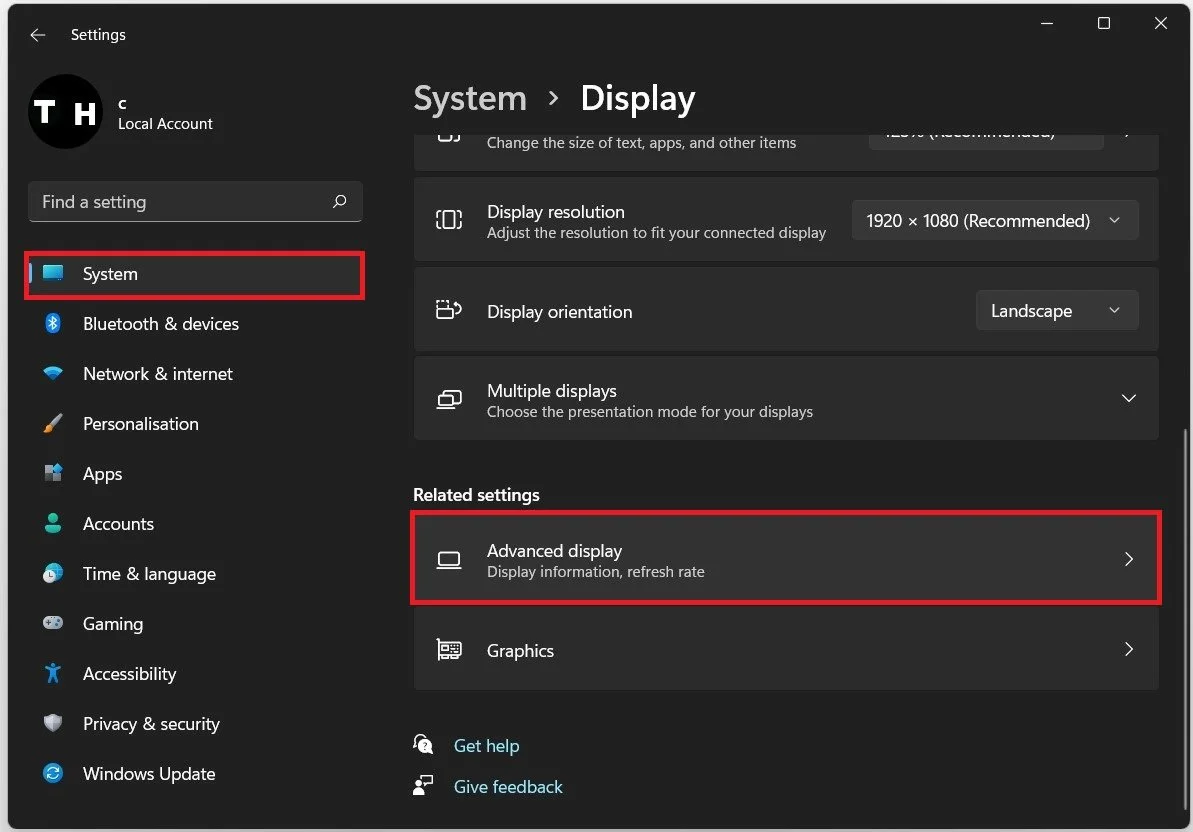
Windows Display Settings > Advanced Display
Make sure to use the highest available refresh rate.
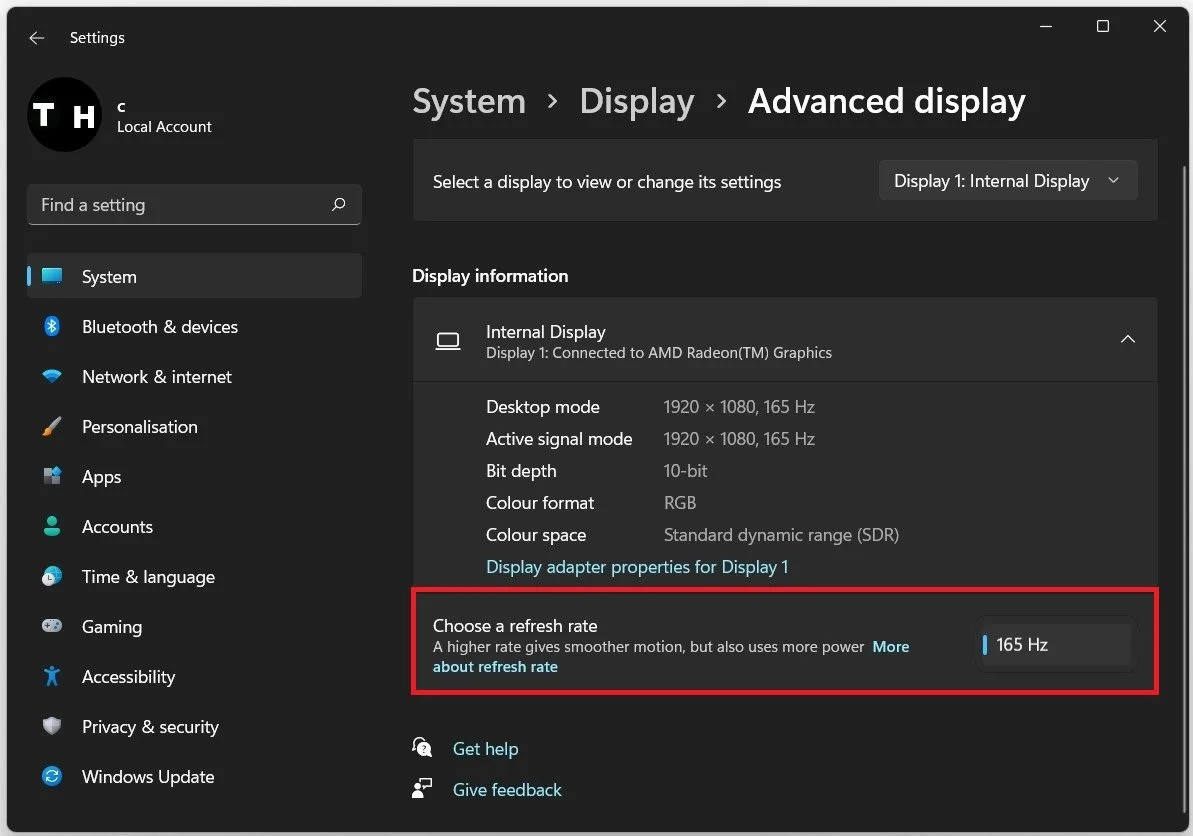
Windows Display Settings > Advanced Display > Choose a refresh rate
Update Display Adapter or Graphics Card Driver
If this did not fix your issue, then your blurriness could be caused by outdated display drivers. Search for Device Manager in your start menu search or your settings, depending on which version of Windows you use. Expand Display Adapters, right-click your Graphics card, select Update Driver, and Search automatically for drivers.

Device Manager > Display Adapters > Update Driver
This will take a moment to ensure that your display driver is up to date. In case you are using multiple GPUs, ensure to repeat this step for each one of them. If you are using an NVIDIA graphics card, you can also use the GeForce Experience application. In the Drivers tab, select Download, and the application will automatically download and install the latest driver.
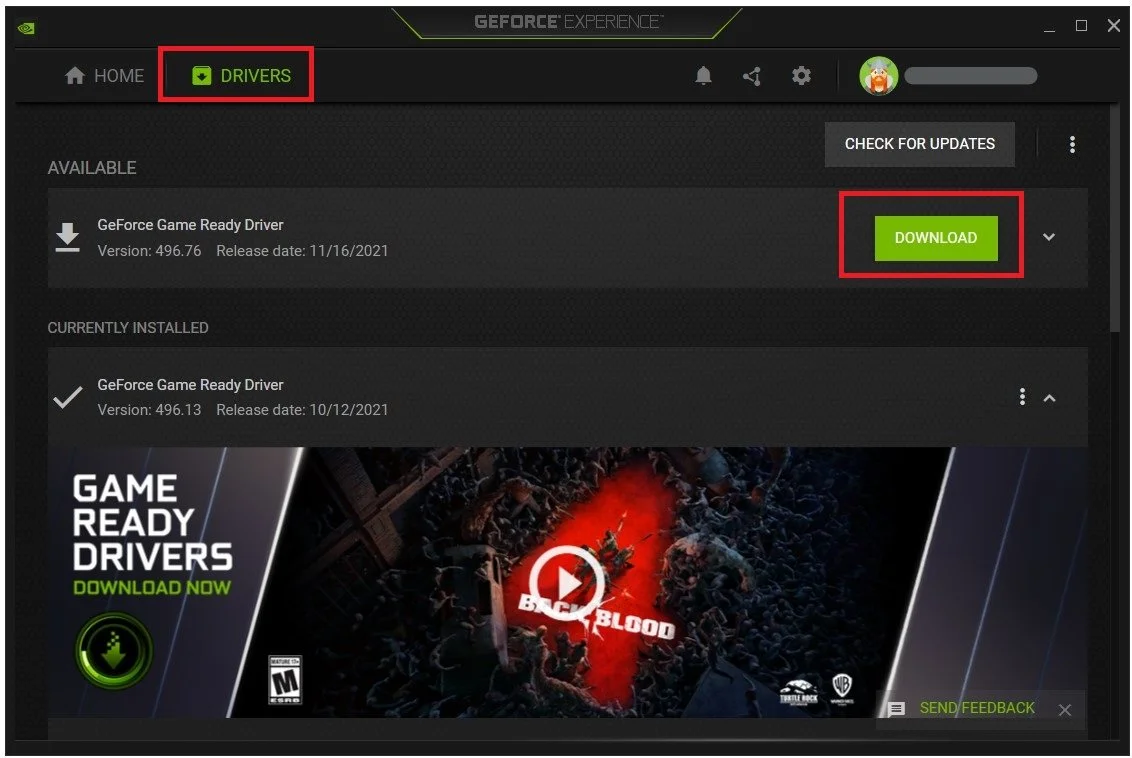
GeForce Experience > Drivers > Download
Windows Software Update
You can now close the window and search for Update in your start menu search to open up your search for updates system settings window. Download the latest update and restart your PC to install it.
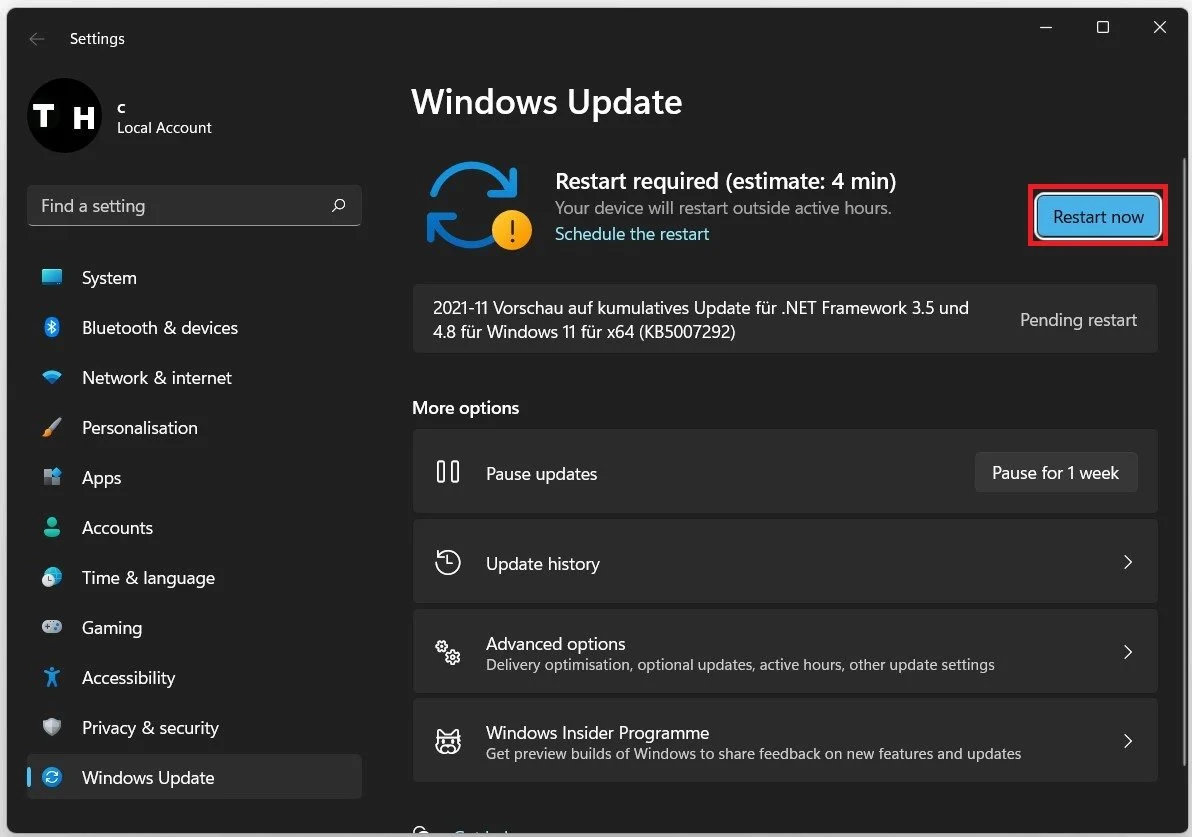
Windows Settings > Windows Update
Change the DPI Scaling in the Registry Editor
If this did not fix your issue, you must make a few adjustments in the Registry Editor. Use the shortcut Windows key & R, to open up this dialogue box, or right-click the Windows icon and select Run. Type regedit and hit enter.
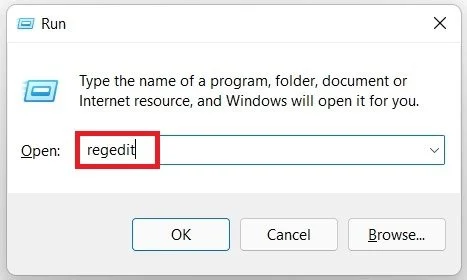
Run > RegeEdit
After a second, your registry editor will open up. Navigate to: HKEY Current User > Control Panel > Desktop, and select the desktop folder.
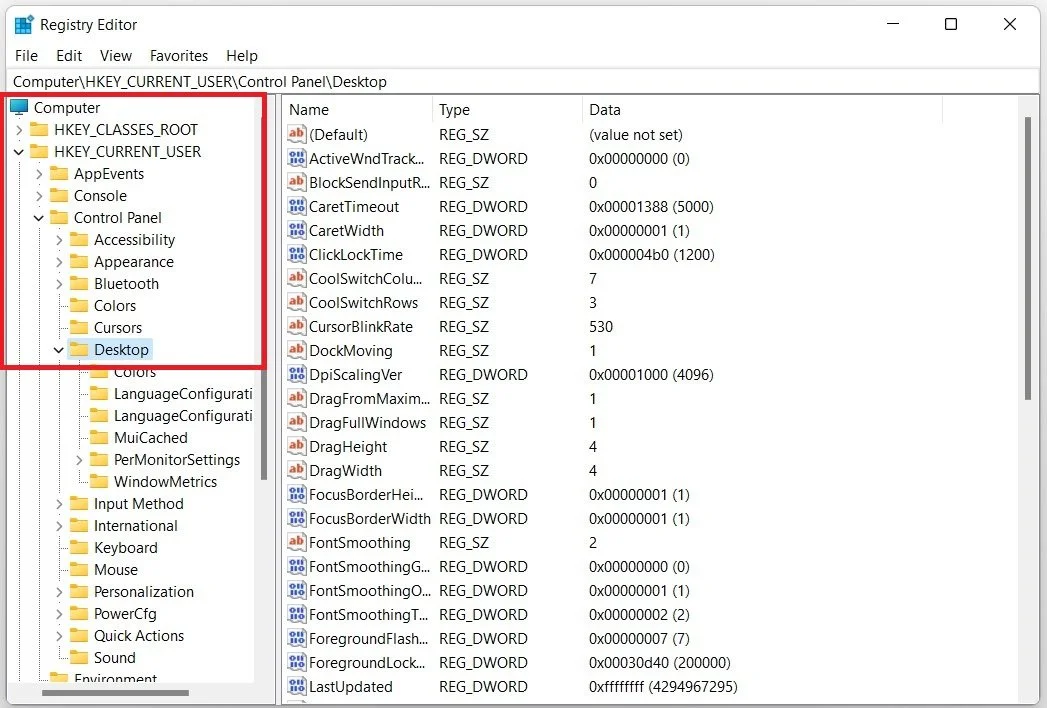
HKEY Current User > Control Panel > Desktop
On the right hand side, select Win8DpiScaling on the bottom here, and go to Modify.
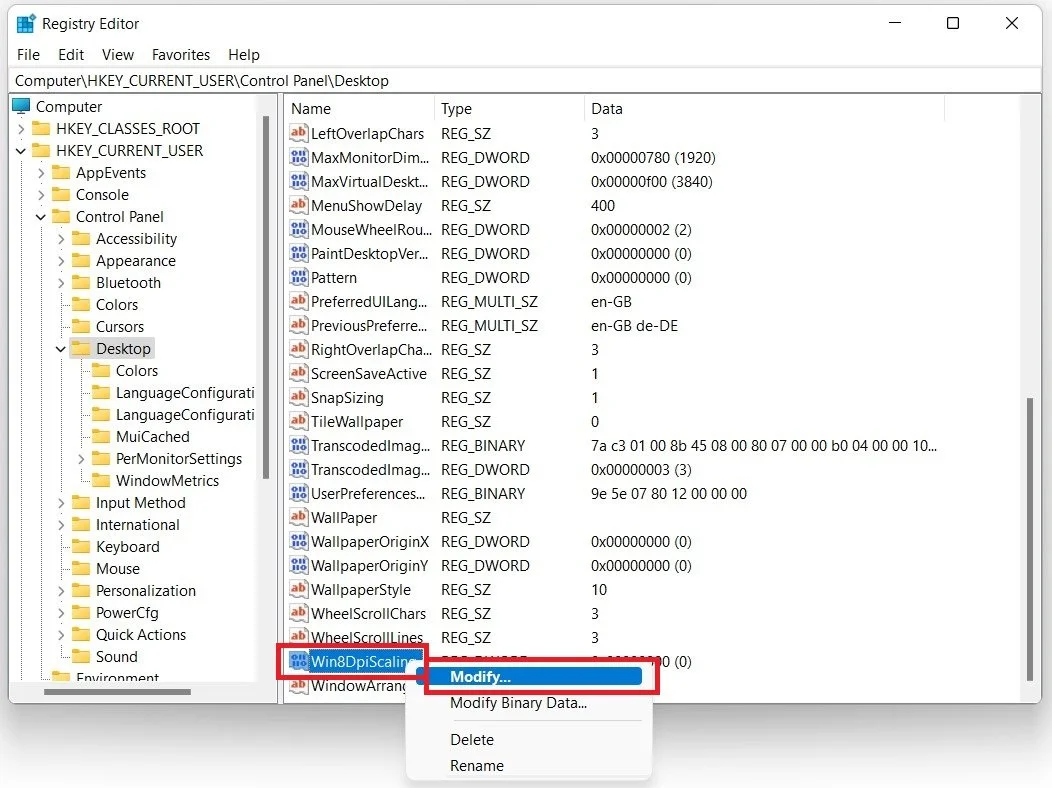
HKEY Current User > Control Panel > Desktop > Win8DipScaling
As you can see, the value is set to 0, which means that it’s turned off. Simply enter the value 1 and select Ok.
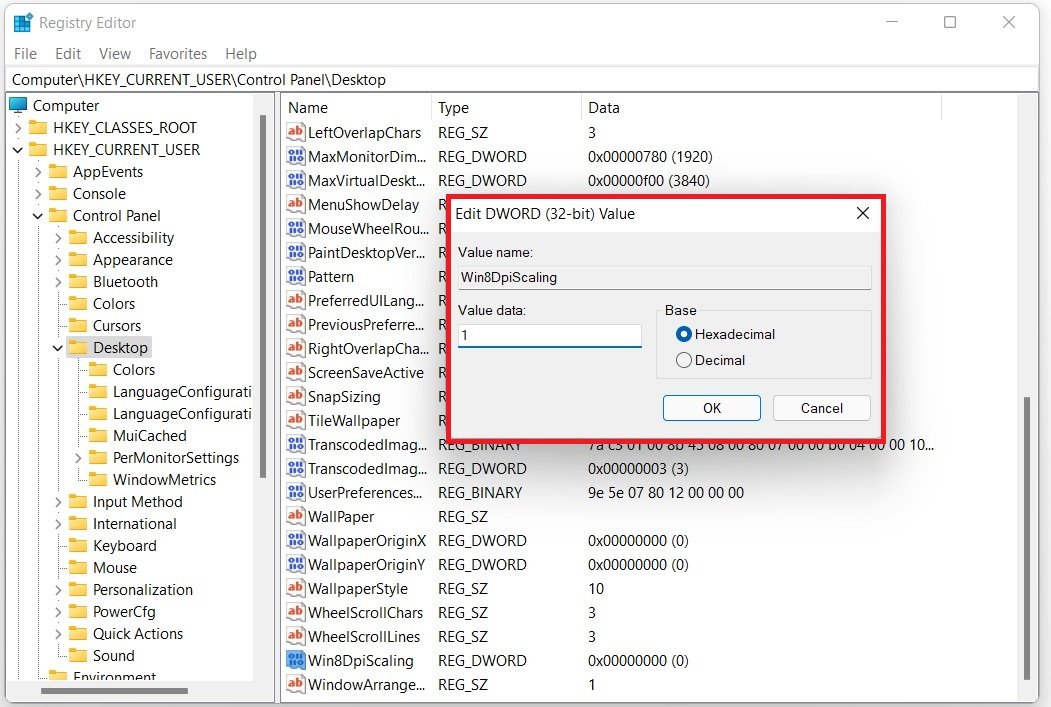
Enter the value 1 to enable the Windows Image Scaling
Right-click some empty space in the desktop folder and select to create a new DWORD 32 bit value.
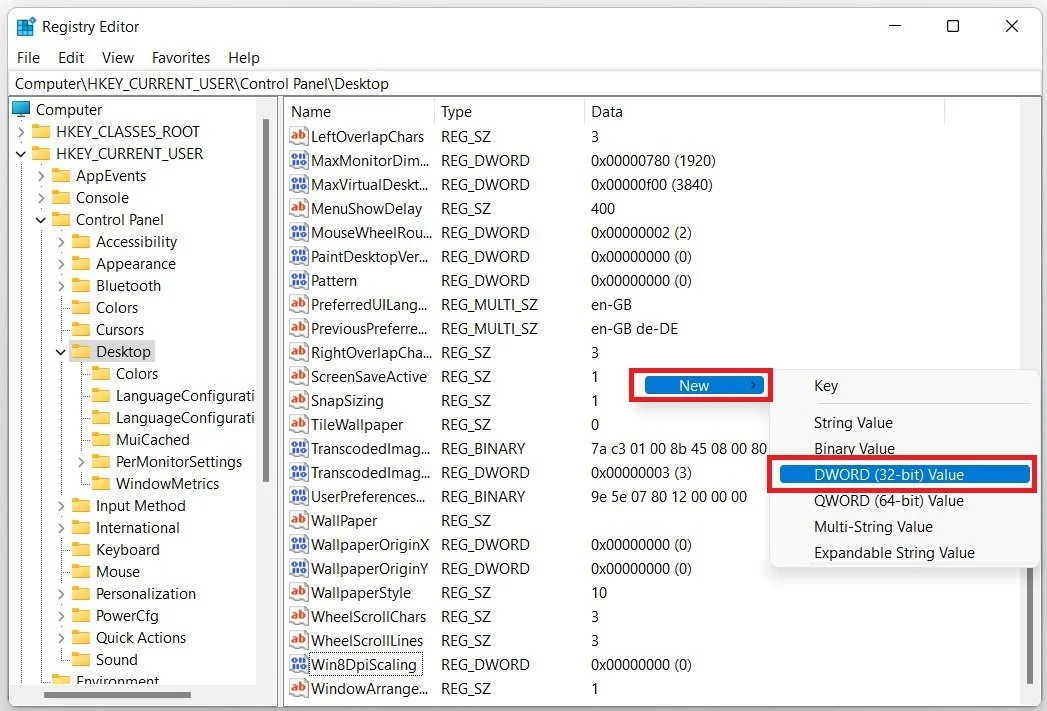
Control Panel > Desktop > New > DWORD 32 Bit Value
Ndame it LogPixels. Lastly, right-click the DWORD and set the value data to 78, and base to hexadecimal.
Change the DWORD value data to 78 and save your changes


