How To Quickly Enable RTX Ray Tracing for Minecraft

Minecraft is a game that has been around for over a decade, but it never gets old. With the advancements in technology, we can now enjoy an even more immersive and visually stunning experience with the addition of RTX Ray Tracing. This technology allows for realistic lighting, reflections, and shadows that enhance the game's overall aesthetic. However, enabling RTX Ray Tracing can be daunting, especially if you are new to Minecraft. This tutorial will guide you on how to quickly enable RTX Ray Tracing for Minecraft so that you can enjoy the game in all its glory.
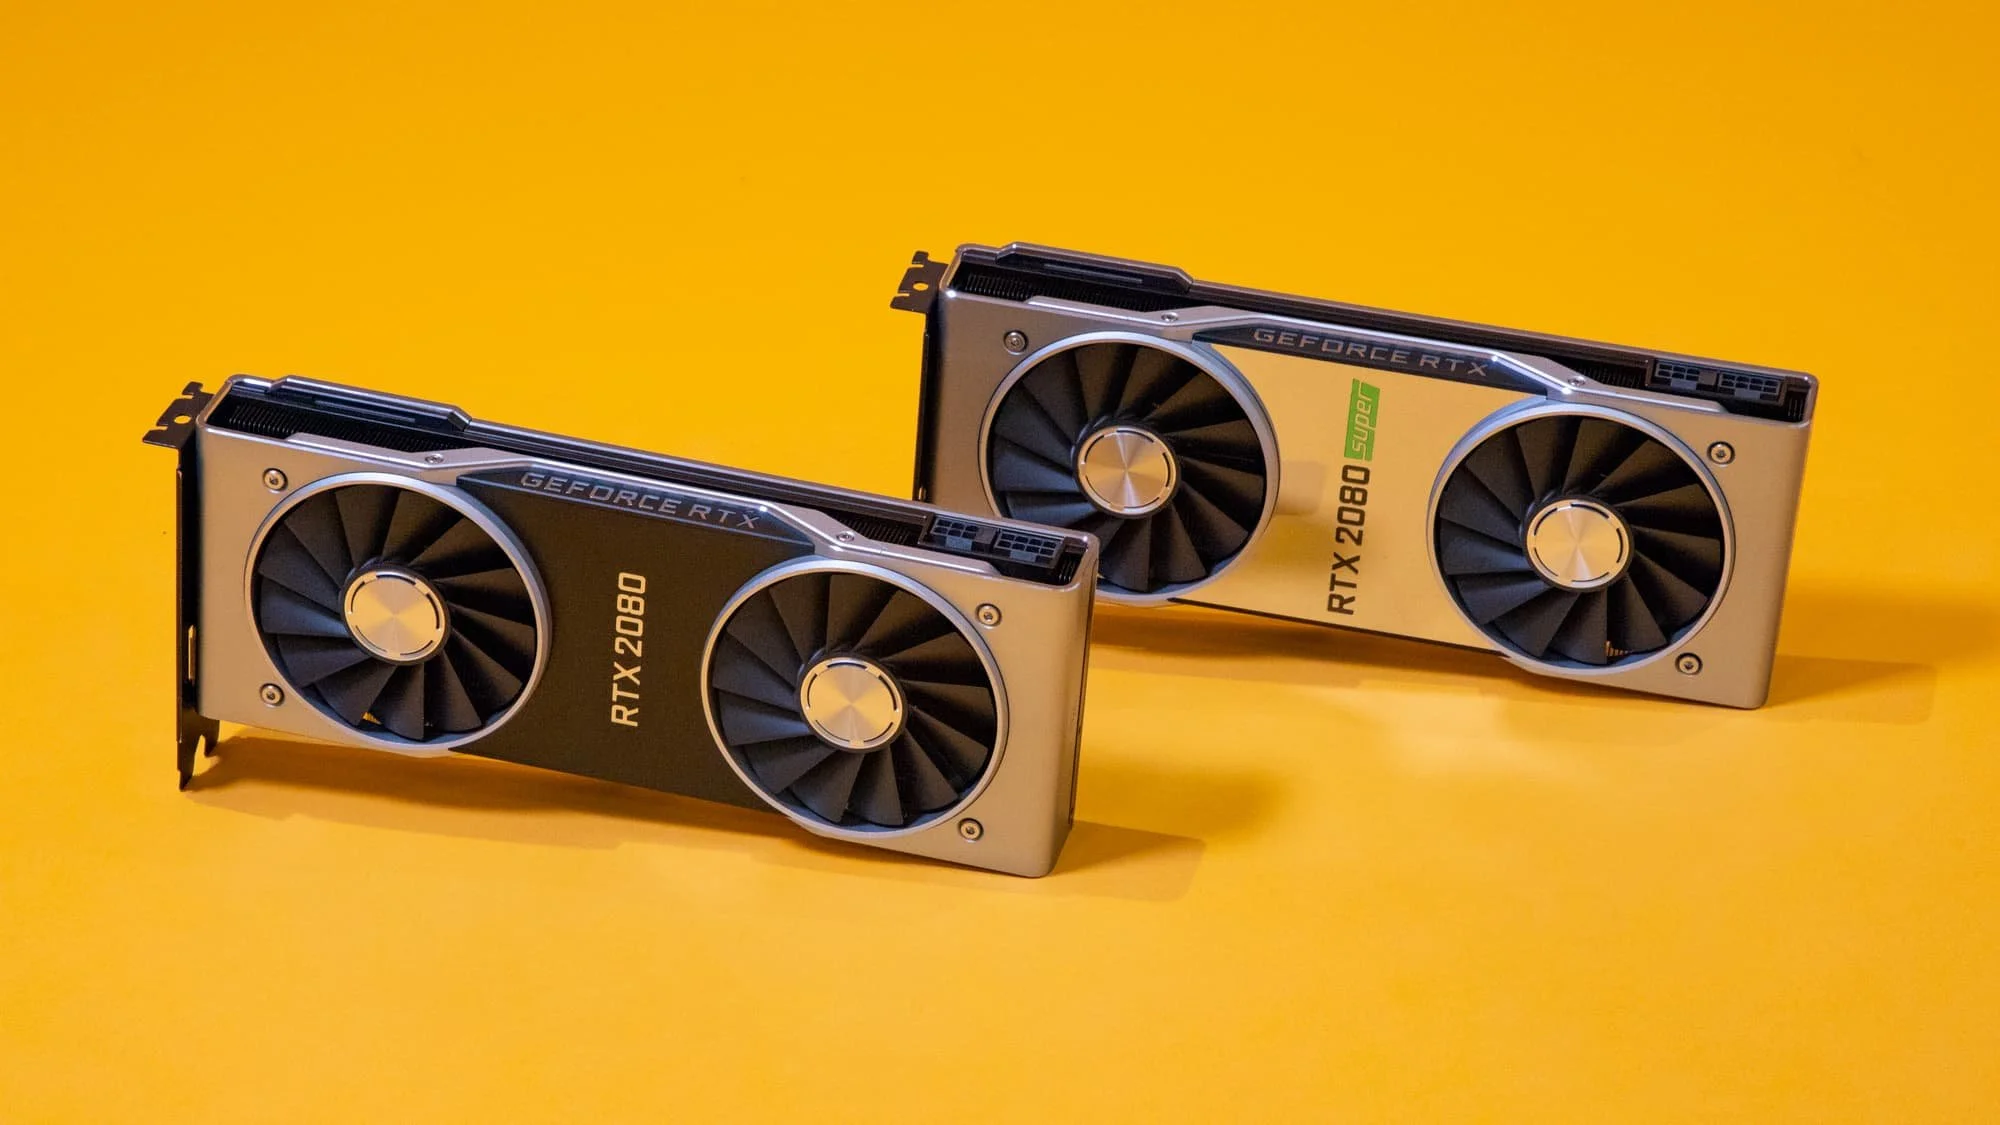
Minecraft Ray Tracing Minimum GPU Requirement
Before enabling Ray Tracing for Minecraft, ensure that this resource-demanding feature is compatible with your graphics card. Currently, GPUs such as the NVIDIA RTX 2060 or higher will enable you to enable Ray Tracing and run it smoothly on your PC.
Update Your Graphics Driver
Ensure your graphics driver is up to date. I recommend using the GeForce Experience application to update your NVIDIA GPU driver. In the Drivers tab, click on Download. This will take a minute to download and automatically install the latest graphics driver.
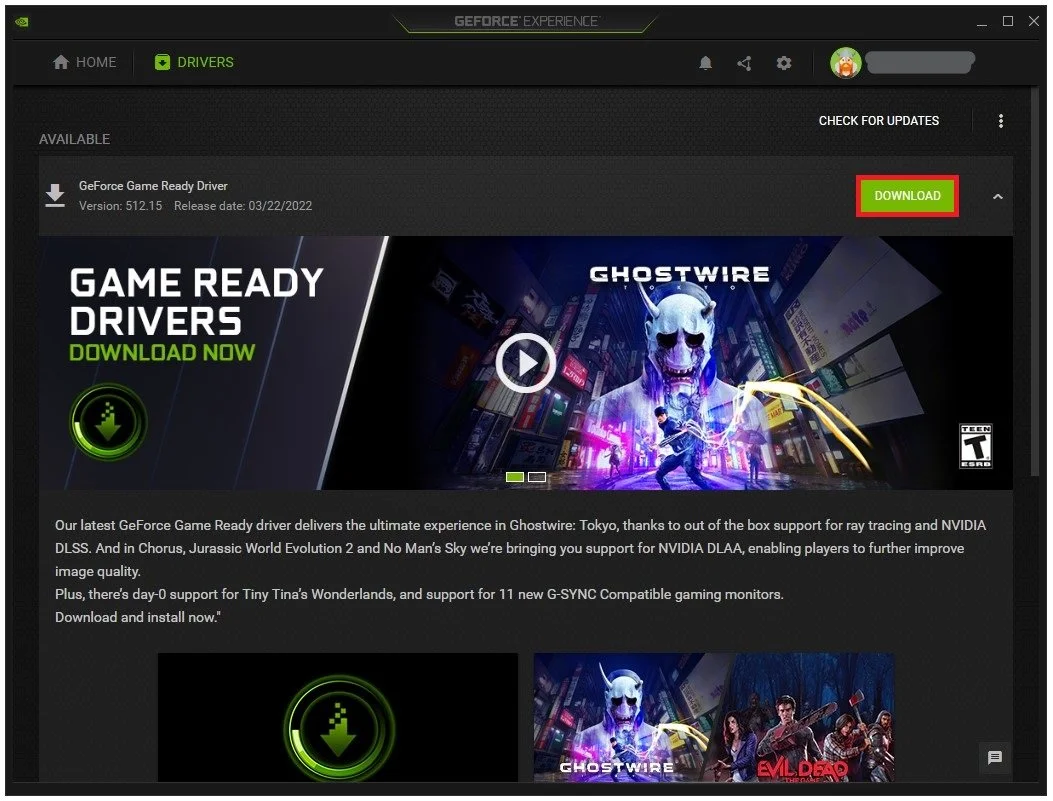
GeForce Experience > Drivers > Download
Update Minecraft Application
Use the latest Minecraft for Windows application, which can be downloaded from the Microsoft Store.
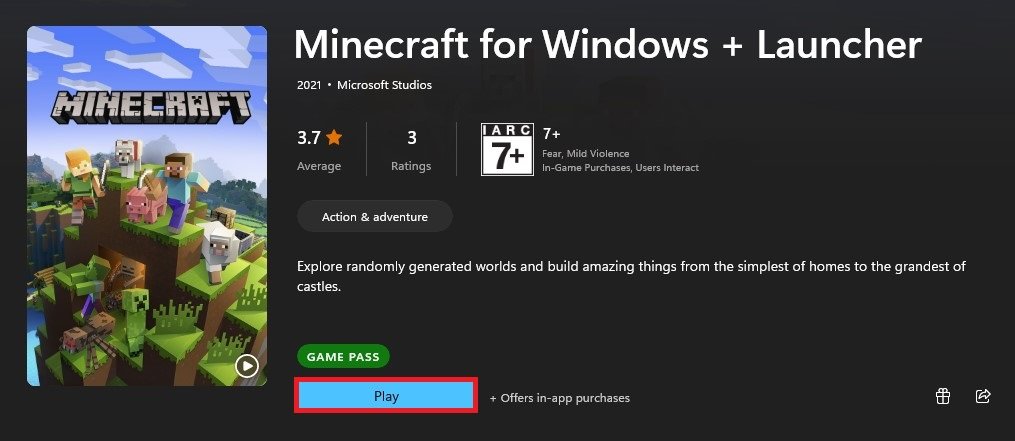
Microsoft Store > Minecraft for Windows
Minecraft Marketplace
Open up the Minecraft app on your PC. Make sure you’re logged in with your Microsoft account and select Marketplace from the title screen.
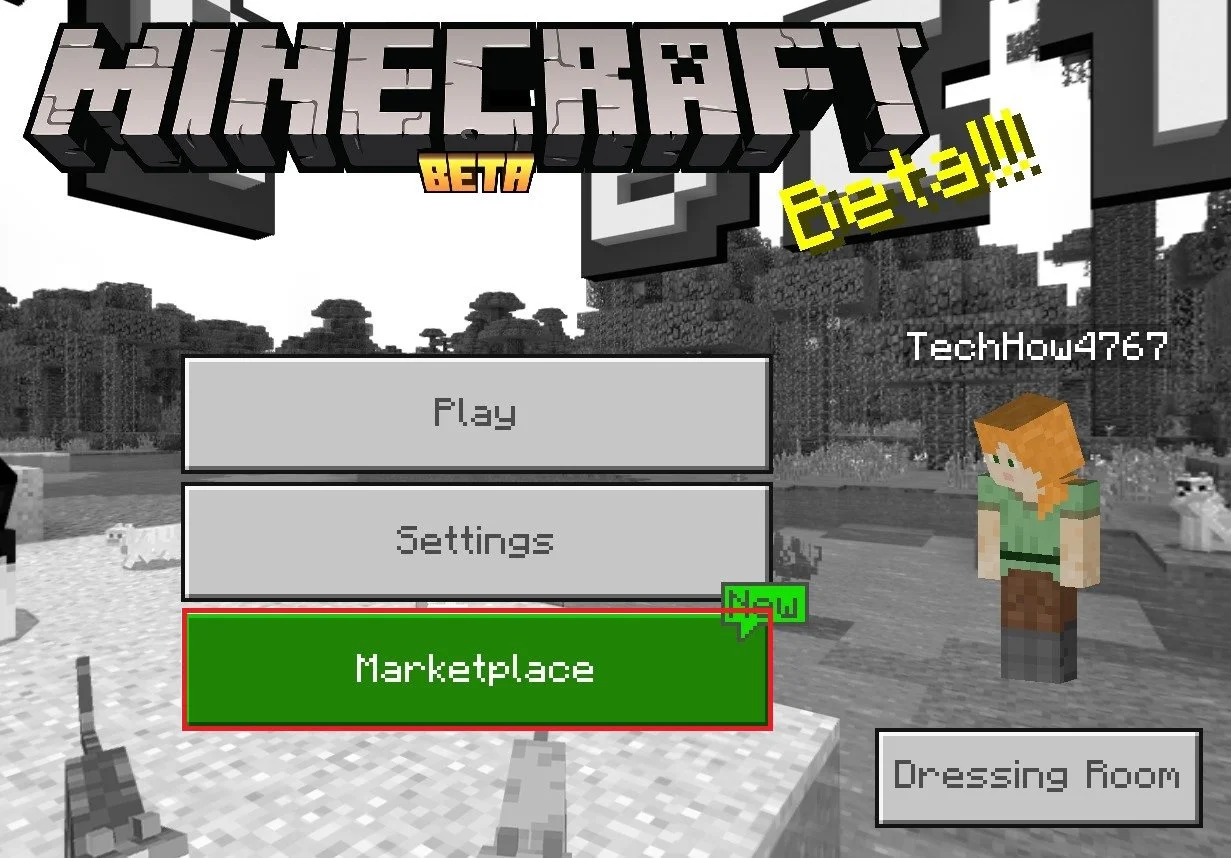
Minecraft > Marketplace
Download RTX Content Pack
Search for RTX in the marketplace. If you are using an RTX graphics card, then you should be able to preview the RTX content packs.
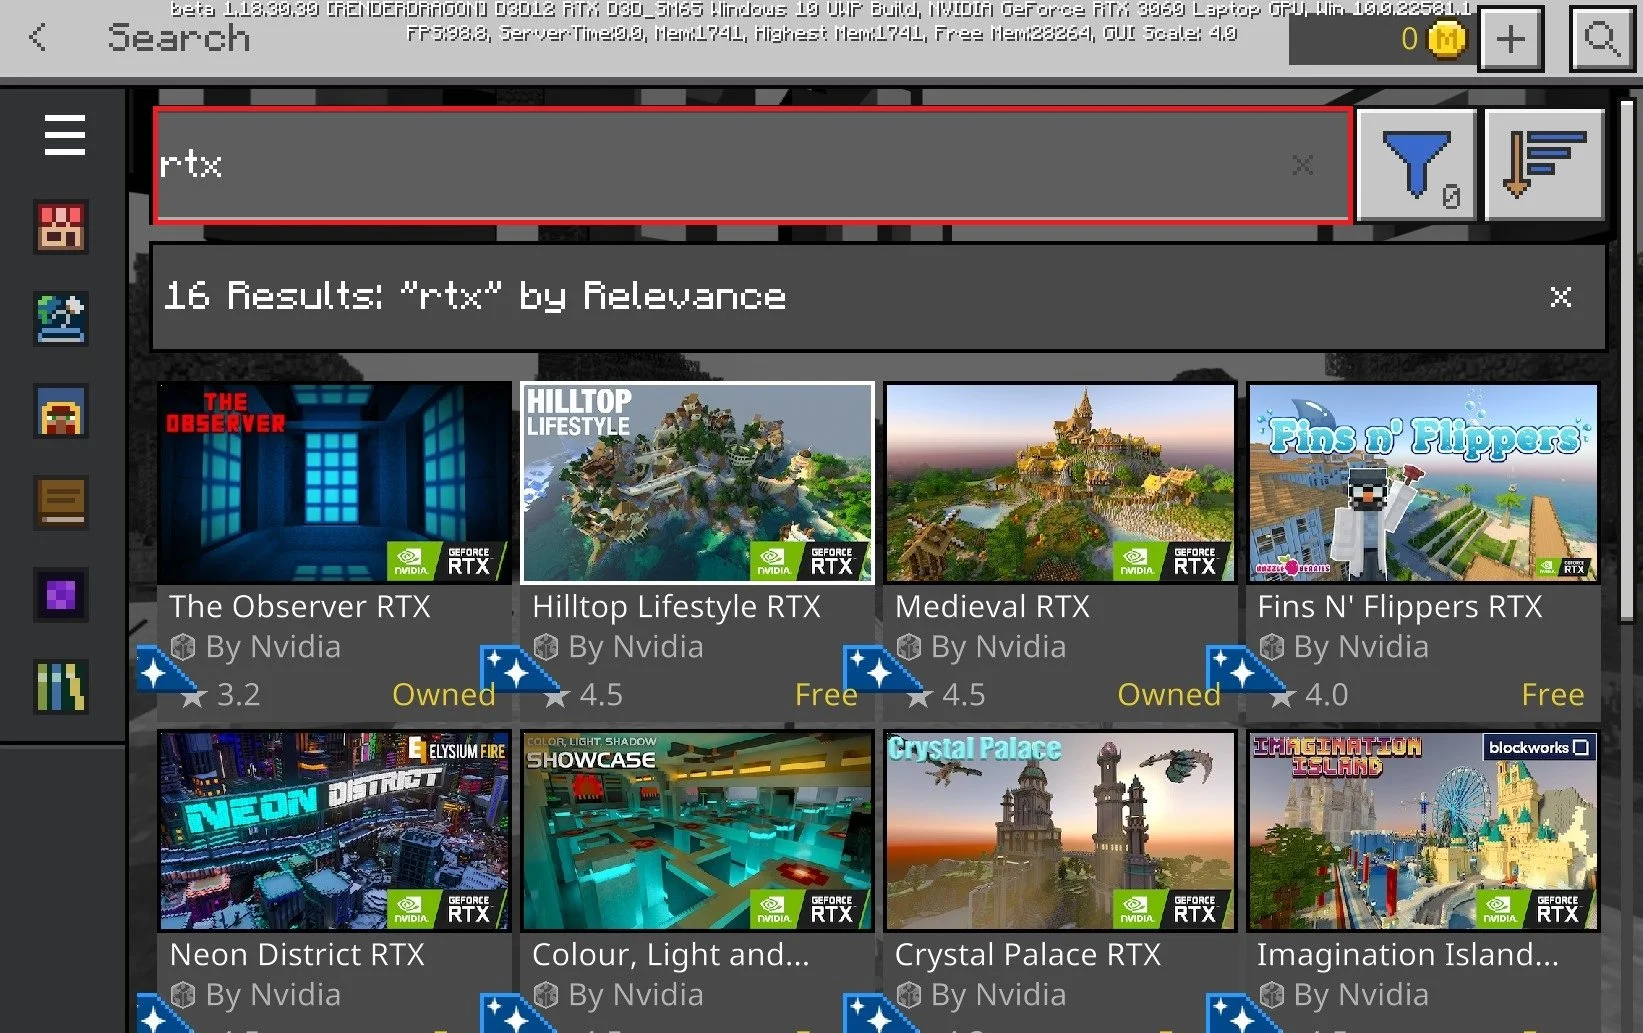
Minecraft Marketplace > RTX
Create an RTX Ray Tracing World
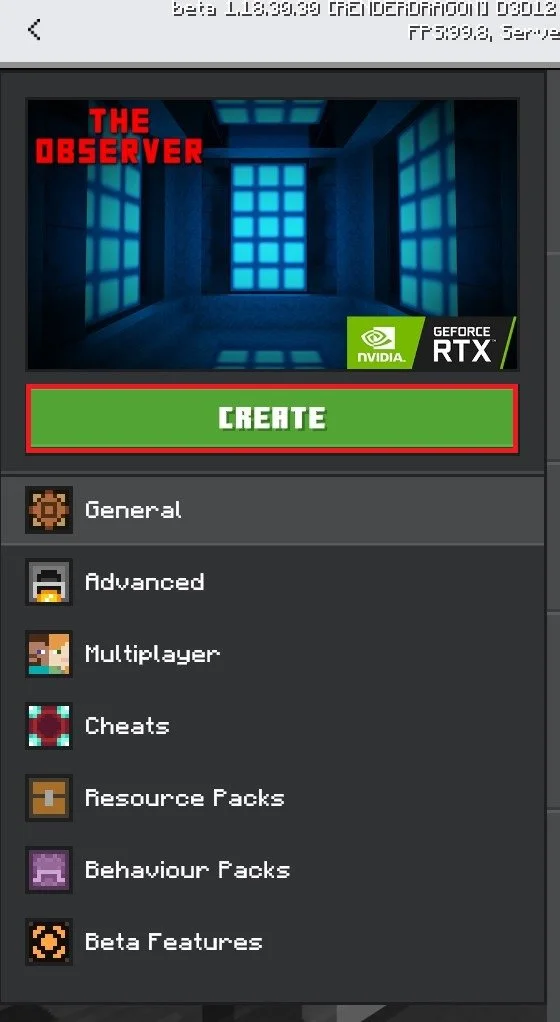
Make sure to download any content pack you wish to use, most Ray Tracing content packs are branded with the NVIDIA RTX logo. Select to download the content when clicking on the thumbnail. After completing the download, select Create this World for the downloaded content.

Create this world!
This will download the RTX functionality and will enable you to play the world with Ray Tracing.
Play the world with RTX Ray Tracing enabled
Enable RTX Ray Tracing
While playing in the world, open up your settings, and under Video, scroll down to enable Ray Tracing. Change the Ray Tracing Render Distance, which will have a lot of impact on the performance of your PC while playing Minecraft.
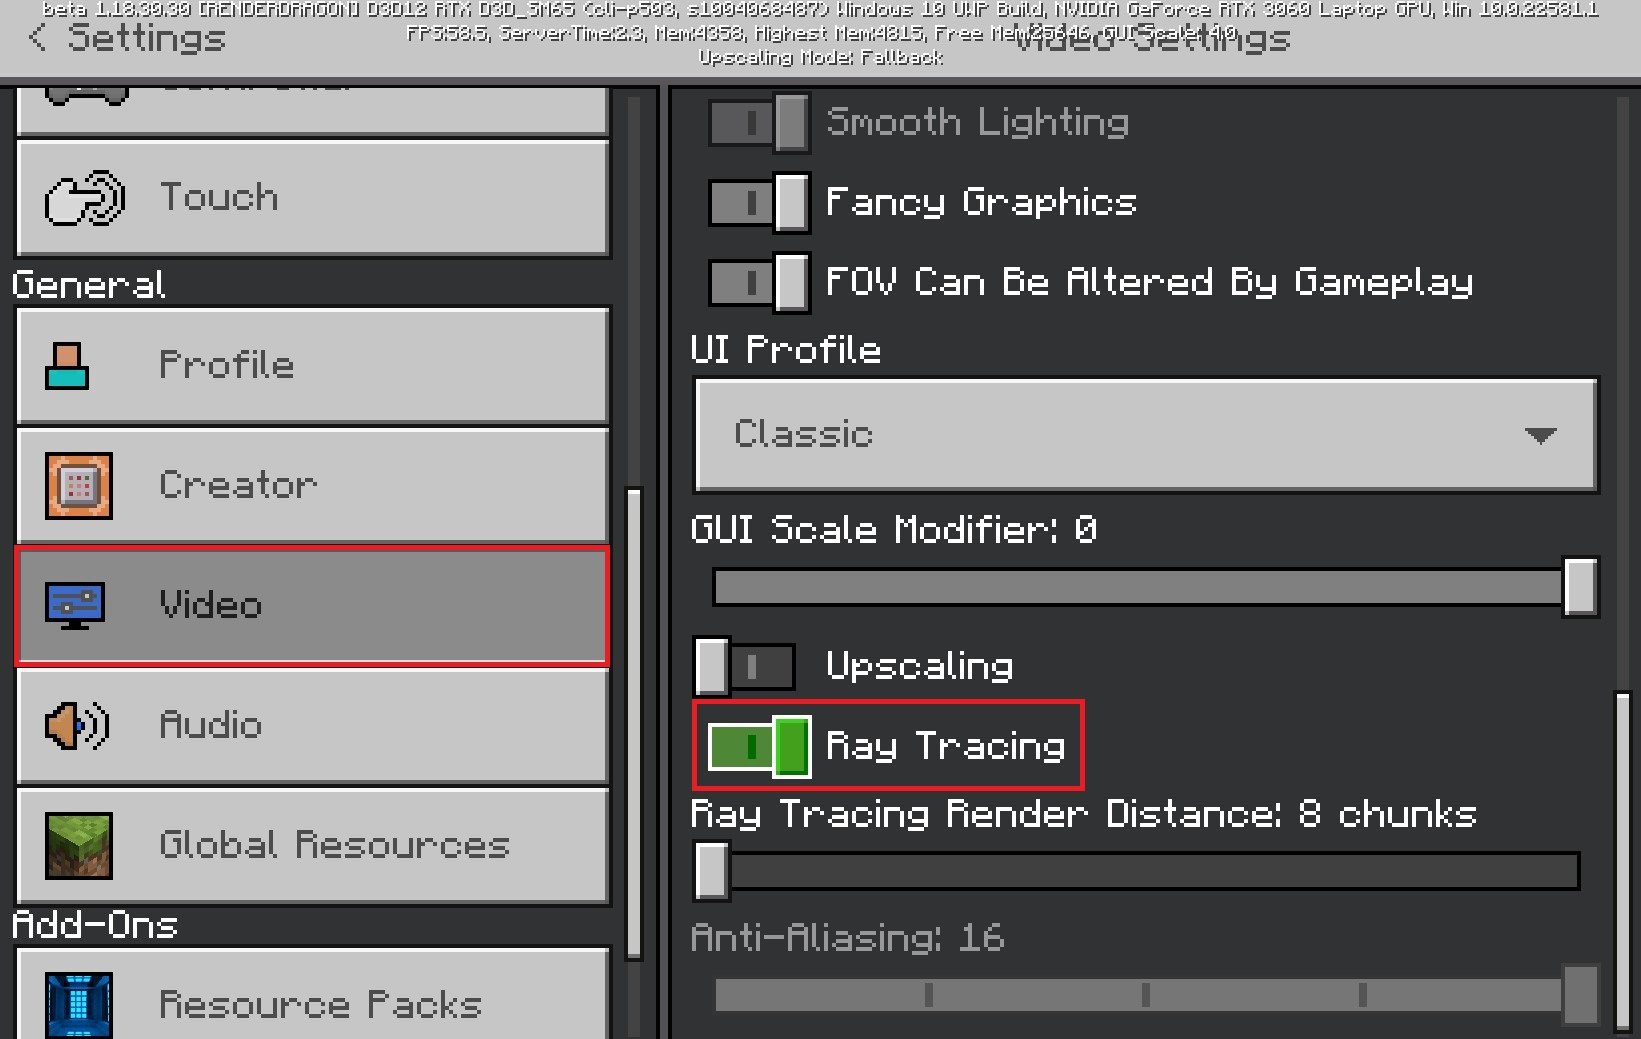
Minecraft Settings > Video > Ray Tracing
Back in the game, you should see that RTX Ray Tracing is enabled in this particular world.

Create New Ray Tracing World
Lastly, exit out of this world and select to create a new world. You can then select the downloaded RTX resource pack and apply it to your new world.
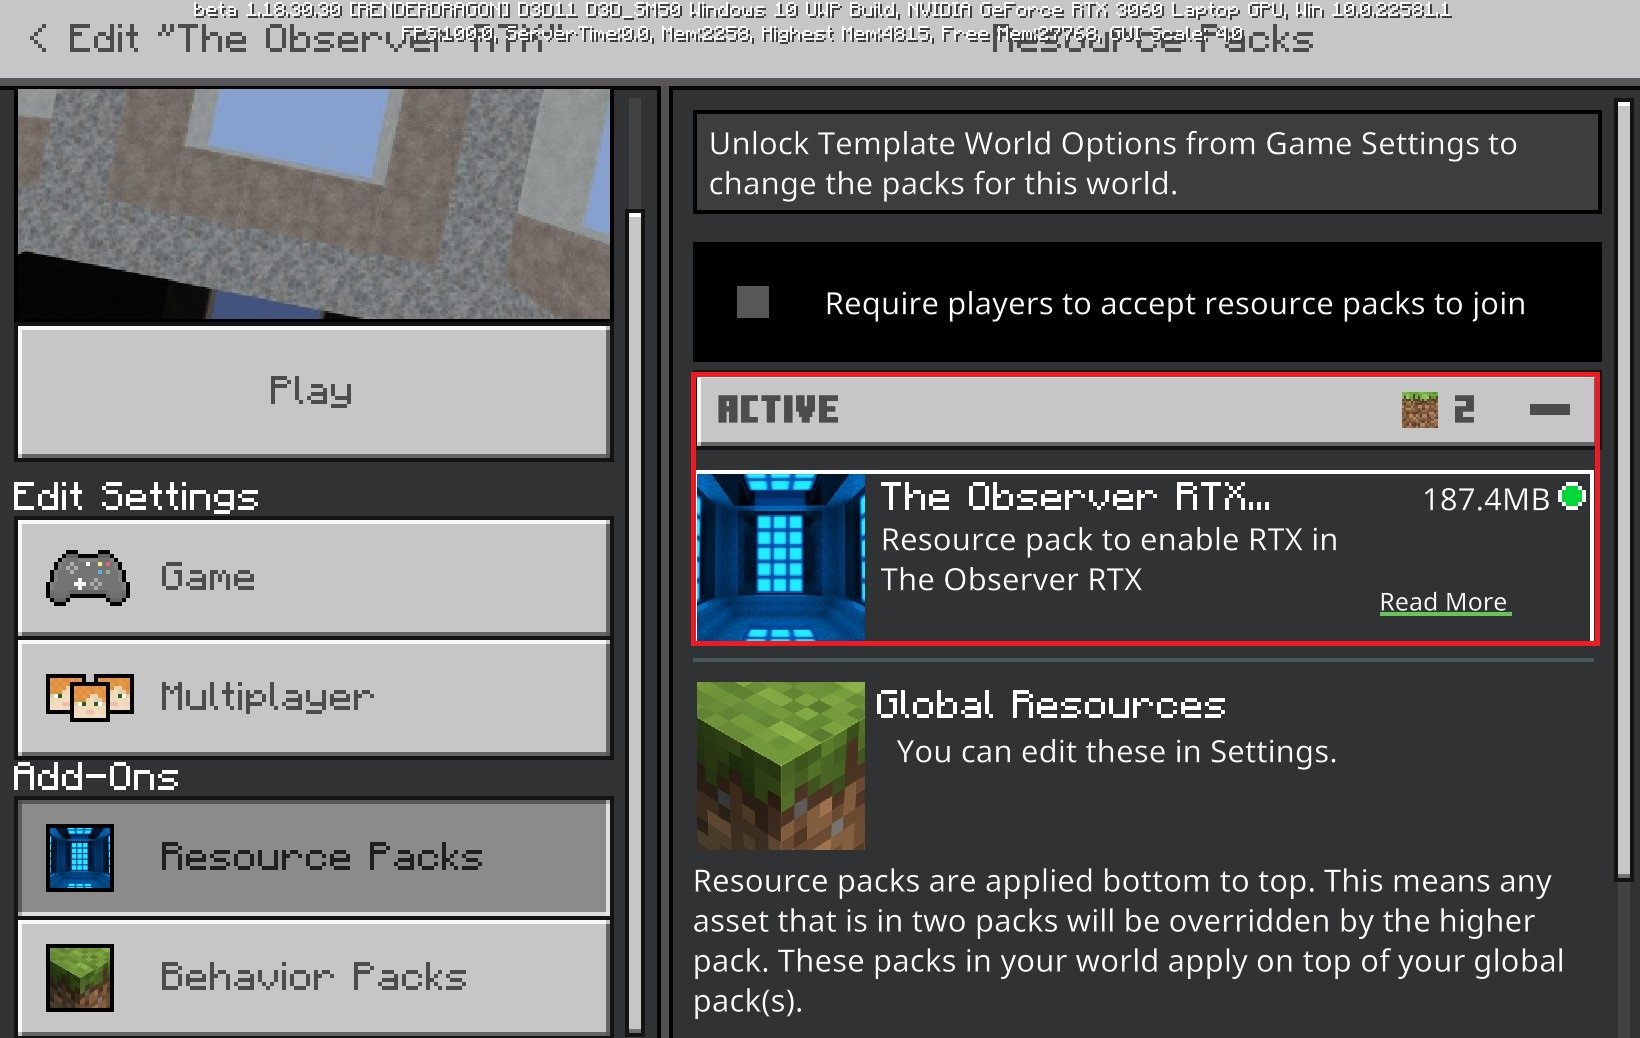
Create a new world with RTX ray tracing enabled
-
RTX Ray Tracing is a technology that simulates the behavior of light in a virtual environment. It allows for more realistic lighting, reflections, and shadows, resulting in a more immersive and visually stunning experience in Minecraft. If you want to take your gaming experience to the next level, RTX Ray Tracing is definitely worth trying.
-
Yes, enabling RTX Ray Tracing requires a powerful computer with a compatible graphics card. You should ensure that your computer meets the minimum system requirements before attempting to enable RTX Ray Tracing in Minecraft.
-
No, currently, RTX Ray Tracing is only available for Minecraft on Windows PCs with compatible graphics cards. Consoles like Xbox and PlayStation do not support RTX Ray Tracing yet.
-
Enabling RTX Ray Tracing in Minecraft may impact your game's performance, especially if your computer does not meet the minimum system requirements. However, you can adjust the settings to improve performance, such as reducing the render distance or turning off some of the advanced graphics options.