How To Fix “OpenGL Error 65543” in Minecraft - Windows

FOLLOW THE INSTRUCTIONS BELOW
Update Graphics Card Driver
The OpenGL launch error can be caused by an outdated graphics driver, java issues, or when Minecraft cannot use the correct OpenGL files on startup.
First, open up your Windows Device Manager. On this window, expand your Display adaptors. If you have to use intel integrated graphics, right-click the processor and select Update Driver. Next, select Search automatically for drivers.
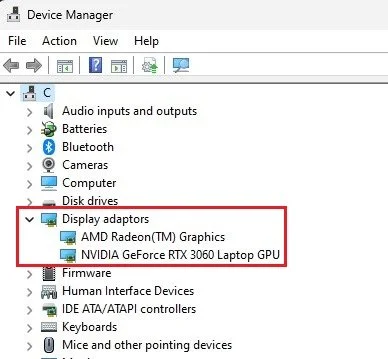
Device Manager > Display adaptors
If you are using an NVIDIA or AMD graphics card, I suggest using the GeForce Experience application for NVIDIA graphics card users and the AMD Radeon Software for AMD users. In the Drivers tab, click on Download. This will take a couple of minutes to download and automatically install the latest graphics driver to your system. After installing the driver, try to relaunch Minecraft, as this will fix the OpenGL error for most users.
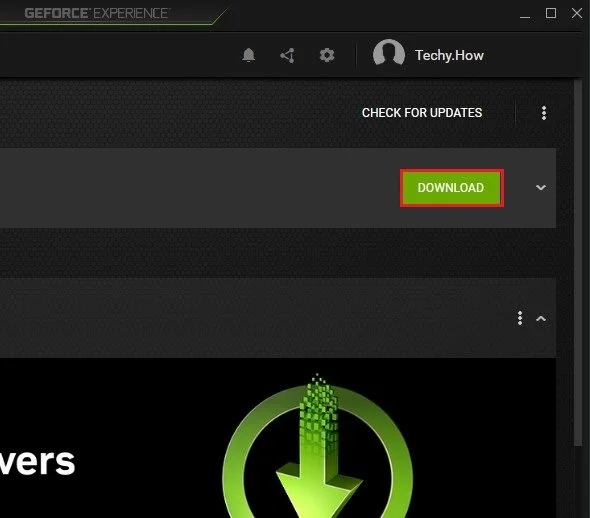
GeForce Experience > Drivers
Install or Update Java on Windows
If the problem persists, then this issue is probably related to your current Java version. Open up your preferred browser and navigate to java.com/en/download to get to this page. Click on Download Java, which will take a couple of seconds to download the latest Java version to your system.

Download Java
When the download is complete, double-click the downloaded .exe file and follow the Java setup to install the latest version to your system.
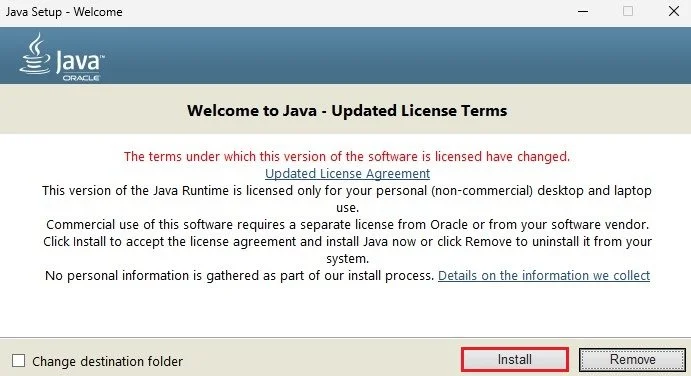
Java Setup > Install
Windows Update
When this is done, open up your Windows settings. In the Windows Update section, click on Check for Updates and proceed to download the latest update before restarting your PC. Windows updates will install outdated drivers, which can help fix the OpenGL error you are getting.
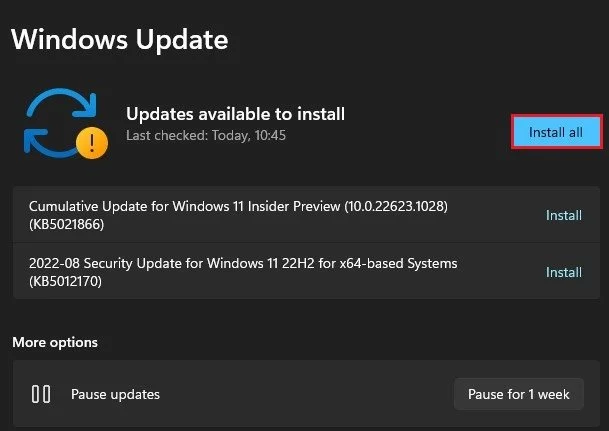
Windows Settings > Windows Update
Replace OpenGL DLL File
Lastly, if nothing has helped you, you will have to replace the OpenGL file in your Minecraft installation. Navigate to DLL-Files.com and look up OpenGL32.dll. Here, you can download the latest version of the OpenGL Client. It might take a second for the download to start, and your browser can help you find your downloaded files.
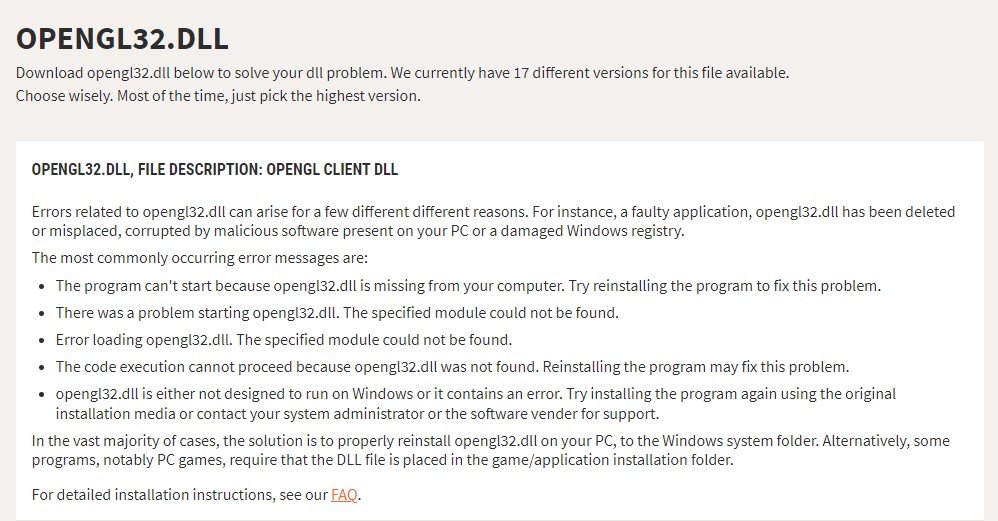
Download Missing OpenGL.dll File
Drag and drop the downloaded .zip file to your desktop. Here, right-click the file, select Extract All, and then unzip your download content to your desktop.
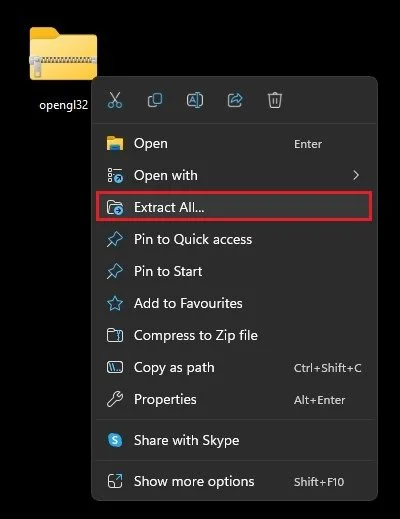
Unzip OpenGL32 File
Next, search for %AppData% and hit enter. Your file explorer will open up. Navigate to .minecraft and search for OpenGL in this folder. A list of OpenGL files and folders will show up. Right-click one of the OpenGL.dll files and select Open File Location.
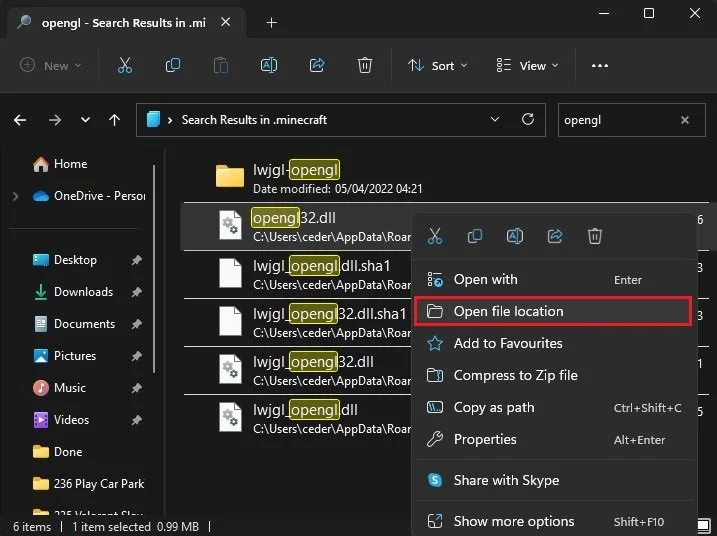
%AppData% > .minecraft > OpenGL
Finally, drag and drop the downloaded OpenGL.dll file into this folder. When done, you will be required to restart your PC before relaunching Minecraft, and the OpenGL error will be fixed.
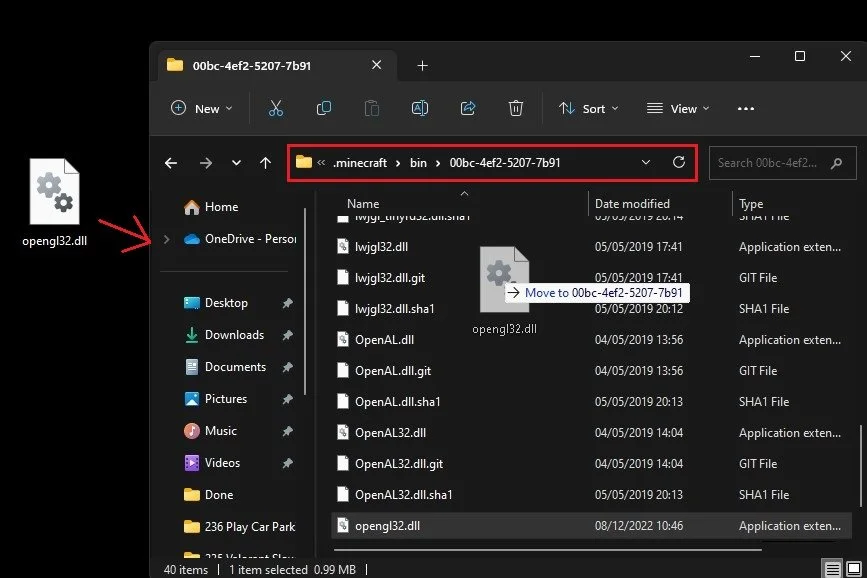
Replace OpenGL32.dll File