Windows 11 - How To Install Wifi Drivers

If you're planning to upgrade to Windows 11 or have already made the switch, you might face some issues with your WiFi drivers. Installing WiFi drivers on Windows 11 is crucial to ensure seamless connectivity and fast internet speeds. In this article, we will guide you on installing WiFi drivers on Windows 11 step by step.
But before we delve into the installation process, let's understand the significance of WiFi drivers and their role in ensuring smooth internet connectivity. WiFi drivers are software programs that enable your operating system to communicate with your WiFi adapter, allowing it to connect to the internet wirelessly. Without the proper drivers installed, your computer won't be able to detect or connect to any WiFi networks.
We know how frustrating it can be to deal with connectivity issues, and that's why we've put together this comprehensive guide to help you install WiFi drivers on Windows 11. With our easy-to-follow steps and tips, you'll be up and running quickly.
Update your Network Adapter Driver
Open up your Windows Device Manager. On the window, expand Network Adapters and double-click the network adapter you wish to update.

Device Manager > Network Adapters > Update Driver
Find out Which Network Adapter your are Using
If you don’t know how your network adapter is labeled, search for Network & Internet Settings. Open up your Network & Internet Settings window and select Advanced network settings. Scroll down and click on More network adapter options. This will finally show you which network adapter you are currently using.
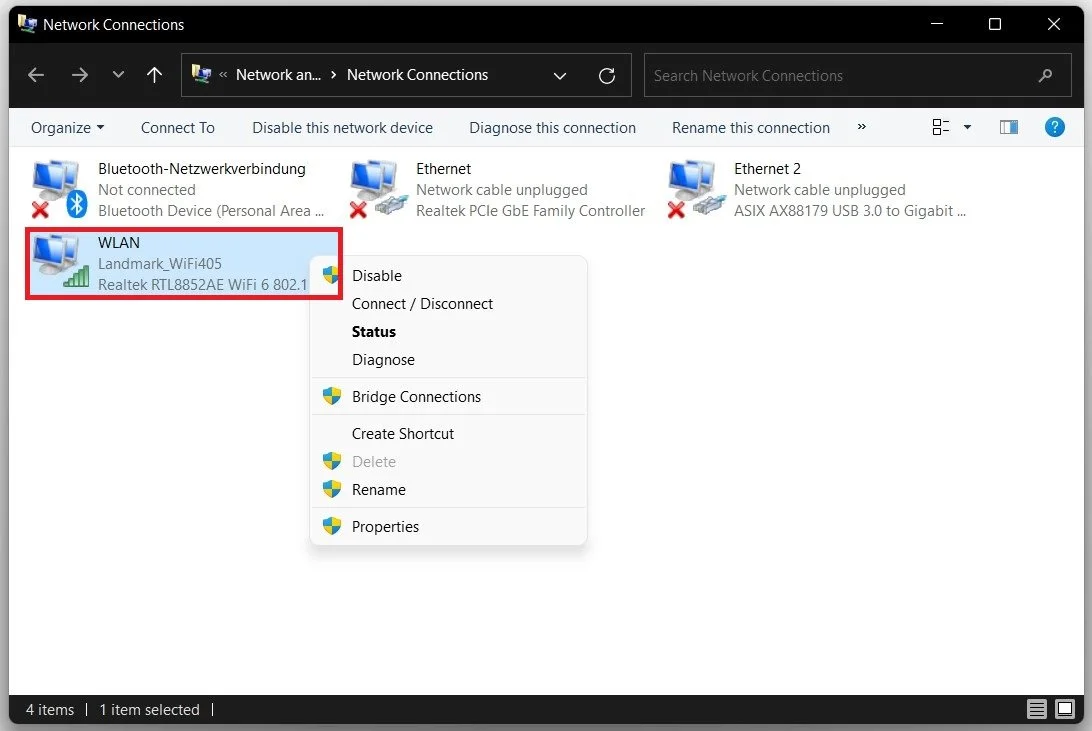
Network & Internet Settings > Advanced Network Settings