Windows 11 - How To Fix Random Black Screen

Dealing with a black screen on your Windows 11 computer can be a frustrating experience, especially when it happens randomly. Not only does it interrupt your workflow, but it can also indicate a deeper underlying issue. But fear not, as there are several solutions that you can try to fix this problem and get your computer back up and running smoothly. In this article, we will explore some of the common causes of random black screens on Windows 11 and provide step-by-step instructions on how to fix them.
Update your Device Drivers
Before making any changes to your operating system, ensure your monitor and cables work fine with another device. Also, make sure that the monitor’s correct source is selected. Faulty hardware is the leading cause of black screen issues. If the issue persists, enter Device Manager in your start menu search to open it up.
As faulty display drivers often cause the black screen issue, you should make sure that your drivers are up to date. Expand Display Adapters, right-click your graphics card, select Update Driver, and then Search automatically for drivers.
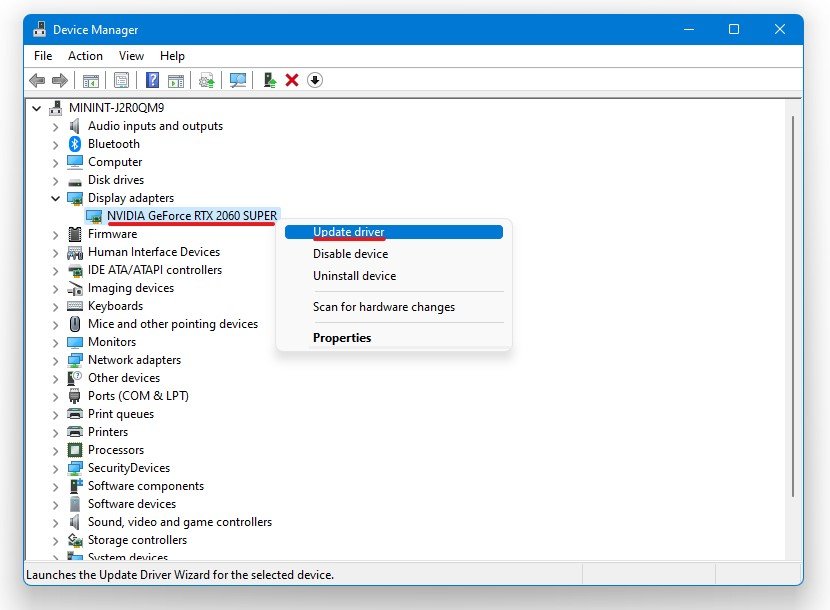
Device Manager > Devices > Update Driver
This will take a moment to make sure that your display driver is up to date. In case you are using multiple GPUs, then make sure to repeat this step for each one of them. You should also ensure that your monitor’s driver is current. You can also use the GeForce Experience or AMD Radeon Software application.
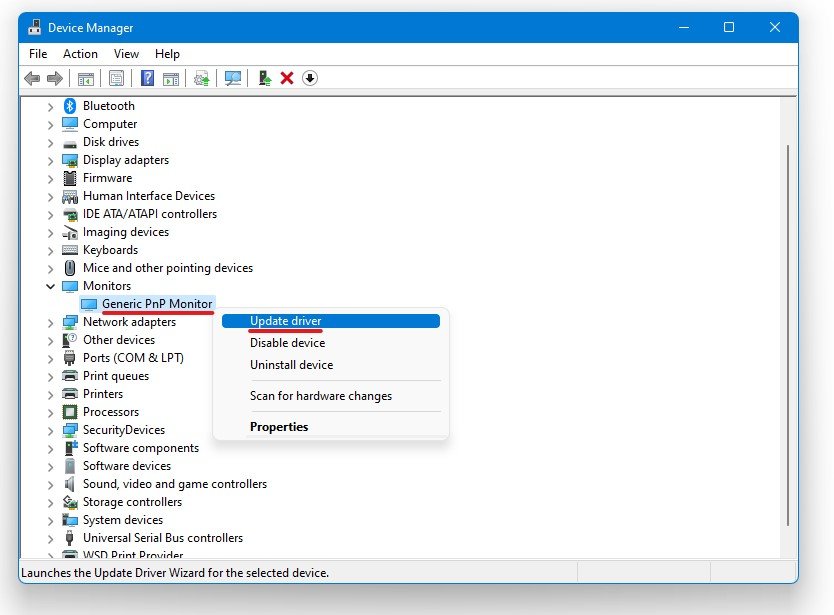
Device Manager > Monitors > Update Driver
Update Graphics Card Driver
NVIDIA graphics cards can utilize the GeForce Experience application. Click here to download the application to your system. When the download is completed, open up the application, and in the Drivers tab, select Download. This will download and install the latest GPU update and should take a few minutes to complete.
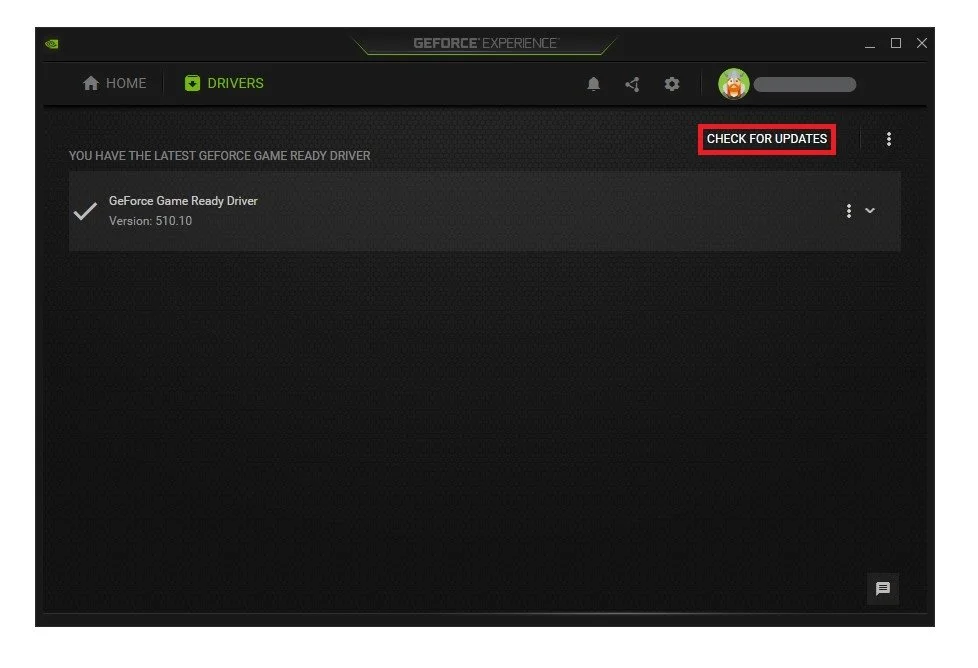
GeForce Experience > Drivers > Download
Update Operating System
To optimize your system for performance, ensure that your operating system is up to date. Search for Update in your taskbar search. In your “Check for updates” system settings window, download the latest update and make sure to restart your PC after that the download is completed. This will help you with performance issues.
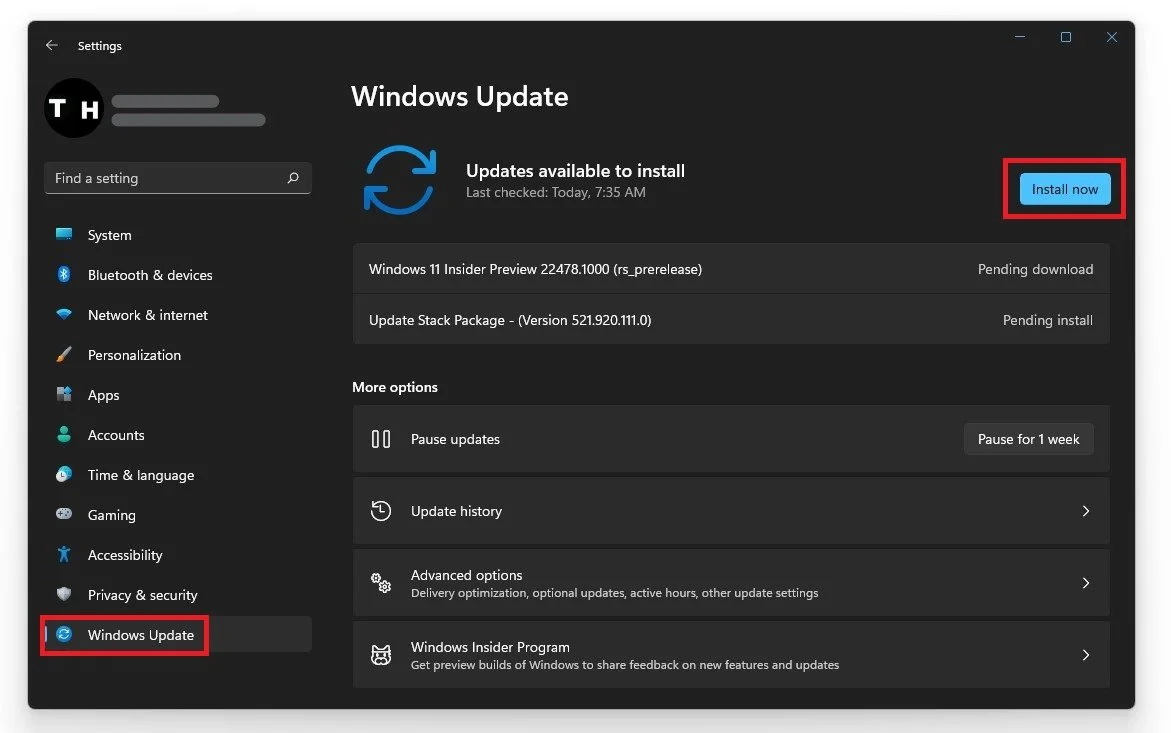
Windows Settings > Windows Update
Adjust the Power Plan Settings
Open your Edit Power Plan settings. On the window, select Change Advanced power settings. Scroll down to PCI express, expand Link state Power Management, and ensure this setting is turned OFF.
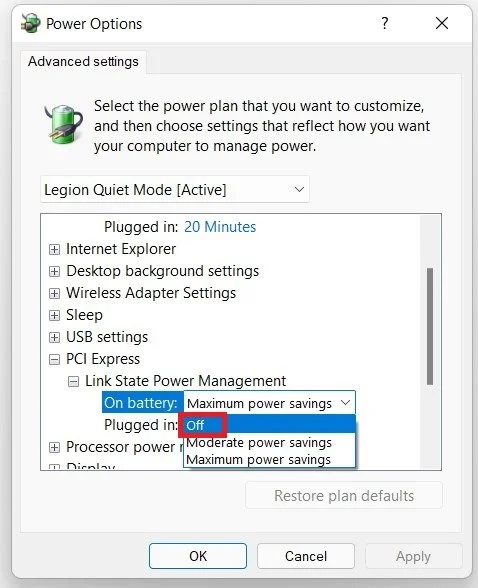
Power Options > Advanced Settings
Remove USB Devices
Disconnect any non-essential USB devices which are connected to your PC. Open up your Windows 11 task manager. In the Processes tab, search for Windows Explorer, right-click the process, and select Restart. In case you’re unable to find it, then navigate to File, Run new task, and here type explorer.exe and hit enter.
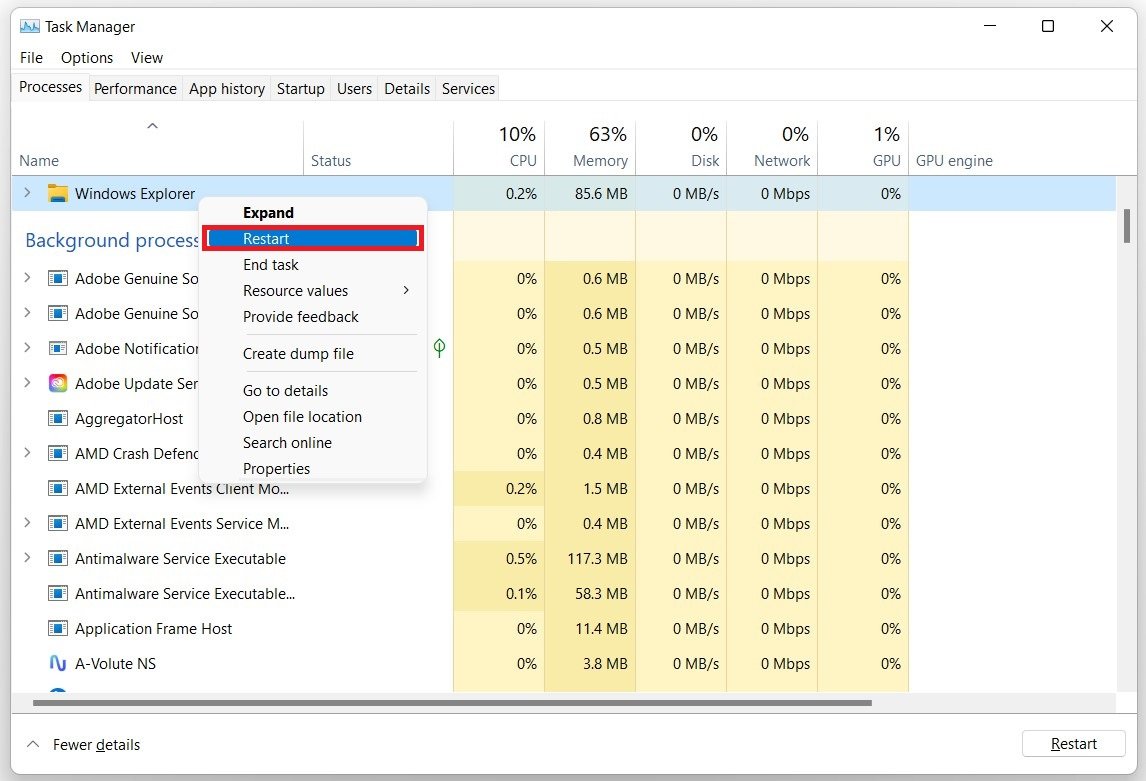
Task Manager > Processes > Windows Explorer > Restart
As a last resort, we suggest resetting Windows 11 to the factory's new settings and uninstalling malware and 3rd party software to determine which process is causing the random black screen issue you are getting.