How To Make One Single Name on Facebook Mobile - Tutorial
Introduction
Setting your Facebook account to display only a single name is simpler than you might think. In this guide, we'll walk you through the steps to achieve a sleek, single-name profile directly from your mobile device. Whether for stylistic preferences or privacy reasons, this method will help you tailor your Facebook presence to match your unique identity.
Navigate to Account Settings on Facebook Mobile
Launch Facebook App:
Open the Facebook app on your smartphone.
Ensure you're signed into the correct account.
Access Settings:
Tap the “Menu” icon at the bottom right of your screen.
Scroll down and tap on “Settings and Privacy.”
Select “Settings.”
Go to the “Accounts Center” to access profile settings.
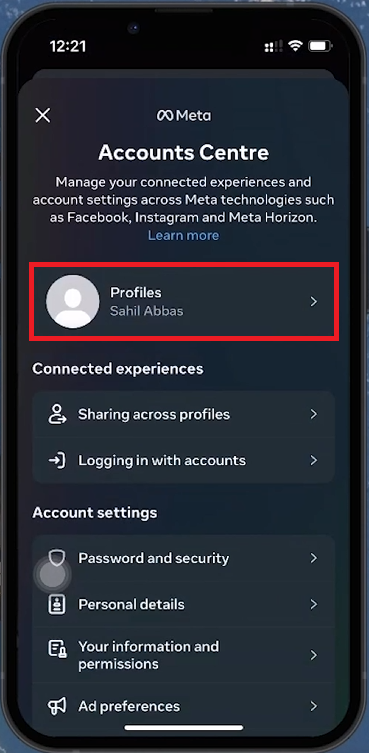
Facebook Accounts Centre
Edit Name to Display Single Name
Choose Profile to Edit:
In the Accounts Center, select the profile you want to edit.
Tap on your name to access the editing options.
Remove Surname:
In the name editing section, delete your surname.
If the form requires a last name, use the spacebar to insert a blank space, meeting the form's requirement without visibly adding a last name.
Disable Professional Mode (If Applicable)
Go to Profile Page:
Tap the three dots next to the 'Edit Profile' button on your Profile page.
Scroll down to find the option for Professional Mode.
Turn Off Professional Mode:
Toggle off Professional Mode if it's activated. This will switch your profile back to standard user mode, removing professional tools and insights.
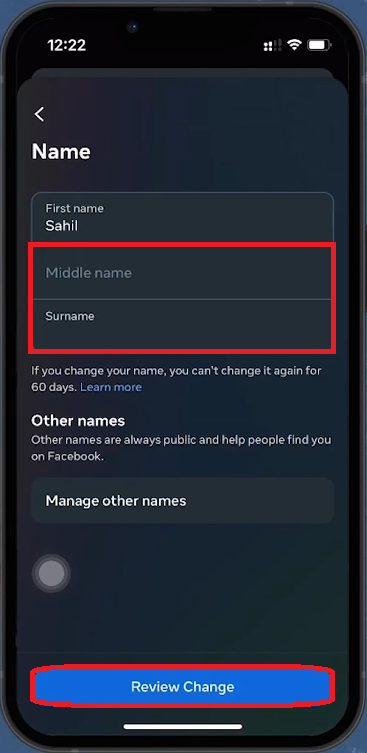
Remove the middle an surname before saving your changes
Finalize and Confirm Single Name Setting
Review Changes:
Tap “Review Changes” to preview your updated profile name.
Confirm by selecting “Save Changes” to apply the new settings.
Verify Changes:
Log out of your Facebook account and log back in to ensure your single name is correctly displayed.
This verification step ensures that your preference for a single name is accurately reflected across your Facebook profile.
By following these steps, you can easily customize your Facebook profile to display only a single name, enhancing your personal or branding preferences on the platform.
-
Yes, you can set a single name on your Facebook profile directly from your mobile device by navigating to the Accounts Center in your settings and editing your name to remove your last name, using a spacebar to fulfill the last name field requirement.
-
Open the Facebook app, tap on the Menu icon, go to "Settings and Privacy" > "Settings" > "Accounts Center", and select your profile. Here, you can tap on your name to edit and change it to a single name.
-
Ensure you're using the Facebook mobile app and follow the steps accurately. If you encounter issues, double-check that you're pressing the spacebar in the last name field to bypass the requirement. If problems persist, consult Facebook's help center for more detailed guidance.
-
Using a single name might slightly alter how people search for you, but friends can still find you through mutual connections, your username, or email/phone number associated with your account.
-
The change should be immediate. However, logging out and then logging back into your account is recommended to ensure the update takes effect properly.