League of Legends - How to Fix "A Critical Error Has Occurred" on Windows 11

If you're a League of Legends player on Windows 11, encountering the "A Critical Error Has Occurred" message can be frustrating. This error prevents the game from launching and can put a damper on your gaming experience. Fortunately, there are several solutions you can try to fix this issue and get back to playing your favorite game. In this article, we'll cover some easy and effective ways to troubleshoot and fix the "A Critical Error Has Occurred" problem in League of Legends on Windows 11. From updating your drivers to repairing your game files, we'll explore all the options available to ensure you can get back to dominating on the Rift without any pesky errors getting in your way.
End 3rd-Party Applications
Open up your Task Manager by searching for it in your start menu search. In the Processes tab, prevent applications from running that could show an overlay while playing League of Legends, such as Discord, the Creative Cloud, Adobe applications or your GeForce Experience application. You should also prevent Riot Games or League of Legends processes from running in the background.
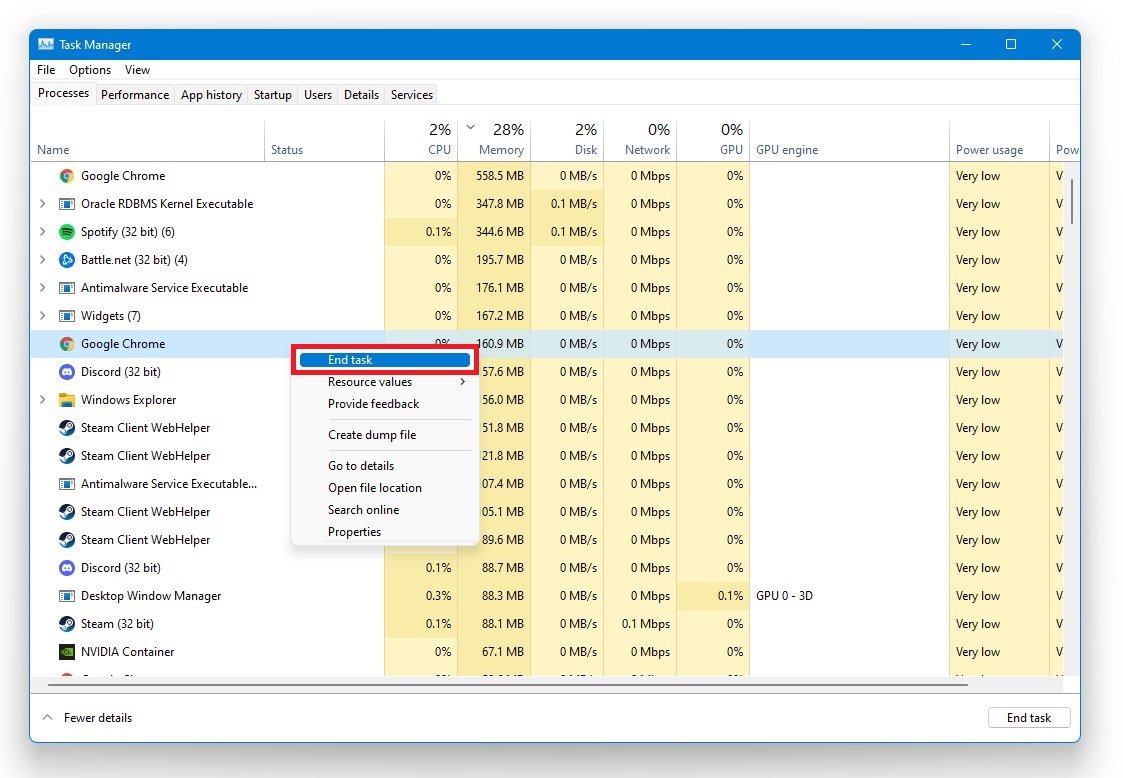
Task Manager > Processes > End Task
Delete the LoL Config and Data Folders
Open your file explorer and navigate to the drive where you saved League of Legends on: Program Files > Riot Games > VALORANT > League of Legends. In the folder, delete the Config and DATA folders. Both folders will be re-downloaded the next time you open your League launcher.
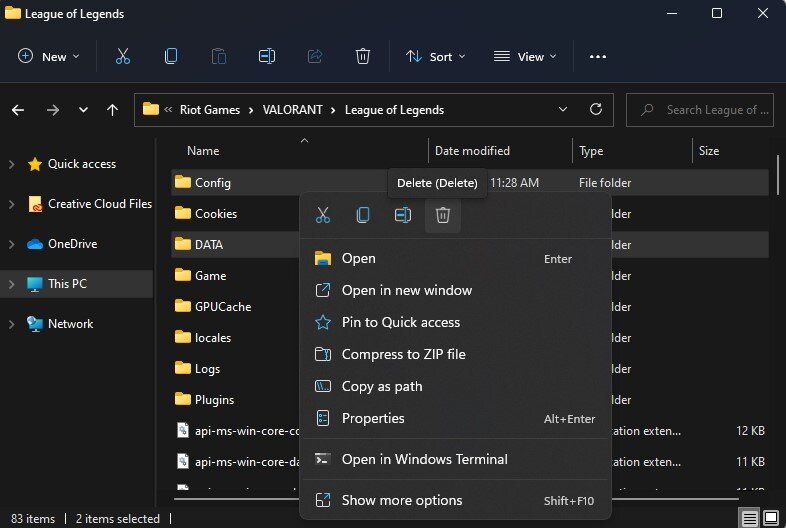
Program Files > Riot Games > VALORANT > League of Legends
League of Legends Compatibility Settings
Open the Game folder and right-click the League of Legends application to access its Properties. In the Compatibility tab, tick the Disable fullscreen optimizations option and run this program as an administrator. Don’t forget to apply your changes. This can fix the Critical Error while playing League of Legends, but in case the error persists, then make sure to follow the next step.

League of Legends Properties
Allow League of Legends to Bypass your Firewall
Make sure that your firewall is not blocking parts of the software. Search for Firewall in your start menu search to open up your Firewall & Network Protection system settings window. Click on Allow an app through firewall.

Firewall & Network Protection > Allow an app through firewall
Click on Change Settings, and check League of Legends in this list. If you can’t find League in this list, select Allow another app. Select Browse, and your file explorer will open up.
Navigate to the drive on which you saved the game, Program files > Riot Games > League of Legends > Game. Select the League of Legends application and select Open. This will allow you to exclude the application from being blocked by your firewall and will prevent the issue.

Windows Defender Firewall Settings > Allowed Apps
Update Graphics Card Driver
Ensure your Graphics Driver, and Operating System is up to date. We suggest using the GeForce Experience application for an NVIDIA GPU, but you can also use the AMD driver suite. In the Drivers tab, click on Download, and the application will automatically download and install the latest driver.
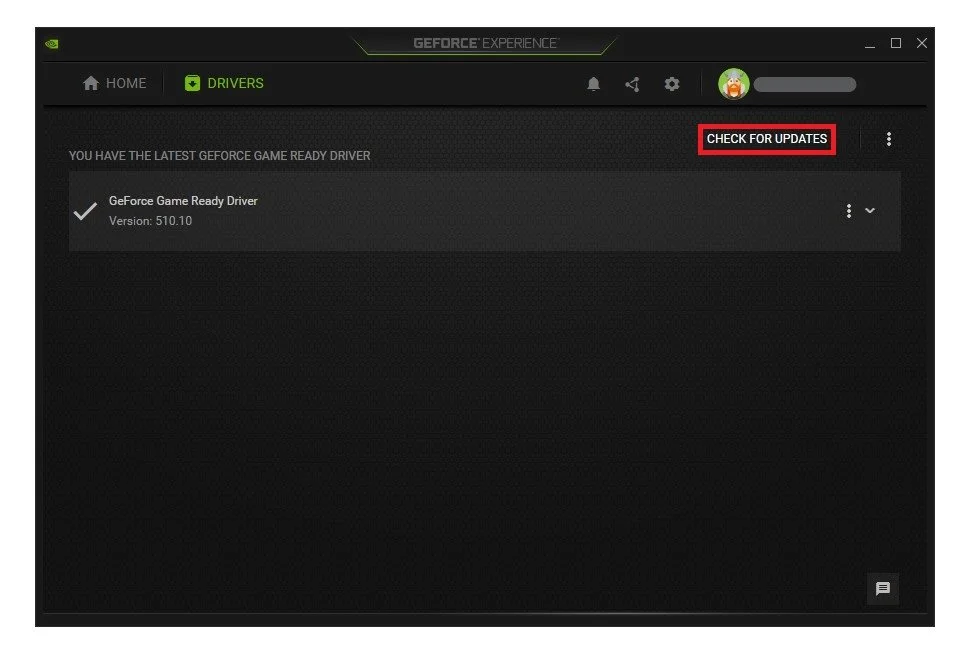
GeForce Experience > Drivers > Download
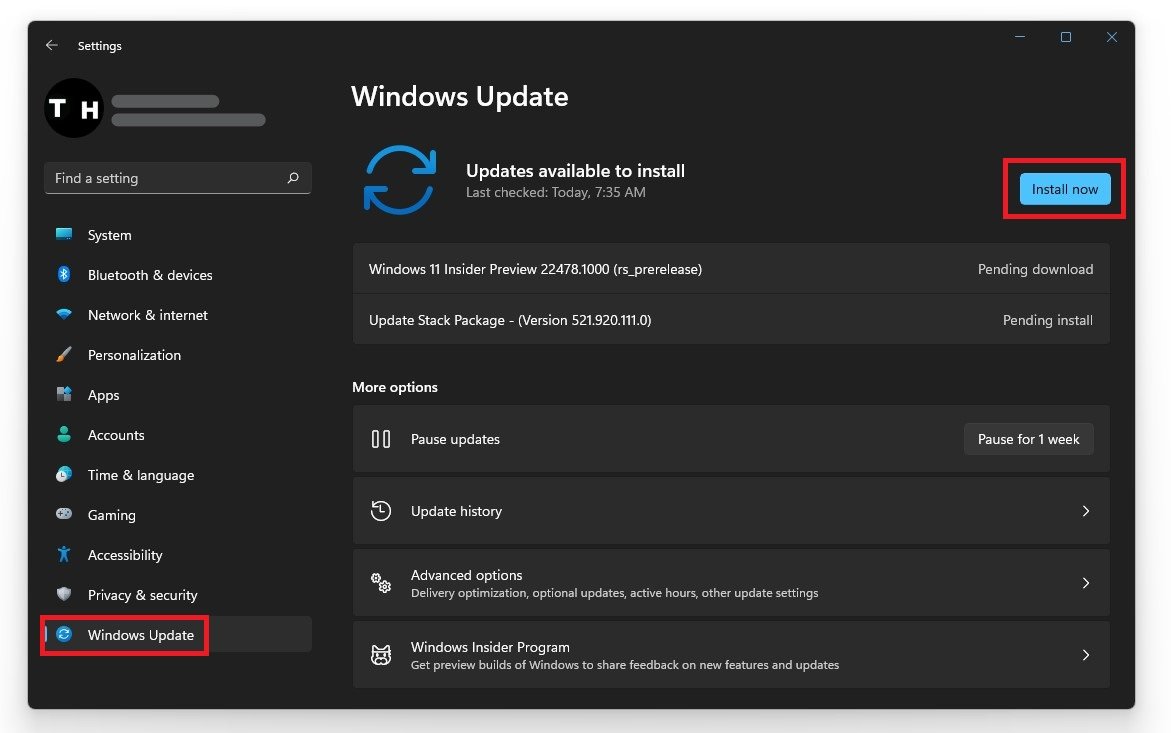
Windows OS Update
Search for Update to open up your Check for updates system settings window. Click on Check for updates, and after downloading the latest OS update, restart your PC. As a last resort, reinstall League to your system after updating Windows 11 and restart your PC when you’re done.
Windows Settings > Windows Update