How To Play One Piece Bounty Rush on PC & Mac
Introduction
Embark on a thrilling adventure in the world of One Piece with One Piece Bounty Rush, now available on PC & Mac using the powerful BlueStacks emulator. Dive into exhilarating battles, collect and upgrade your favorite characters, and team up with friends as you conquer the Grand Line! This comprehensive guide will walk you through the process of installing and playing One Piece Bounty Rush on your computer, ensuring you get the most out of the game with optimized settings, controls, and performance. So, hoist the Jolly Roger, assemble your crew, and get ready to set sail for treasure-filled adventures in the One Piece universe on your PC & Mac!
Download & Install BlueStacks
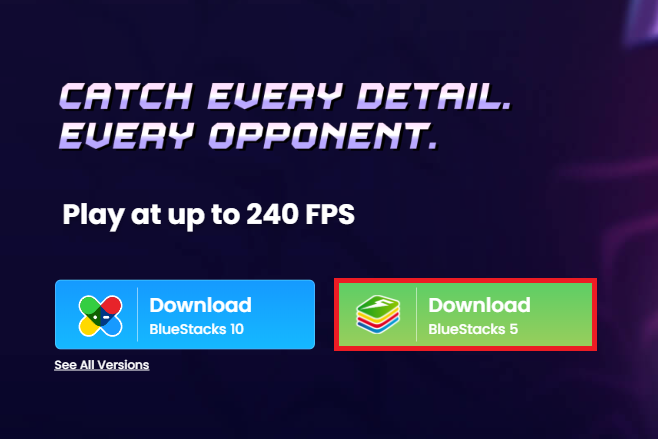
To enjoy One Piece Bounty Rush on your computer, you'll need an Android emulator like BlueStacks. Widely recognized for its exceptional performance, BlueStacks is designed to optimize PC mobile gaming. The download and installation process is straightforward and quick – follow the on-screen instructions provided by the setup wizard. With BlueStacks installed, you'll be all set to experience One Piece Bounty Rush in a whole new way on your PC or Mac.
Download One Piece Bounty Rush
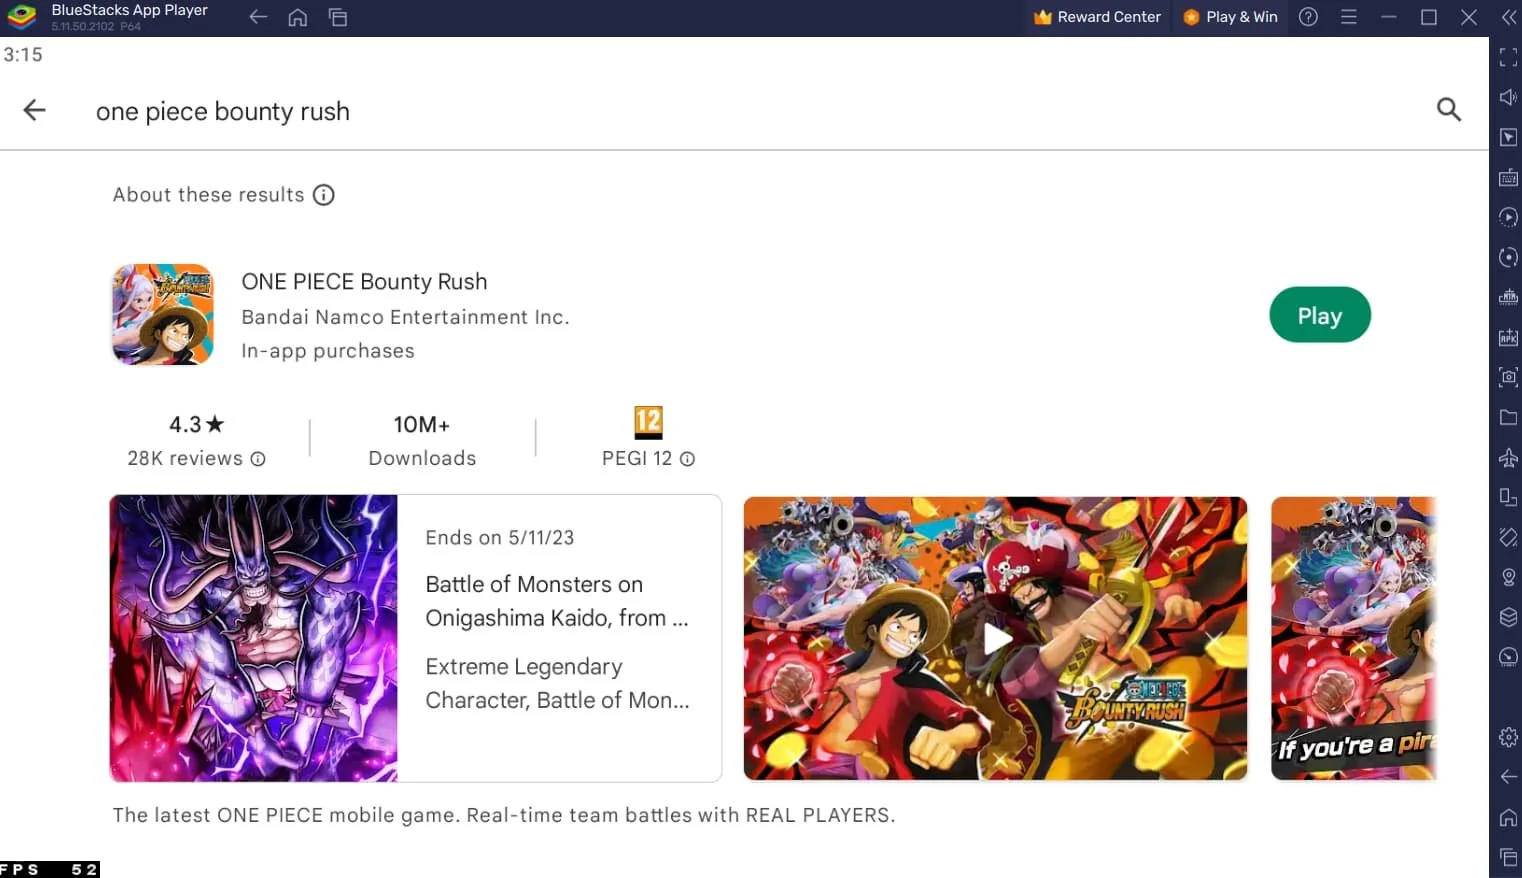
Open your Play Store and log in with your Google account. Search for One Piece Bounty Rush and download the game to your BlueStacks emulator. This might take a few minutes to complete depending on your network connection.
Download One Piece Bounty Rush from the Google Play Store
Optimize BlueStacks Performance Settings
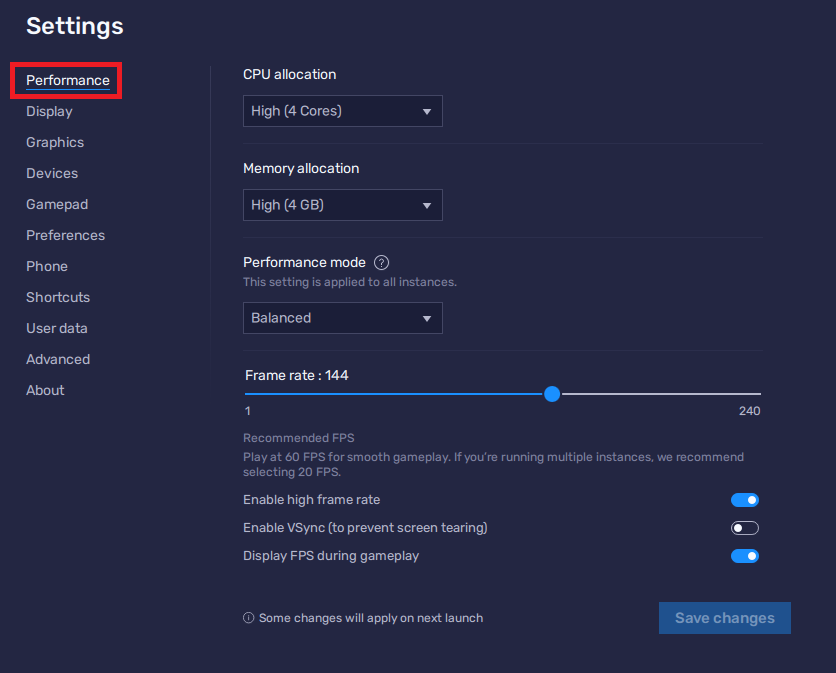
While downloading the game, take a moment to review your emulator settings. In the Performance tab, adjust the settings based on your PC's capabilities. Allocate a high number of CPU cores if you have minimal background applications running. Similarly, consider your Memory allocation; for users with 4GB or less RAM, set this option to Low.
Under Performance Mode, select the Balanced option to optimize memory and CPU usage, reducing lag or performance issues.
For an enhanced gaming experience, enable the High FPS option and match the emulator's frame rate to your screen's refresh rate, ensuring smooth gameplay.
BlueStacks Settings > Performance
BlueStacks Display Settings
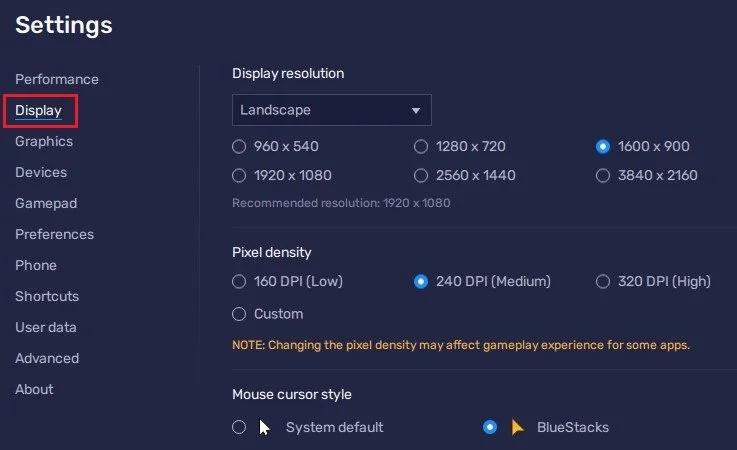
In your Display settings, set the display orientation to landscape, and choose a proper resolution to play One Piece Bounty Rush on your monitor. You can also adjust the size of this window by dragging its corners.
BlueStacks Settings > Display
One Piece Bounty Rush Control Customization
Upon launching the game, you'll be prompted to select a graphics mode tailored to your PC or Mac's capabilities, ensuring a smooth and enjoyable gaming experience.
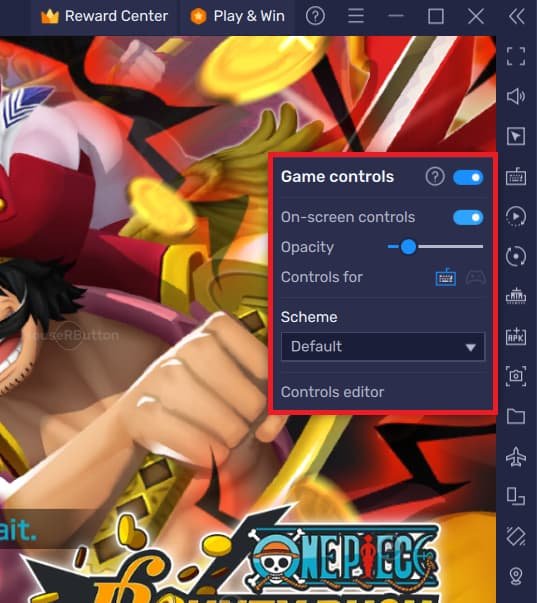
To fine-tune your keyboard or controller settings, simply click the keyboard icon within the BlueStacks menu bar. This will grant access to the controls editor, where you can customize the keybindings for both keyboard and mouse or controller inputs to suit your preferences.
For added convenience, the on-screen controls can be toggled on or off, with options to modify their transparency and placement on your display.
Piece Bounty Rush Game Controls > On-Screen Controls
One Piece Bounty Rush Performance Tweaks
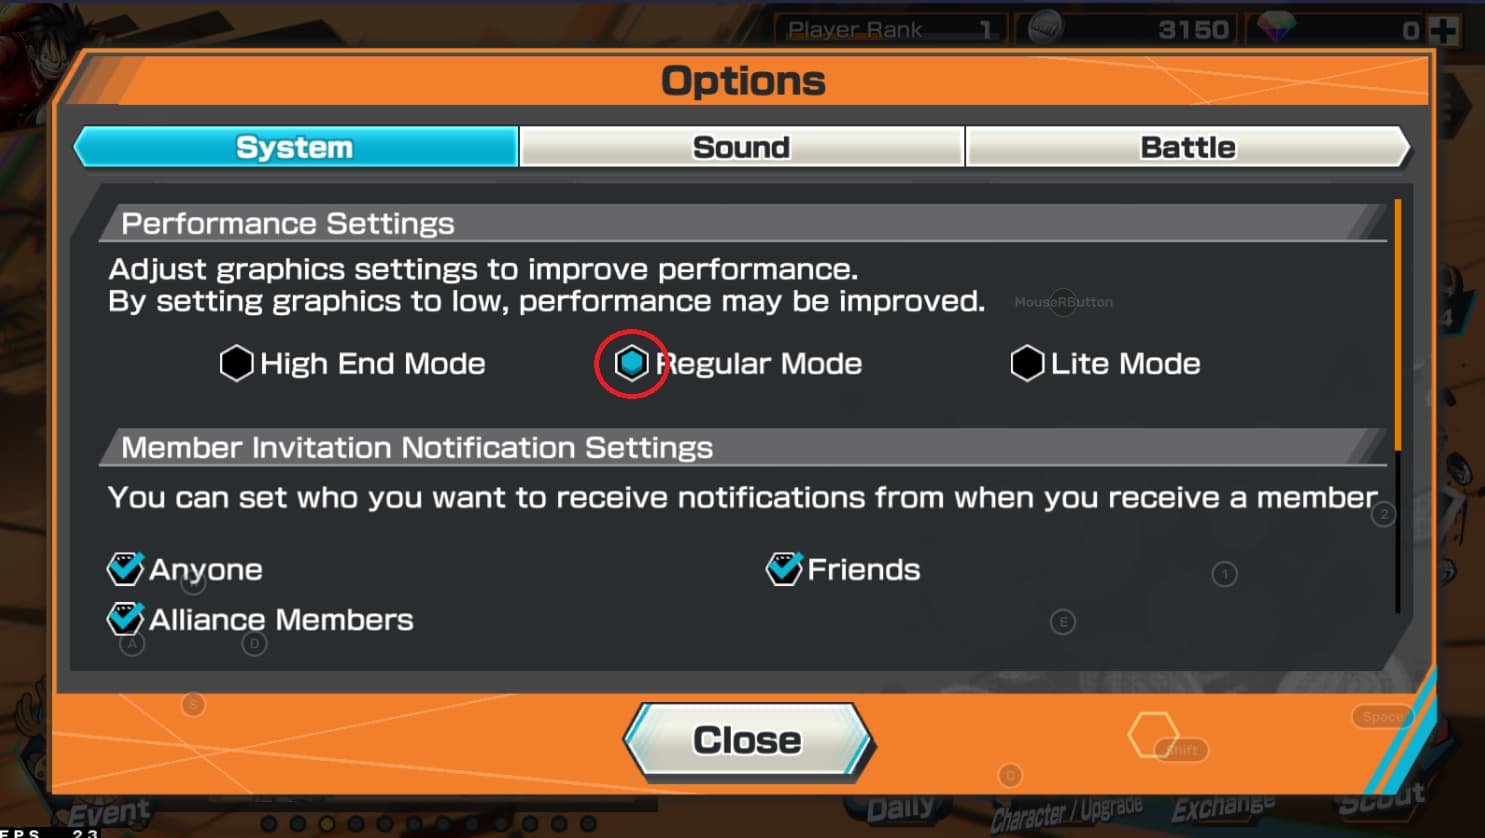
Should you encounter any performance hiccups during gameplay, navigate to the in-game settings to make necessary adjustments.
Within the "System" tab, you'll find the option to modify performance settings. For optimal performance on low-end PCs, or when running multiple instances of the emulator, switch to "Lite Mode" to ensure a smooth gaming experience without sacrificing too much visual quality.
One Piece Bounty Rush Options
-
Yes, BlueStacks emulator allows you to play One Piece Bounty Rush on both PC and Mac, providing an optimized gaming experience with customizable controls.
-
To adjust keyboard or controller keybindings, click on the keyboard icon in your BlueStacks menu bar. From there, access the controls editor and modify your controls for the keyboard, mouse, or controller as desired.
-
Head to the in-game settings and navigate to the "System" tab. Adjust your performance settings by switching to "Lite Mode" for better performance on low-end PCs or when running multiple instances of the emulator.
-
Yes, when you first start the game, you can choose a graphics mode that best suits your PC or Mac's performance capabilities. You can also adjust these settings later in the "System" tab of the in-game settings.
-
Absolutely! To enable controller support, make sure to activate the Gamepad detection option in your BlueStacks Gamepad settings. You can then customize the controller settings to your preference in the controls editor.


