How To Fix “This PC Can’t Run Windows 11” Error
Are you excited to upgrade your computer to Windows 11, but you keep encountering the frustrating "This PC Can't Run Windows 11" error? If so, don't worry! In this article, we will guide you on how to fix this error and get your system ready to run Windows 11 smoothly. We understand that this error can be daunting, especially when you're excited to experience the new features and improvements of Windows 11. But with our step-by-step solutions, you can fix the error and enjoy the benefits of the latest Windows version.
Windows 11 Download Eligibility
The error will show up due to various reasons. First, the Secure Boot feature in the BIOS setting might be disabled, leading to the error. To fix this, search for System Information in your taskbar search and press enter. Look at BIOS Mode and Secure Boot State on the right side of the screen. If Bios Mode shows UEFI, and Secure Boot State shows Off, then Secure Boot is disabled.
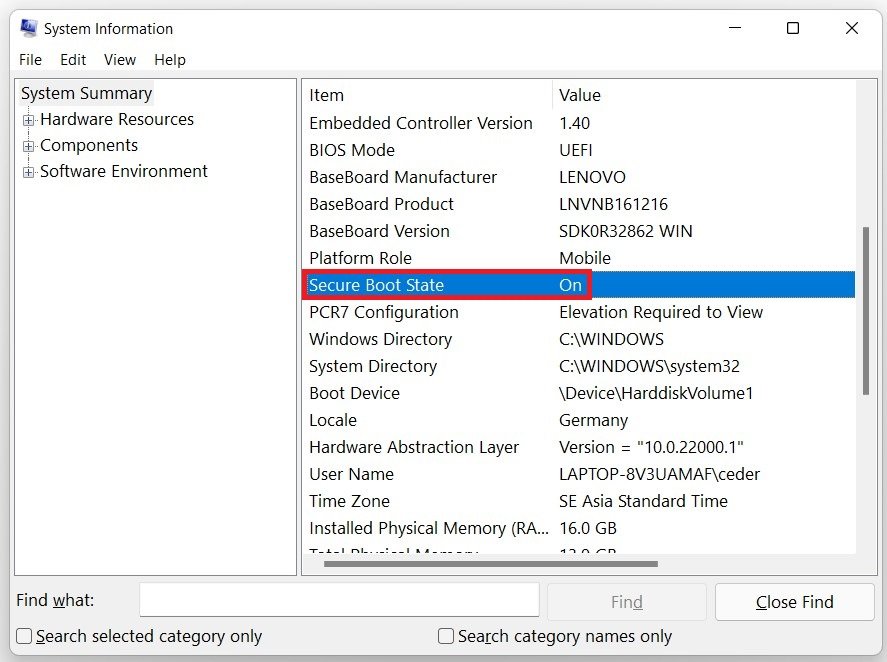
System Information > System Summary > Secure Boot State —> ON
To enable Safe Boot, restart your PC and enter your BIOS settings. Depending on your motherboard, there are different ways to get there. In your advanced BIOS options, make sure to locate the Secure Boot option and enable it. Restart your PC again, and Safe Boot will be enabled.
How to access your BIOS
BIOS stands for “Basic Input & Output System” and is a type of firmware stored on a chip on your motherboard. When you start your computer, the computer boots the BIOS, configuring your hardware before handing off to a boot device (usually your hard drive). Each PC has a different process for accessing the BIOS or UEFI firmware settings screen. Either way, you’ll have to restart your PC. To access your BIOS, you’ll need to press a key during the boot-up process. This key is often displayed during the boot process with a message Press F2 to access BIOS, Press <DEL> to enter setup, or something similar. Common keys you may need to press include Delete, F1, F2, and Escape.
Trusted Platform Module 2.0
Your PC must support the trusted platform module 2.0. Use the shortcut Windows key + R to open your Run dialogue box. Type tpm.msc and hit enter. A window titled TPM Management on Local Computer will open up.

Run > tpm.msc
You can preview if it’s enabled or not. In my case, it’s not enabled. To make sure that TPM is ready for use, you will have to restart your PC again and open the startup menu while restarting. This will allow you to enable the TPM device in your security settings.
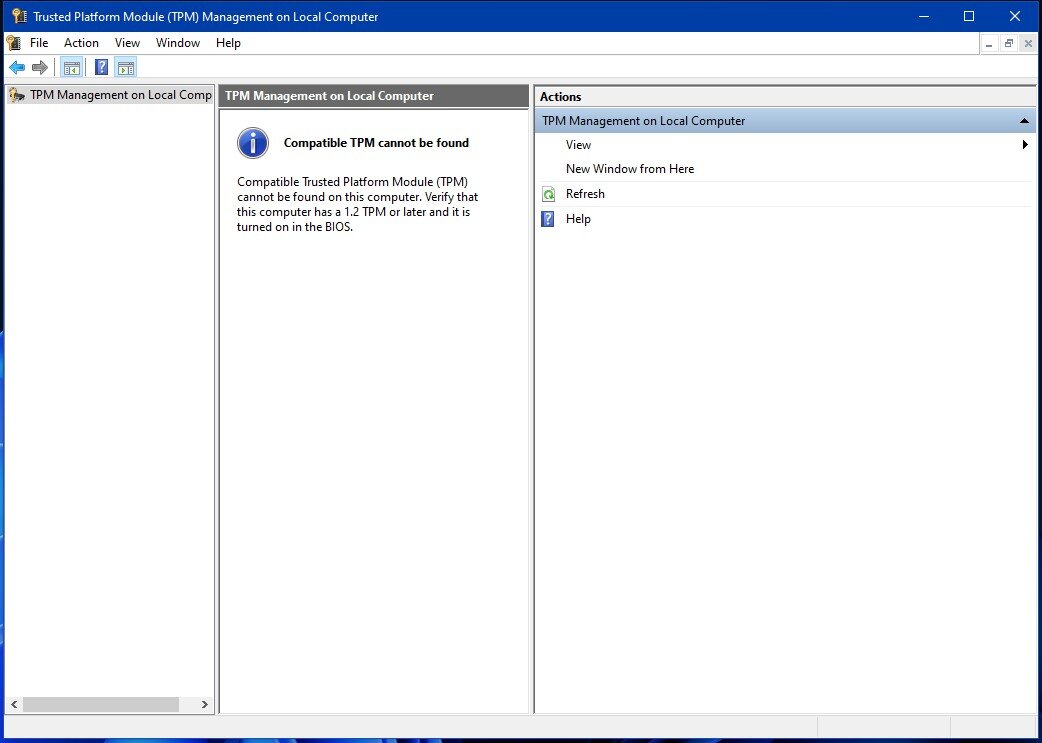
Trusted Platform Module (TPM) Management on Local Computer
You will then be able to download and install Windows 11 on your PC.