

Fix 100% CPU Usage in Windows 11 - Easy Guide

If you're experiencing 100% CPU usage in Windows 11, it can be frustrating and disrupt your workflow. Fortunately, there are easy solutions to this problem that don't require you to be a tech genius. In this article, we'll guide you through the steps you need to take to fix the issue in a straightforward manner. Our approach is designed to be accessible to anyone, regardless of their technical proficiency.
Windows Operating System Update
Ensure your Windows 11 version is up to date. Search for Update in your start menu search to open up your Check for updates system settings window. Click on Check for Updates, Download or Install Now, to install the latest update. When the download is complete, you should restart your PC to properly install the update and restart some processes which could otherwise increase your processor utilization.
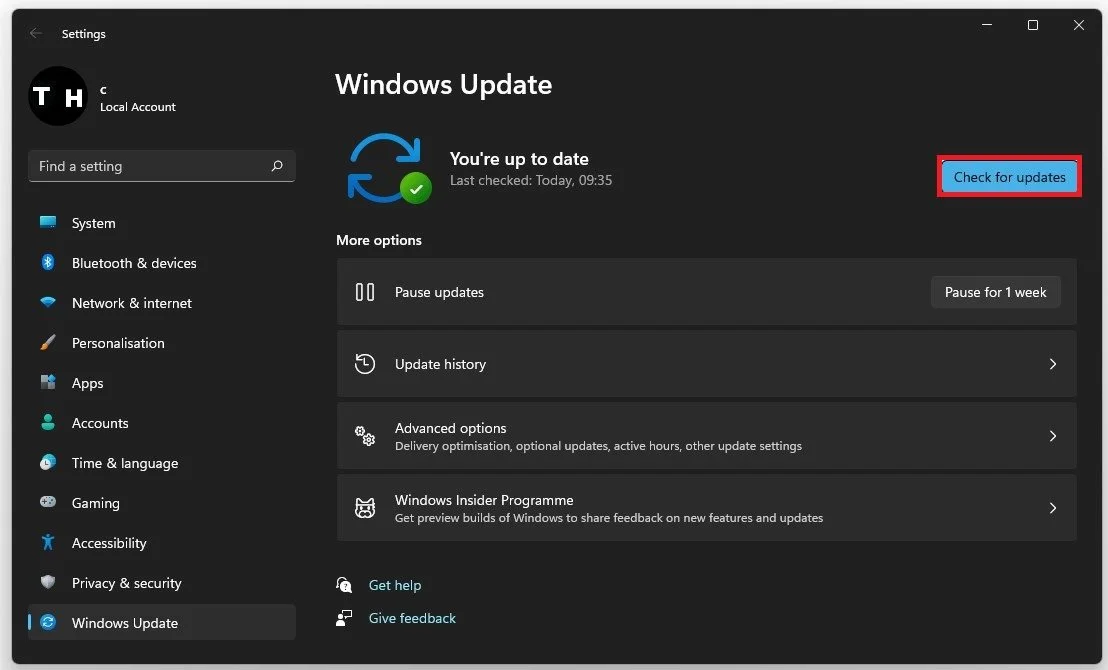
Windows Settings > Windows Update
Adjust the Windows Power Mode
Navigate back to your System settings and select Power & Battery. Under Power, make sure to set the Power mode to Best performance. This will optimize your device to the best performance. When using a laptop, the power mode should change to Best power efficiency when not plugged in.
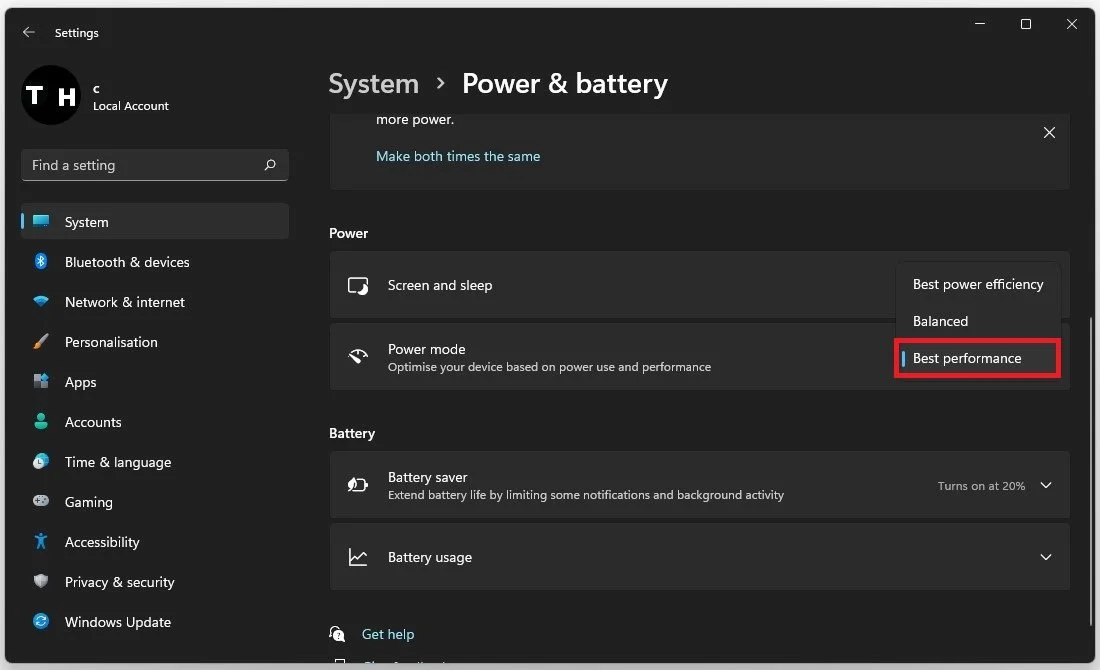
Windows Settings > System > Power & Battery
Enable Windows Game Mode
When you experience high CPU usage while playing video games on your PC, enable the Game Mode option in your Gaming settings. This will turn off some background processes when a game runs on your PC.
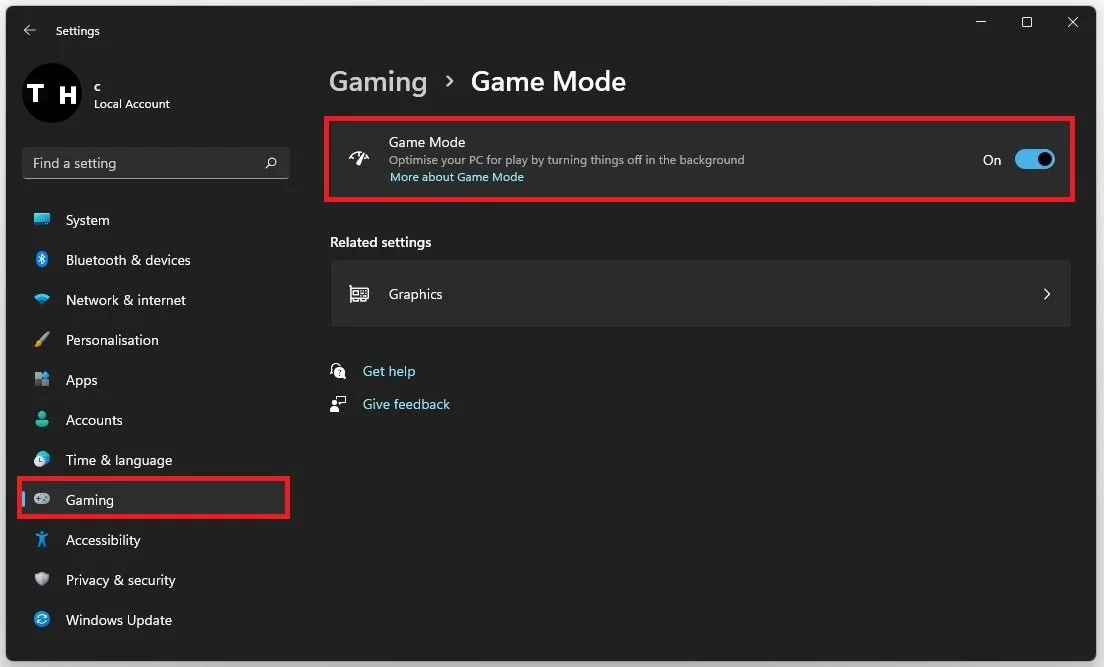
Windows Settings > Gaming > Game Mode
End Resource-Intensive Processes
After optimizing your settings, open up your Task Manager by searching for it in your start menu search. In the Processes tab, make sure to end some processes from running in the background which are using up your CPU’s resources. This could be Adobe applications, Office 365 apps or other processes running in the background. Make sure not to end processes which you don’t know.
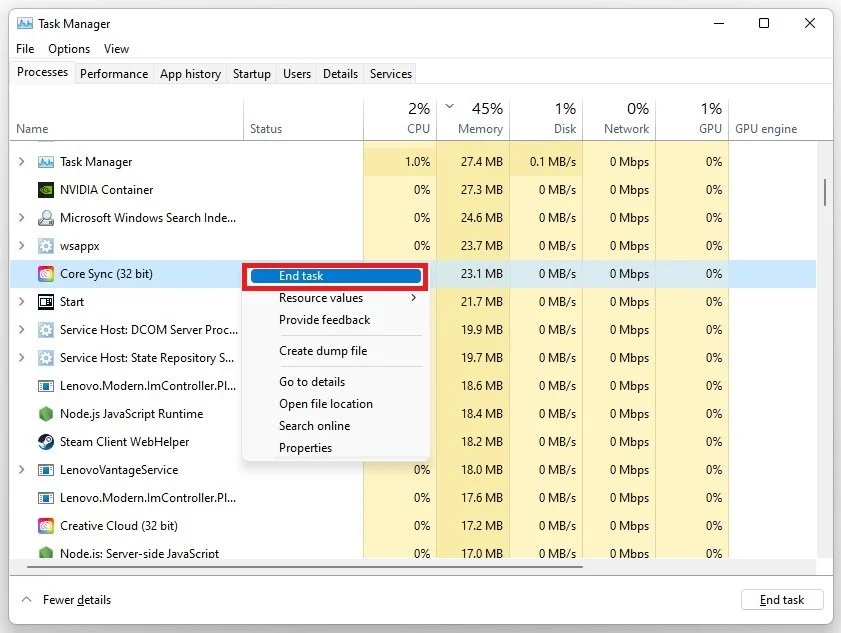
Task Manager > Processes > End Task
In the Startup tab, you should additionally prevent applications from starting up on system boot. Especially applications which you don’t always use on your PC should be disabled from starting up automatically.
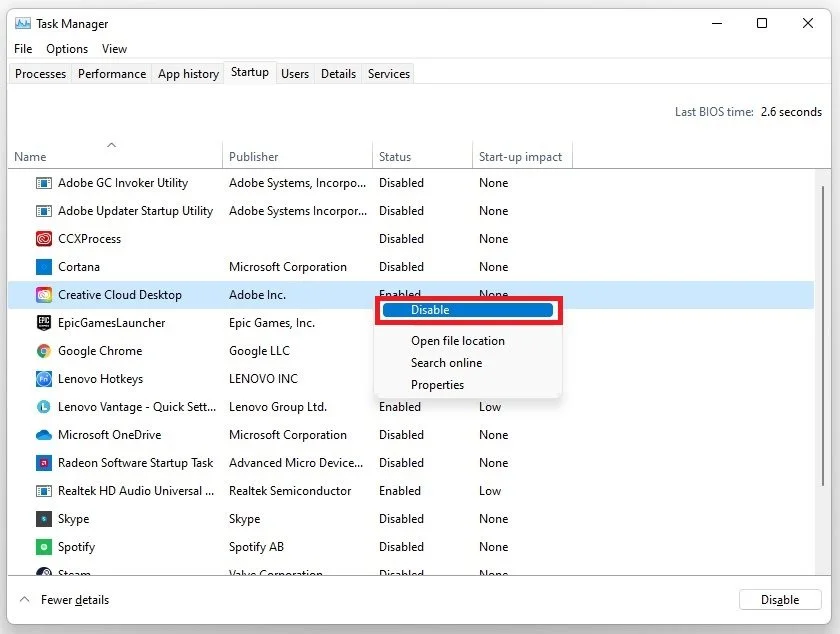
Task Manager > Startup
Update your Device Drivers
Ensure your drivers are up to date. To do so, search for Device Manager in your start menu search to open it up. Expand your Audio inputs and outputs, your Disk drives, Display adapters, Processors, and Universal Serial Bus controllers, which are your external USB connections. For each device, right-click it and select Update Driver. On the next window, click on Search automatically for drivers. This will take a few seconds to ensure your device’s driver is up to date.

Device Manager > Devices > Update Driver
3rd party software and malware can use up your CPU’s utilization. It would be best if you scanned your PC for malware using your antivirus application or use your firewall & network protection to scan your PC. As a last resort, you will have to reinstall Windows without the preinstalled bloatware, which could increase your CPU utilization a lot.


