Windows 11 - How To Fix High CPU Usage

If you're running Windows 11 and notice that your computer's CPU usage is abnormally high, you're not alone. High CPU usage can lead to a sluggish computer, decreased performance, and frustration. Fortunately, several ways exist to fix this issue and get your computer running smoothly again. In this article, we'll explore the possible causes of high CPU usage in Windows 11 and provide you with easy-to-follow steps to resolve the problem. Whether you're a seasoned computer user or a novice, this guide is designed to help you optimize your computer's performance and keep it running smoothly. So, let's dive in and learn how to fix high CPU usage in Windows 11.
Windows Operating System Update
Ensure your Windows 11 version is up to date. Search for Update in your start menu search to open up your Check for updates system settings window. Click on Check for Updates, Download Now, or Install Now. After downloading the latest update, make sure to restart your PC. In addition to restarting your PC, which can already fix high CPU usage.
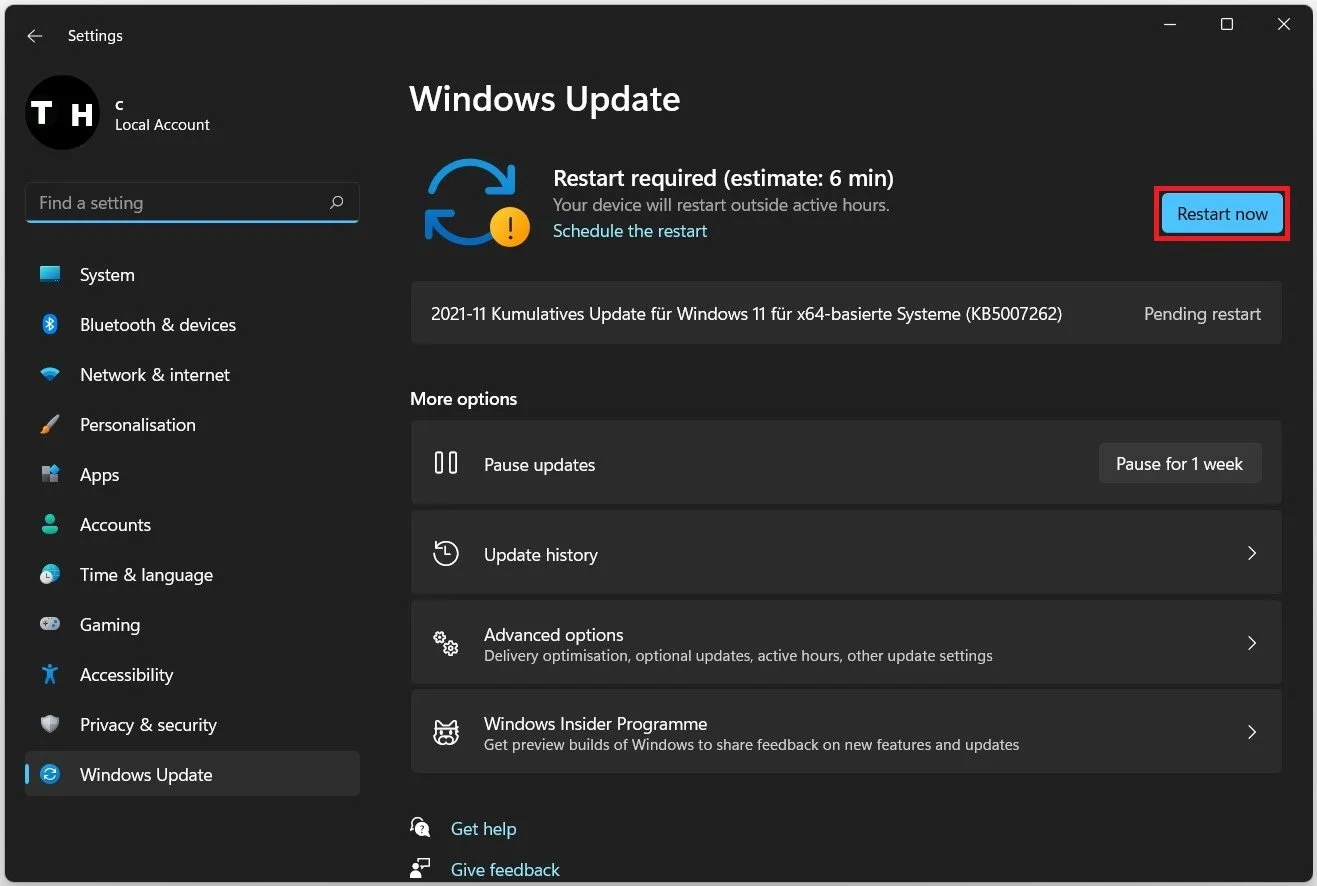
Windows Settings > Windows Update
Disable Startup Apps
Prevent applications from running in the background, which you don’t need while using your PC. In your system settings, navigate to the Apps tab, and here, click on Startup.
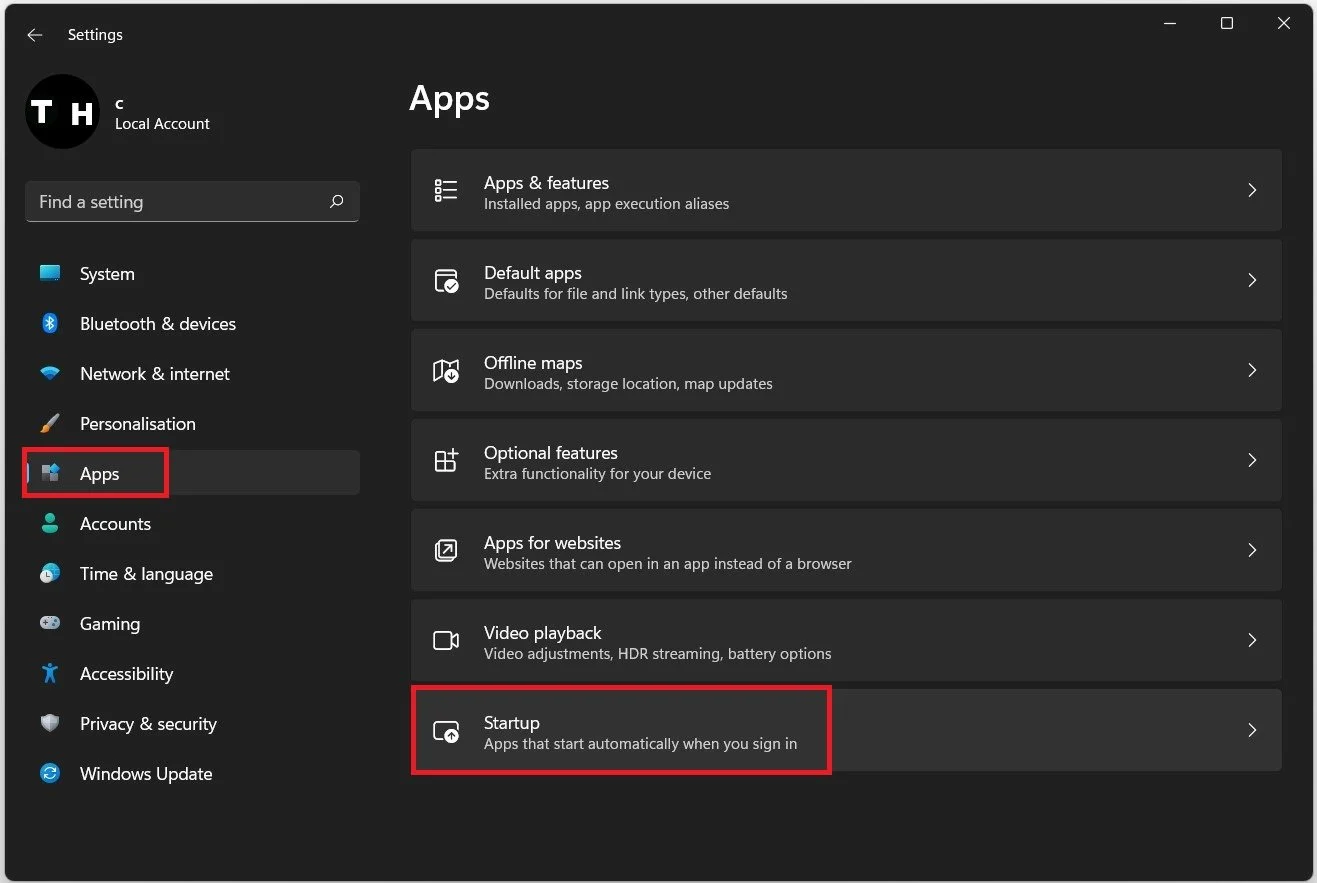
Windows Settings > Apps > Startup
These applications will automatically open up once you boot up your PC. It’s suggested to enable the least amount of applications, especially Steam, the Adobe Creative Cloud, and your third-party anti-virus application can use up a significant amount of your processor’s usage.
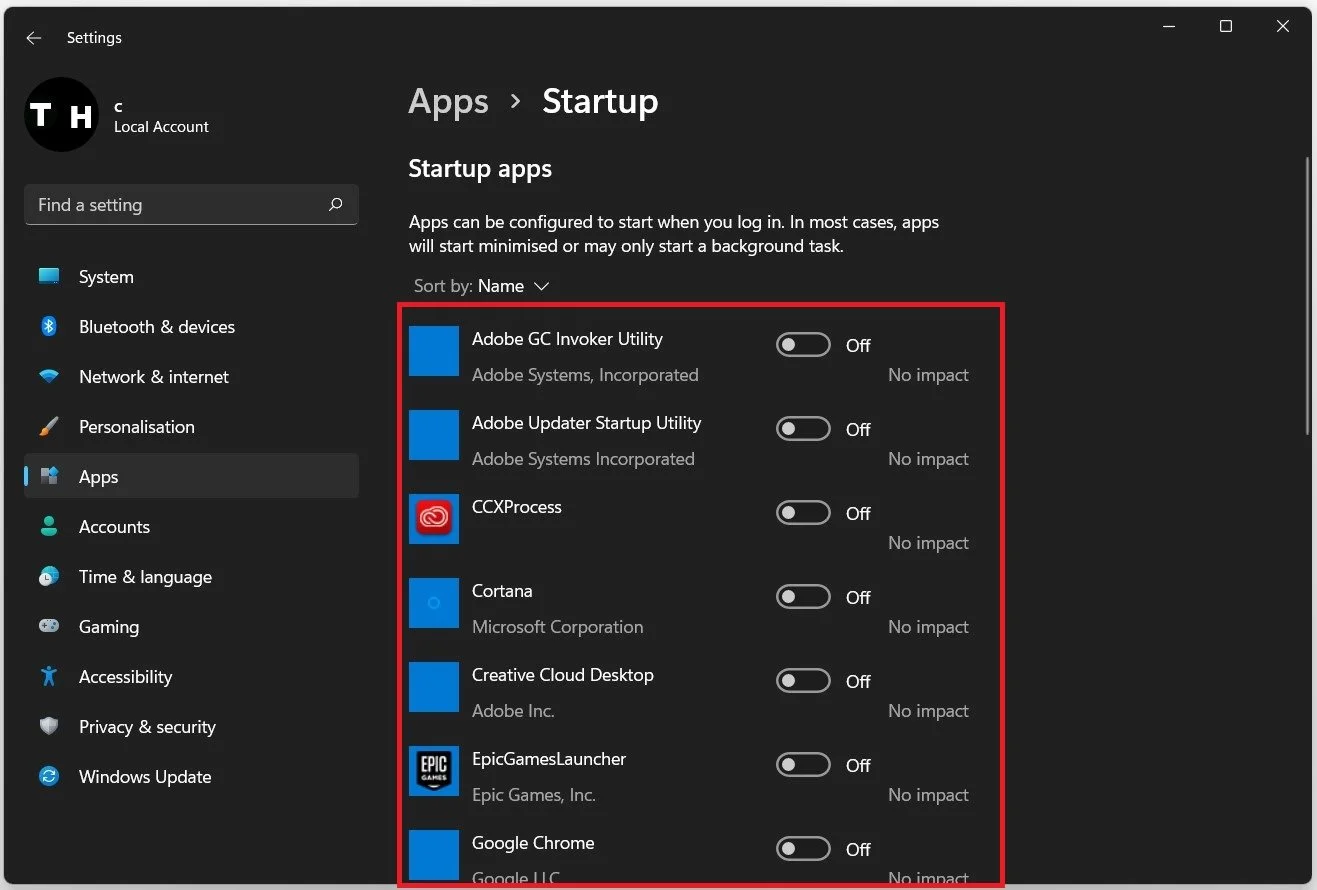
Prevent apps from starting on system boot
End CPU-Intensive Processes
After disabling the applications you don’t need every time you use your PC, you should prevent processes from running using your Task Manager. Right-click the start icon in your start menu and select Task Manager. You can see a list of applications running on your PC in the Processes tab. Sort these processes by CPU usage, which will most likely be your browser and other CPU-intensive applications. End these processes by right-clicking the process and selecting End task, but make sure only to end processes from running, which you know won’t break your operating system.
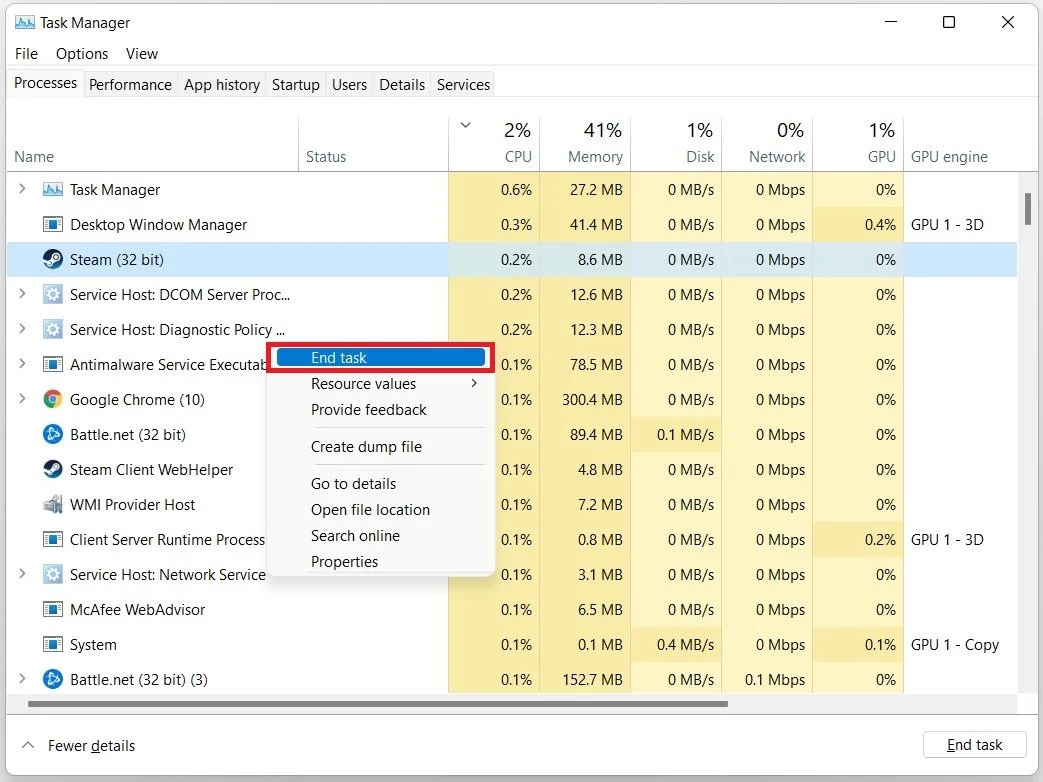
Task Manager > Processes > End Task
Update your Device Drivers
Ensure your device’s drivers are up to date. In your start menu search, enter Device Manager to open it up. Depending on which version of Windows 11 you are using, you must search for your Device Manager in your system settings window.
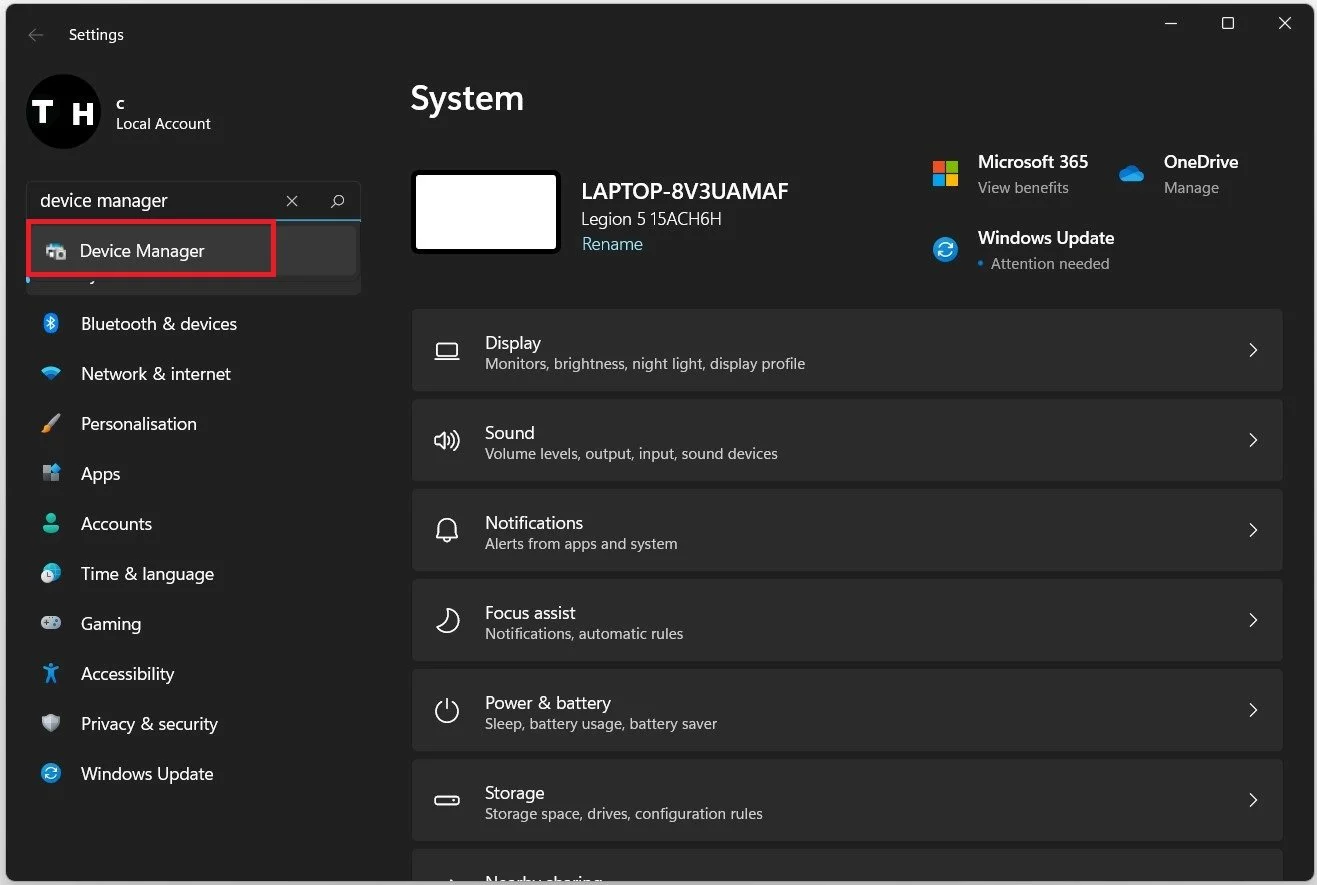
Windows Settings > Lookup “Device Manager”
Expand your Audio Inputs and Outputs, Disk Drives, Display adaptors, Keyboards, Monitors, Network adaptors, and Other devices. For each device, right-click the primary device you are using and select Update driver. Click on Search automatically for drivers. This will take a few seconds to ensure you are using the most up-to-date version of your device’s driver.

Device Manager > Device > Update Driver
Use the High-Performance Power Plan
Search for Edit Power Plan in your settings or start menu search to open up your Windows Power Settings. Use the High-Performance power plan in your Advanced Power Settings if you can.
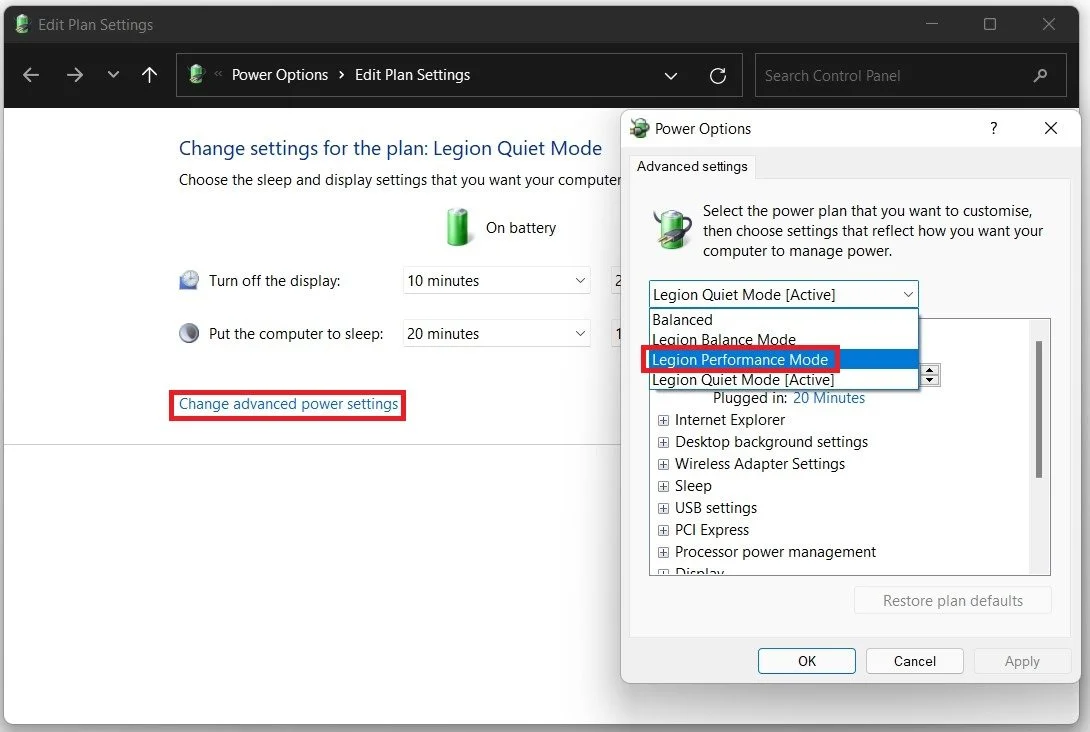
Power Options > Edit Power Plan
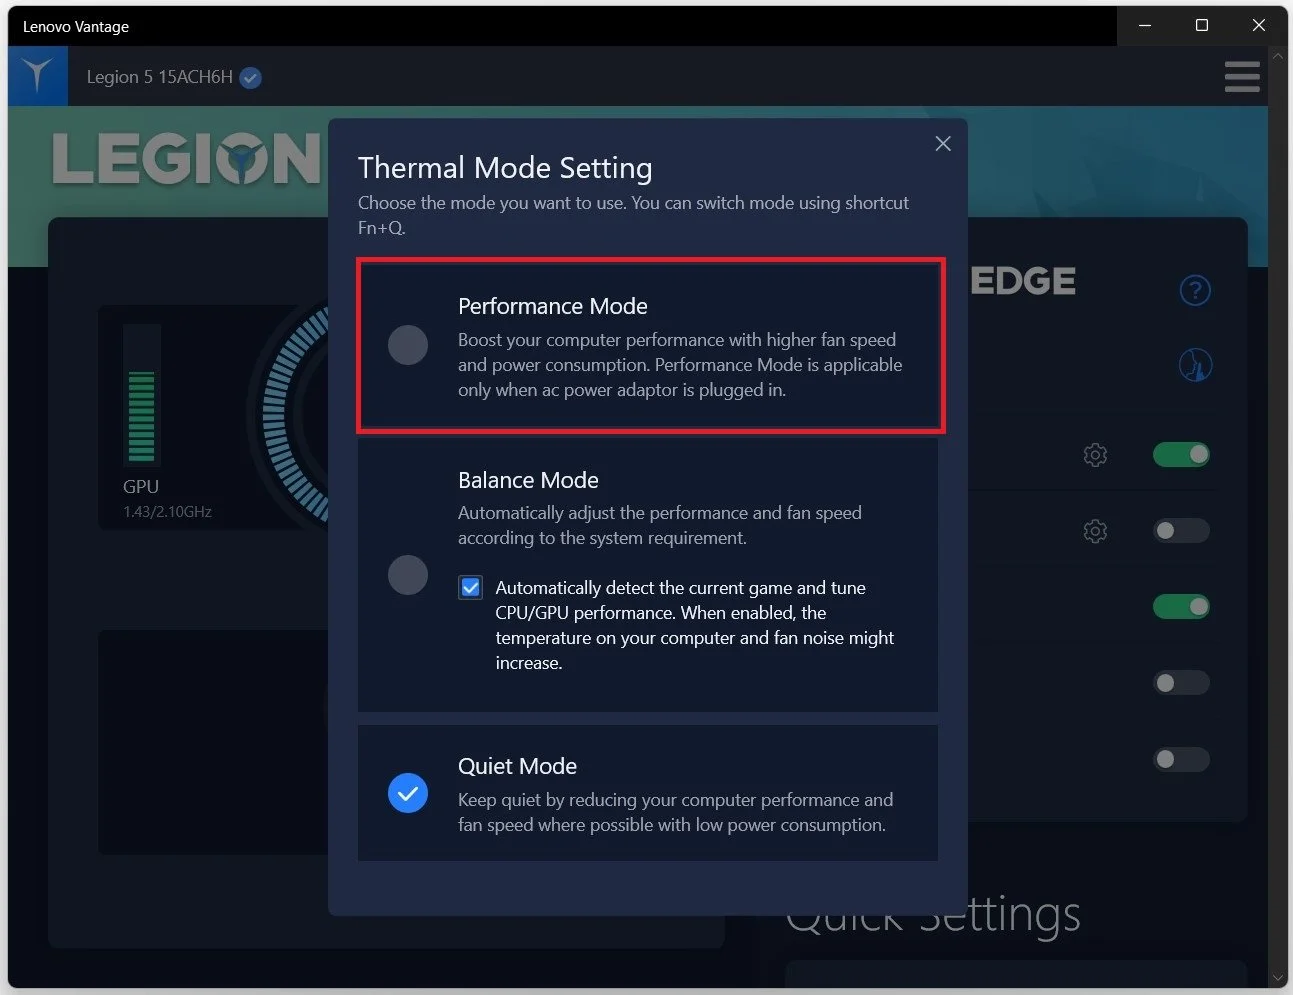
Some PCs and laptops also come with preinstalled firmware that lets them enable the performance mode on their PC. In my example, I can open up the Lenovo Vantage application and click on the first setting to change the Thermal Mode option; from Quiet Mode, which reduces the PC’s performance to keep it quiet, to Balance Mode, which will automatically adjust the fan speed to the application that is being used on the PC, to lastly to the Performance Mode which will boost the PC’s performance with higher fan speed and power consumption. It’s also advised to plug your PC into a power source if you use a laptop to get the most performance.