How To Fix Windows 11 Update Stuck on 100% - Not Updating

If you're a Windows 11 user, you may have faced the frustrating issue of your update getting stuck at 100%. This issue can happen for various reasons, from corrupted files to conflicting applications. However, don't worry; there are several methods you can try to fix this issue and get your system updated. In this article, we'll go through some of the most effective solutions to resolve the problem when your Windows update is stuck at 100% or not updating at all. Whether you're a tech-savvy user or a beginner, this article will guide you through the process step by step.
Windows Operating System Update
Open up your settings when clicking on this gear icon in your taskbar, or open up your start menu and search for Settings. Select Windows Update. In the section of your settings, we suggest first making sure that the download is not stuck because of your network connection or because you don’t have enough storage left to save it.
You should reconnect your network connection if you feel it’s reliable. Otherwise, we suggest switching to a hardwired connection. Limited storage space could also prevent updates from being downloaded properly.
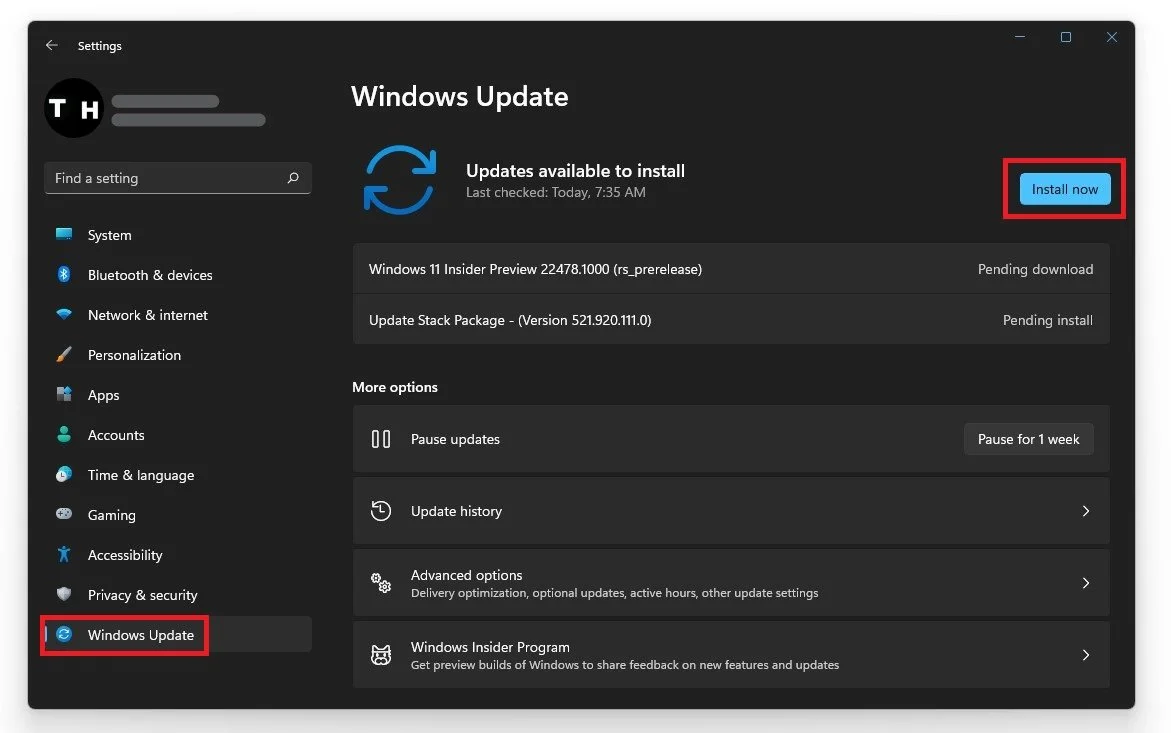
Windows Settings > Windows Update
Disable the Windows Update Service
If your network connection or storage space does not cause this issue, then make sure to close your settings window, and in your start menu search, type Services to open your Windows services manager. Search for the Windows Update service on the window by selecting a service and typing Windows Update. Double-click the windows update service and stop the service from running for now.

Windows Update Service > Properties
Delete the Current Windows Update Files
Open up your File Explorer. Navigate to the drive on which you save your operating system on. In most cases, that would be your C: drive. Navigate to: Windows, SoftwareDistribution. Delete all of the files in this folder. On Windows 11, the SoftwareDistribution folder is an essential component for Windows Update, which temporarily stores files needed to install new updates to keep your device secure and with the latest fixes and improvements.
Restart the Windows Update
Lastly, navigate back to your Windows services manager. Find the Windows Update service, double-click it, and start it again. You can then open up your Windows update settings, and the installation of your windows update should work.
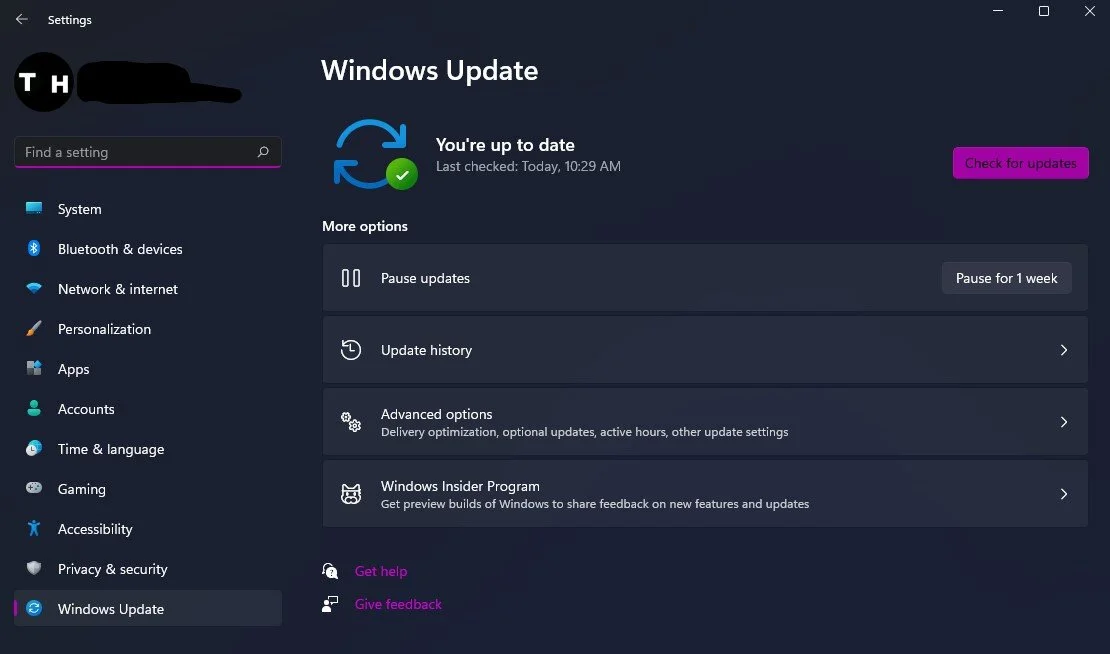
Windows Settings > Windows Update