

How To Make Windows 11 Run Faster - Tutorial

Windows 11 is the latest operating system from Microsoft, designed to offer a sleek, modern, and fast computing experience. However, with time and usage, your Windows 11 computer may slow down, making it difficult to perform everyday tasks. This can be a frustrating experience, but the good news is there are ways to make Windows 11 run faster. This comprehensive guide will cover several tips and tricks to help you speed up your computer and get back to your work or play in no time.
Disable App Notifications
First, we will make a few changes to your Windows settings. Open up your settings application and in the System section, click on Notifications.
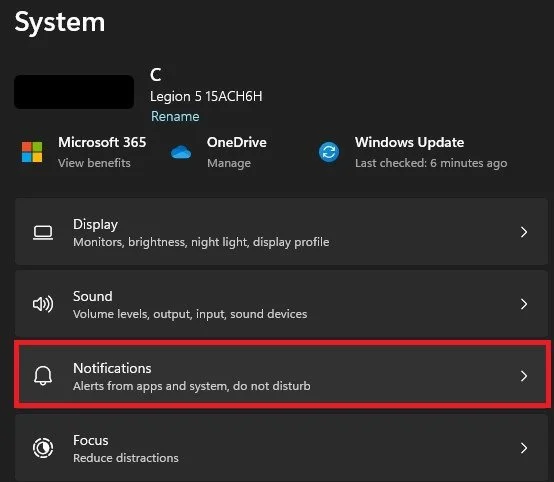
System Settings > Notifications
Here, it would be best if you prevented some applications from sending you notifications, especially from third-party senders, which can cause random lag, depending on which app is allowed to send notifications.
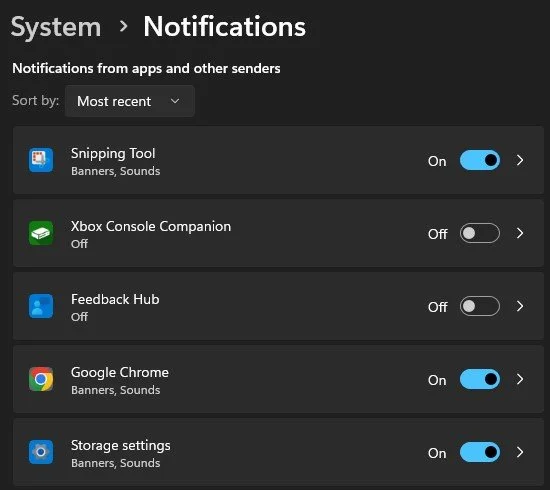
Windows Settings > System > Notifications
Power & Battery Settings
Back in your System settings, click on Power & Battery. Set your Power Mode to Best Performance, and disable the Battery Saver option below. Laptop users might want to keep this option enabled, but it can slow down your PC, depending on which applications are running on your system.
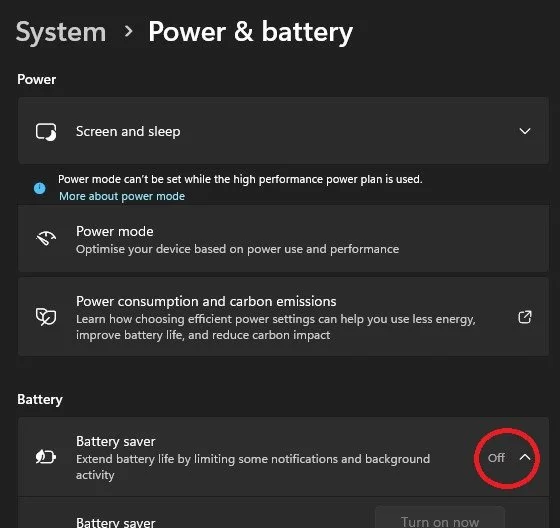
System Settings > Power & Battery
Disable Startup Apps
Next, navigate to the Apps section of your settings and select Startup. Here, you can prevent applications from starting on system boot, increasing your overall Windows 11 performance and speeding up your PC. I would only keep the applications enabled that I use daily.
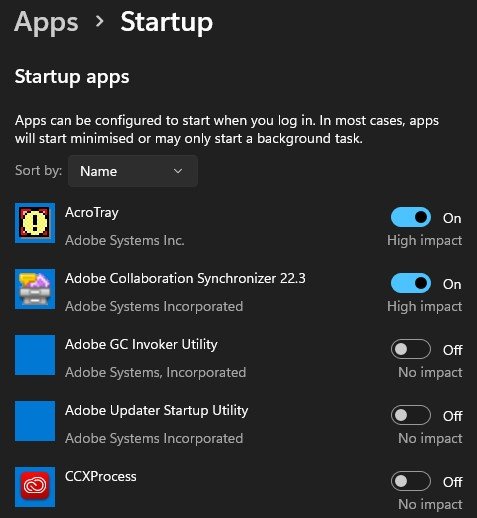
Windows Settings > Apps > Startup
Enable Windows Game Mode
In the Gaming section of your settings, click on Game Mode. While planning on playing games, or when your PC slows down while in-game, you should enable the Windows Game Mode option.
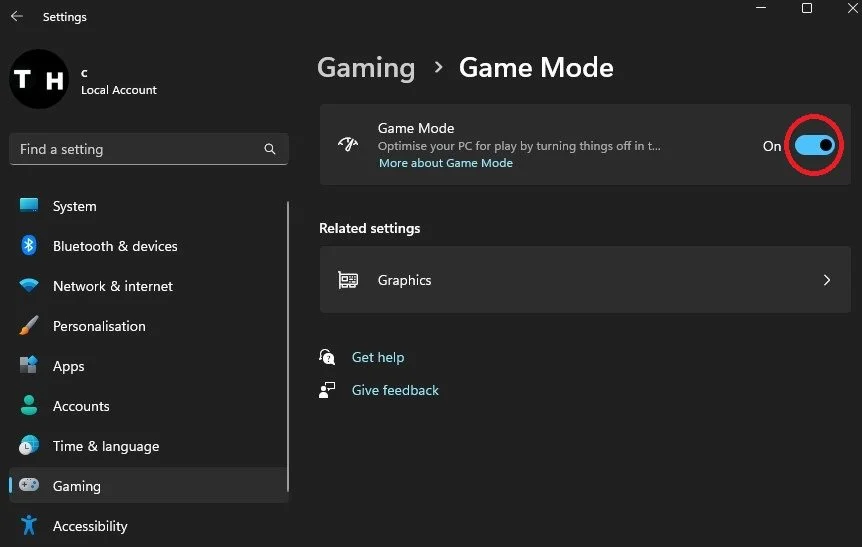
System Settings > Gaming > Game Mode
Delete Temporary Files
When this is done, navigate to your system settings and click on Storage. It might take a second to load your storage information, and then click on Temporary Files.
You should remove your temporary files now and then. These include files saved by your applications that should be deleted, Windows Update files, the content of your Recycle Bin, and so on. Delete these files to reduce clutter on your hard-drive, which allows Windows to boot and run faster in the future.
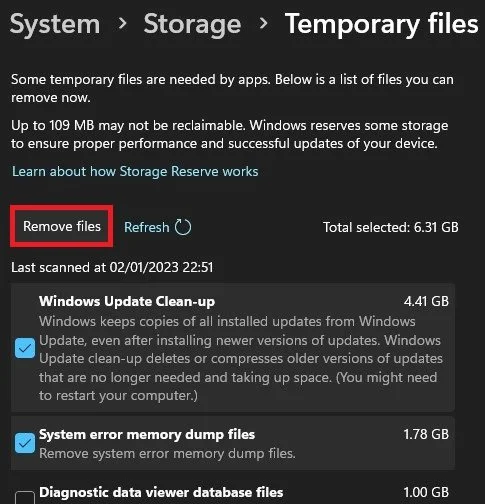
System Settings > Storage > Temporary Files
Windows Update
The last step in your Windows settings is to make sure that you’re running the latest Windows Update. In the Windows Update section, click on Check for Updates. Your PC might start downloading the latest update, and you will be required to restart your system once the update is downloaded.
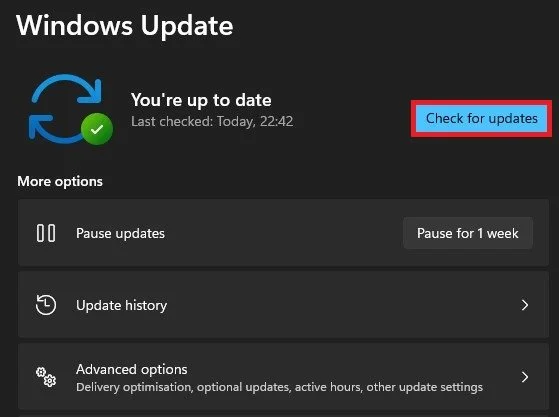
Windows Settings > Windows Update
Update Device Drivers
When this is done, we will ensure that your device drivers are up to date. Open up your Device Manager. Most drivers will update automatically with Windows Updates, but some require to be updated manually.
Expand your Disk Drives, Display Adaptors, Monitors, Network Adapters, and other hardware you use with your PC. For each, right-click the device and select Update Driver. Click on Search automatically for drivers and wait a moment for Windows to ensure that your drivers are up to date.
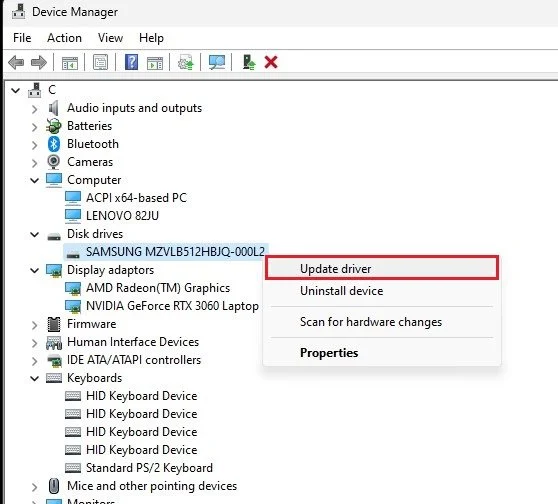
Update device driver in Device Manager
Update Graphics Driver
I suggest using the dedicated application when using an AMD or NVIDIA graphics card. AMD users can use the AMD Radeon Software and the GeForce Experience application for NVIDIA GPU users. In the Drivers section, proceed to download the latest driver. The application will then automatically install the driver for you.
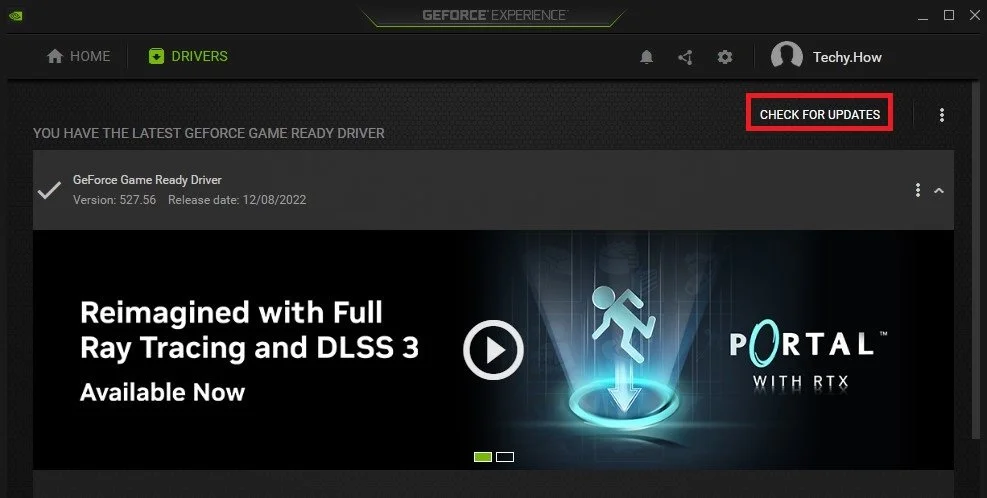
GeForce Experience > Drivers
GeForce Experience Settings
These apps also allow you to change some settings further to reduce lag while playing games on your Windows PC. In your GeForce Experience settings, navigate to the General section and disable the In-Game Overlay, which can cause performance issues while in-game.
Below, make sure to enable the Image Scaling option if you can. This will speed up and boost your FPS for any game you intend to play. I use a Render Resolution of 77% and Sharpen to 19%. You may have to tweak these two settings to get the most out of this feature.
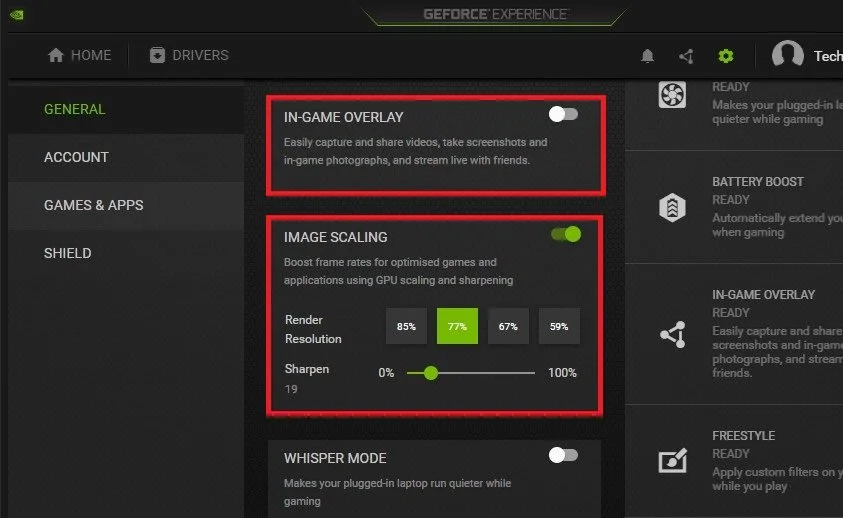
GeForce Experience Settings > General
End Resource Intensive Apps
Lastly, open up your Task Manager. In the Performance section, end programs from running that you know won’t break your operating system. Especially resource-intensive applications such as Discord, Steam, or Chrome can speed up your PC while preventing them all from running simultaneously.
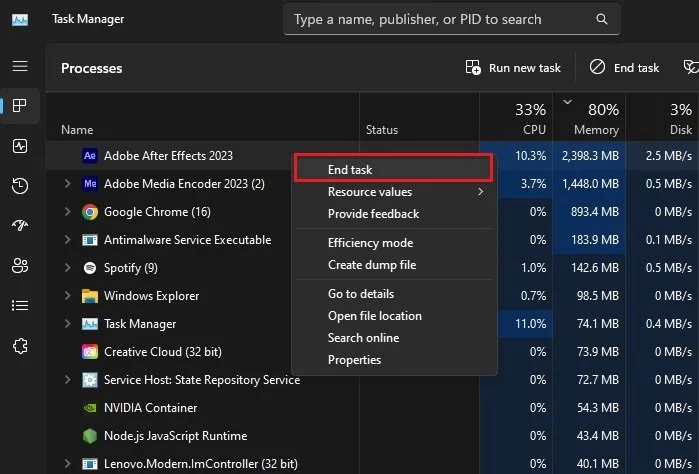
Task Manager > Processes
-
Yes, regularly checking for driver updates and installing them can help improve compatibility and boost performance.
-
You should disable programs that you don't use frequently, such as media players, games, and other entertainment software.
-
To adjust visual effects, go to the Control Panel and select "System". From there, you can choose "Advanced system settings" and select the "Advanced" tab. Then, click on "Settings" under the Performance section to adjust the visual effects.
-
Yes, malware can run in the background and slow down your computer even if it's not causing any other issues. Regular scans and removal of malware is important to keep your computer running fast.
-
Yes, it is possible to add more RAM to a laptop, but it depends on the model and the type of RAM that is compatible. You should check with the manufacturer or a professional to see if it's possible to upgrade the RAM on your laptop.


