How To Play Android Games on your PC or Mac - Tutorial
Are you tired of switching from your PC to your phone just to play your favorite mobile games? Look no further! BlueStacks, an android emulator, allows you to play Android games on your PC or Mac. With its seamless integration, intuitive controls and improved graphics, gaming on your computer has never been easier. In this article, we will explore the steps on how to set up BlueStacks and how to play Android games on your PC or Mac.
Download & Install BlueStacks
The most popular way to play Android games on your PC is to use an Android emulator. BlueStacks is a popular choice for Windows and macOS users, as it’s customizable and made for gaming. The BlueStacks download page will automatically detect which operating system you are using.
Downloading the BlueStacks installer will only take a couple of seconds. Double-click the downloaded file and follow the install wizard to install BlueStacks to your system. The download might take a couple of minutes, and BlueStacks will open up automatically.

Download BlueStacks Installer
Download Android Games
After launching BlueStacks for the first time, open up the Play Store app and log in with your Google account. This will allow you to download your preferred games and continue playing using the same in-game or Google account.
Search for the app or game and click on Install to start the download. Many games will easily run with your default BlueStacks settings, but some more demanding games can cause lag and other issues.
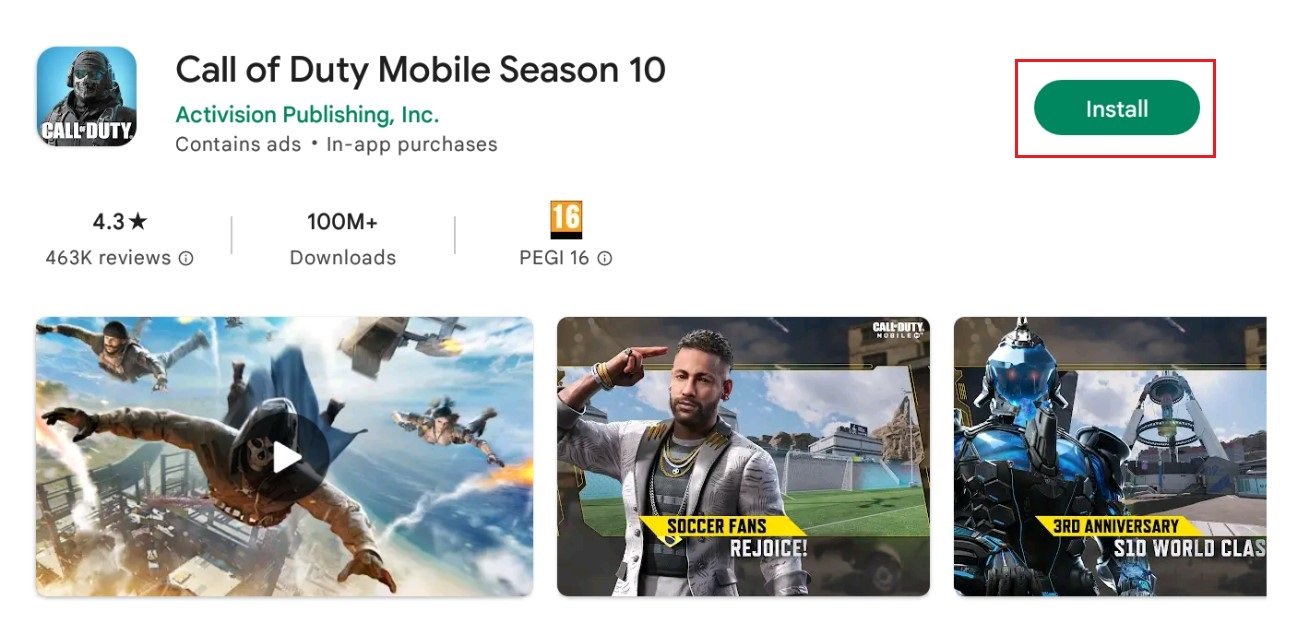
Download Android Games in the Play Store
BlueStacks Performance Settings
To optimize BlueStacks on your system, I suggest looking at your Performance settings. Click on the gear icon on the bottom right of the BlueStacks window. I will set these for low to mid-end PCs to ensure that the game will run on your system adequately. Set the CPU allocation option to High, especially if you can limit the number of other applications running on your system. Below, set your Memory allocation to around 50% to 70% of your available RAM or memory.
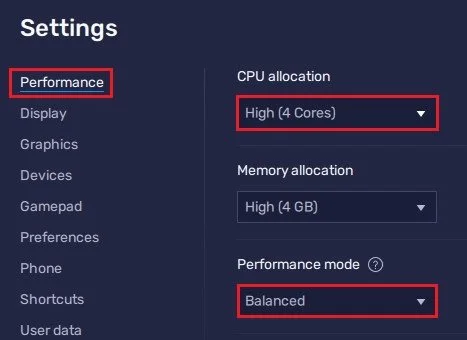
BlueStacks Performance Settings
Check Available Memory
On Windows, you can open up your Task Manager to see how much available RAM you currently have when BlueStacks is in idle.
In the Performance section of your Task Manager, select Memory. You can preview here how much you have available. There is currently 16GB of RAM installed on my system, this means I could increase the memory allocation to around 8GB, but this much is unnecessary. 4 GB is more than enough, and if you only have 4GB of memory installed on your system, then set this to 2 GB.
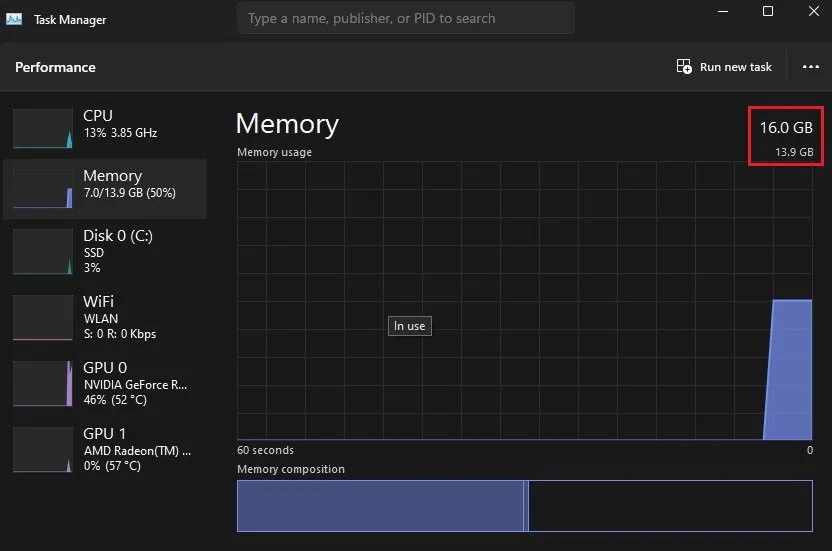
Task Manager > Performance > Memory
Performance Mode & Frame Rate
Set the Performance mode to Balanced. This will limit the number of resources used by BlueStacks to keep a better frame rate. I prefer to enable the high frame rate option and set the BlueStacks Frame rate to my screen’s refresh rate.
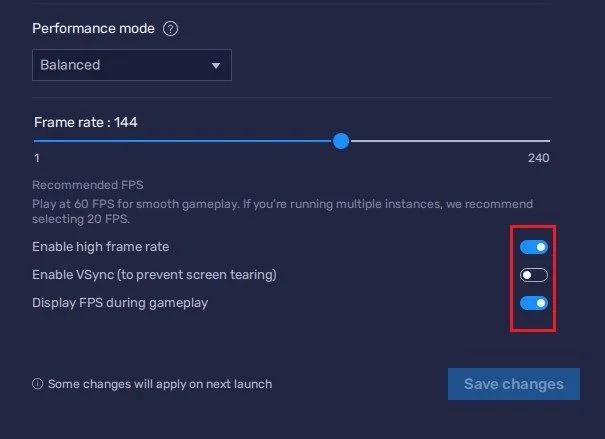
BlueStacks Performance Mode
Windows Display Settings
If unsure about your refresh rate, right-click your desktop and select Display Settings. From here, make sure that the correct display is selected, scroll down, and click on Advanced Display. This will allow you to preview your refresh rate and change it if you want. Also, if you want to troubleshoot performance issues, then make sure to enable the FPS counter option.
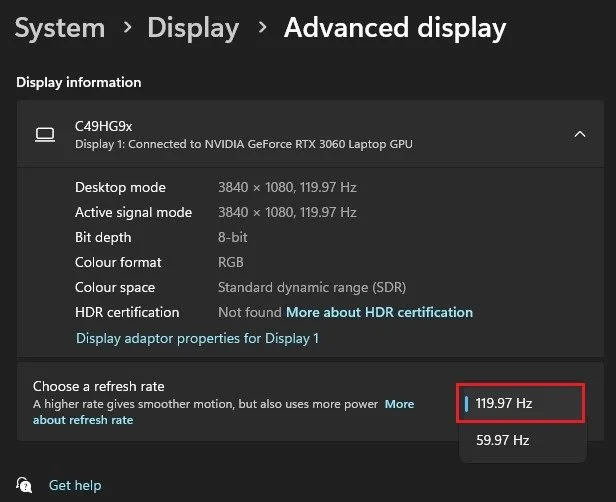
System Settings > Display > Advanced Display
BlueStacks Display Settings
In the Display section, choose your preferred display orientation, depending on which game you intend to play. Most users will want to leave this at Landscape. Below, choose a resolution. I will set this to 1600 x 900, but this will come down to your monitor’s resolution and personal preference.
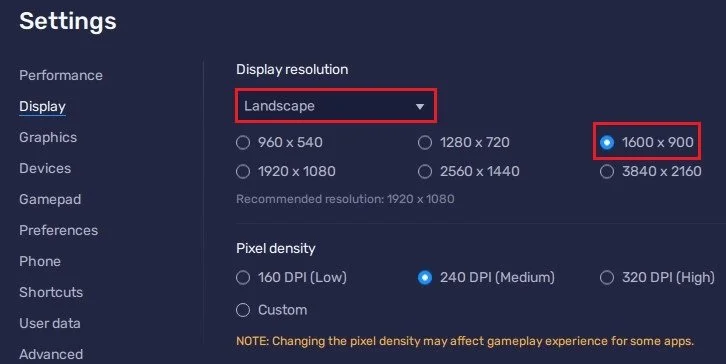
BlueStacks Display Orientation
BlueStacks Graphics Settings
In the Graphics section of your BlueStacks settings, set the Graphics engine mode to Compatibility and Graphics renderer to DirectX. This will allow you to play most games on the Play Store, but some games will still ask you to change your Graphics settings. Leave the Interface renderer at Automatic for best results and the other options at their default values. Some of your settings will look slightly different when using BlueStacks on macOS.
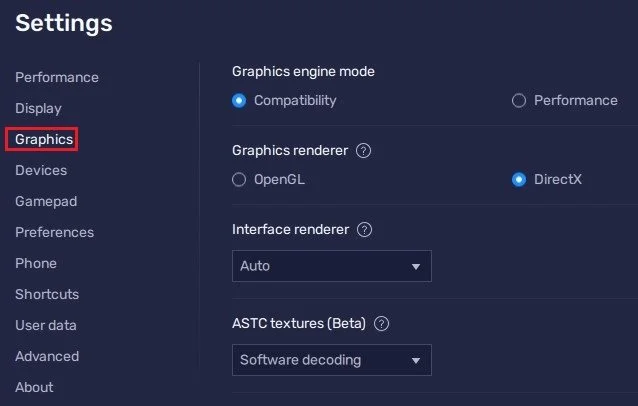
BlueStacks Settings > Graphics
Under Devices, choose your preferred audio input, output, and camera device.
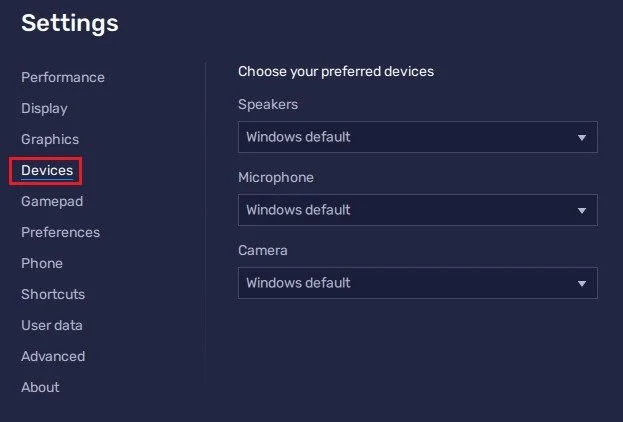
BlueStacks Settings > Devices
BlueStacks Preferences
Lastly, you can disable the Create desktop shortcuts for apps after installation option in the Preferences section and change the device profile, depending on which game you intend on playing.
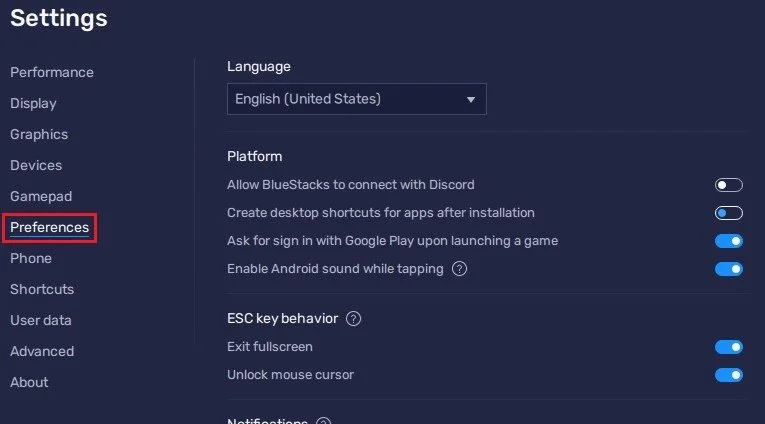
BlueStacks Settings > Preferences
Update Windows Operating System
If you still experience lag or issues when using BlueStacks, you should ensure Windows and your graphics drivers are up to date. Open up your Windows settings.
In the Windows Update tab, download and install the latest update before restarting your PC. This will ensure that you’re running the latest Windows version, which can improve your performance, depending on how often you update your OS.
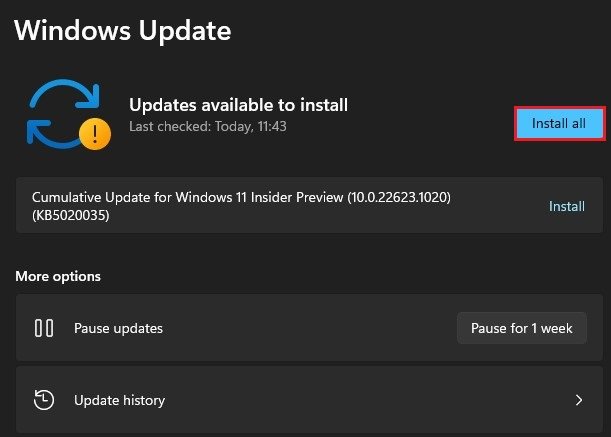
System Settings > Windows Update
Update Graphics Driver
When this is done, you should also ensure that your graphics card driver is up to date. AMD users should make use of the AMD Radeon Software. If you have an NVIDIA graphics card, then you can use the GeForce Experience application. Open up the application. In the Drivers section, proceed to download the latest driver. GeForce Experience will automatically install the driver, which should only take a few minutes to complete.
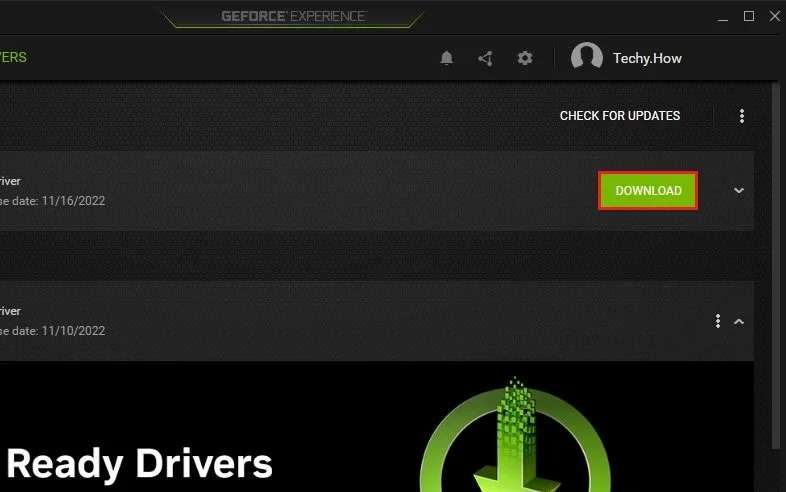
Download Latest NVIDIA Driver
Enable NVIDIA Image Scaling
While in your GeForce Experience application, navigate to your settings. You can follow along using the AMD Radeon Software, as both applications are similar.
In your General settings, scroll down and ensure that the Image Scaling option is enabled. NVIDIA Image Scaling, or NIS, will allow you to run Android games in a lower resolution, and your graphics card will then help upscale the resolution with minimal effort. This has helped boost frame rates for many users playing any game on their PC, and I strongly recommend playing around with these values until you find a good middle ground.
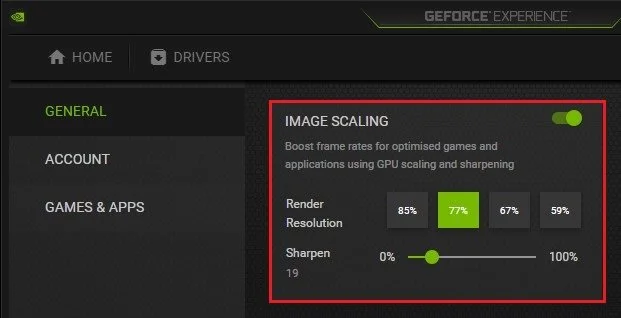
GeForce Experience Settings > General > Image Scaling
-
BlueStacks is an android emulator that enables you to run Android games and apps on your PC or Mac.
-
Most Android games are compatible with BlueStacks, however, some games may not work due to compatibility issues.
-
It's possible! With improved control options and seamless integration, BlueStacks might just help you become the next gaming legend. Just remember to thank us in your acceptance speech.