

How To Remap Keys on Your Keyboard - Windows Tutorial
Introduction
Transforming your keyboard to meet your unique needs can be a smooth sail on a Windows PC. In our upcoming tutorial, we unravel the steps to remap your keyboard keys, making them respond as you wish at a tap. Using a simple yet powerful tool like SharpKeys, you can tailor your keyboard to resonate with your tasks, whether it's disabling a bothersome key or assigning a new task to another. It's all about making your keyboard a more friendly companion in your digital exploration. Ready to turn the keys?
Getting Started with SharpKeys
Before diving into key remapping, it's essential to have the right tool. SharpKeys is your go-to option, recognized for its ease of use and solid features. Here's how to get it set up:
Access Microsoft Store: Look for the Microsoft Store icon on your taskbar and click on it.
Search for SharpKeys: Once the store opens, navigate to the search bar, type in “SharpKeys”, and press Enter.
Install the Tool: You'll see SharpKeys listed there. Click on the
Installbutton to initiate the downloading and installation process. It won’t take long.Launch SharpKeys: After the installation, it's time to open SharpKeys. Just type "SharpKeys" in the Windows search bar and hit Enter to open the application.
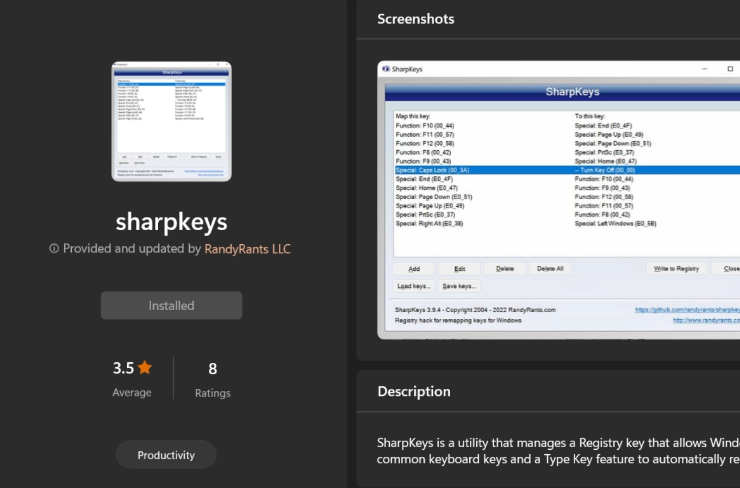
Install Sharpkeys on Windows
Customize Your Keyboard
When you first open SharpKeys, a message regarding registry keys may appear. Click OK to continue and you'll see the SharpKeys user interface.
Adding New Key Mappings
Initiate Key Remapping:
Locate the
Addbutton at the bottom-left corner and click on it. A new window will pop up.
Select Keys to Remap:
In this window, choose the key you want to change from the left pane.
For example, to disable a bothersome key, select it on the left, then on the right pane, choose the
Turn Key Offoption.Confirm your selection by clicking OK.

Add key function on SharpKeys
Activate Your New Key Mappings
Save Changes:
Click the
Write to Registrybutton to save your new key settings.A confirmation message will appear, click OK to proceed.
Restart Your Computer:
A system restart is necessary to activate your new key mappings. So, go ahead and restart your PC.
Test Your New Layout
Verify Key Functions:
After restarting, test your new key layout to ensure all remapped keys work as intended.
Tweak if Necessary:
If something’s not right, SharpKeys is there for any adjustments you need.
Backup Your Settings
It's wise to create a backup of your registry before and after making changes. This way, you can easily go back to the original settings in the future if needed.
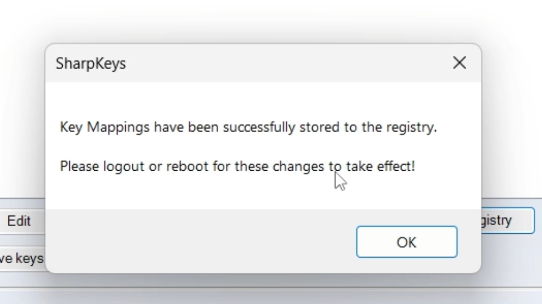
Key Mappings successfully stored in the registry
-
Key remapping allows you to change the function of certain keys on your keyboard. This can be useful for increasing productivity, accommodating certain disabilities or personal preferences.
-
While SharpKeys is user-friendly and effective, there are other tools like Microsoft PowerToys and AutoHotkey that also offer key remapping features.
-
No special permissions are needed, but it's advisable to have administrative rights to ensure the changes are applied system-wide.
-
Yes, you can revert back by deleting the custom mappings in SharpKeys and then writing the default settings to the registry followed by a system restart.
-
There isn’t a specific limit, but excessive remapping could lead to confusion or system instability, so it's advised to remap only the necessary keys.


